
A beautiful moon at dawn and I just couldn’t resist grabbing some images of it. I had to piece this mosaic together, since the Rising Tech Sony IMX224 cam does not have a wide enough field of view to get the whole thing in one shot.

A beautiful moon at dawn and I just couldn’t resist grabbing some images of it. I had to piece this mosaic together, since the Rising Tech Sony IMX224 cam does not have a wide enough field of view to get the whole thing in one shot.
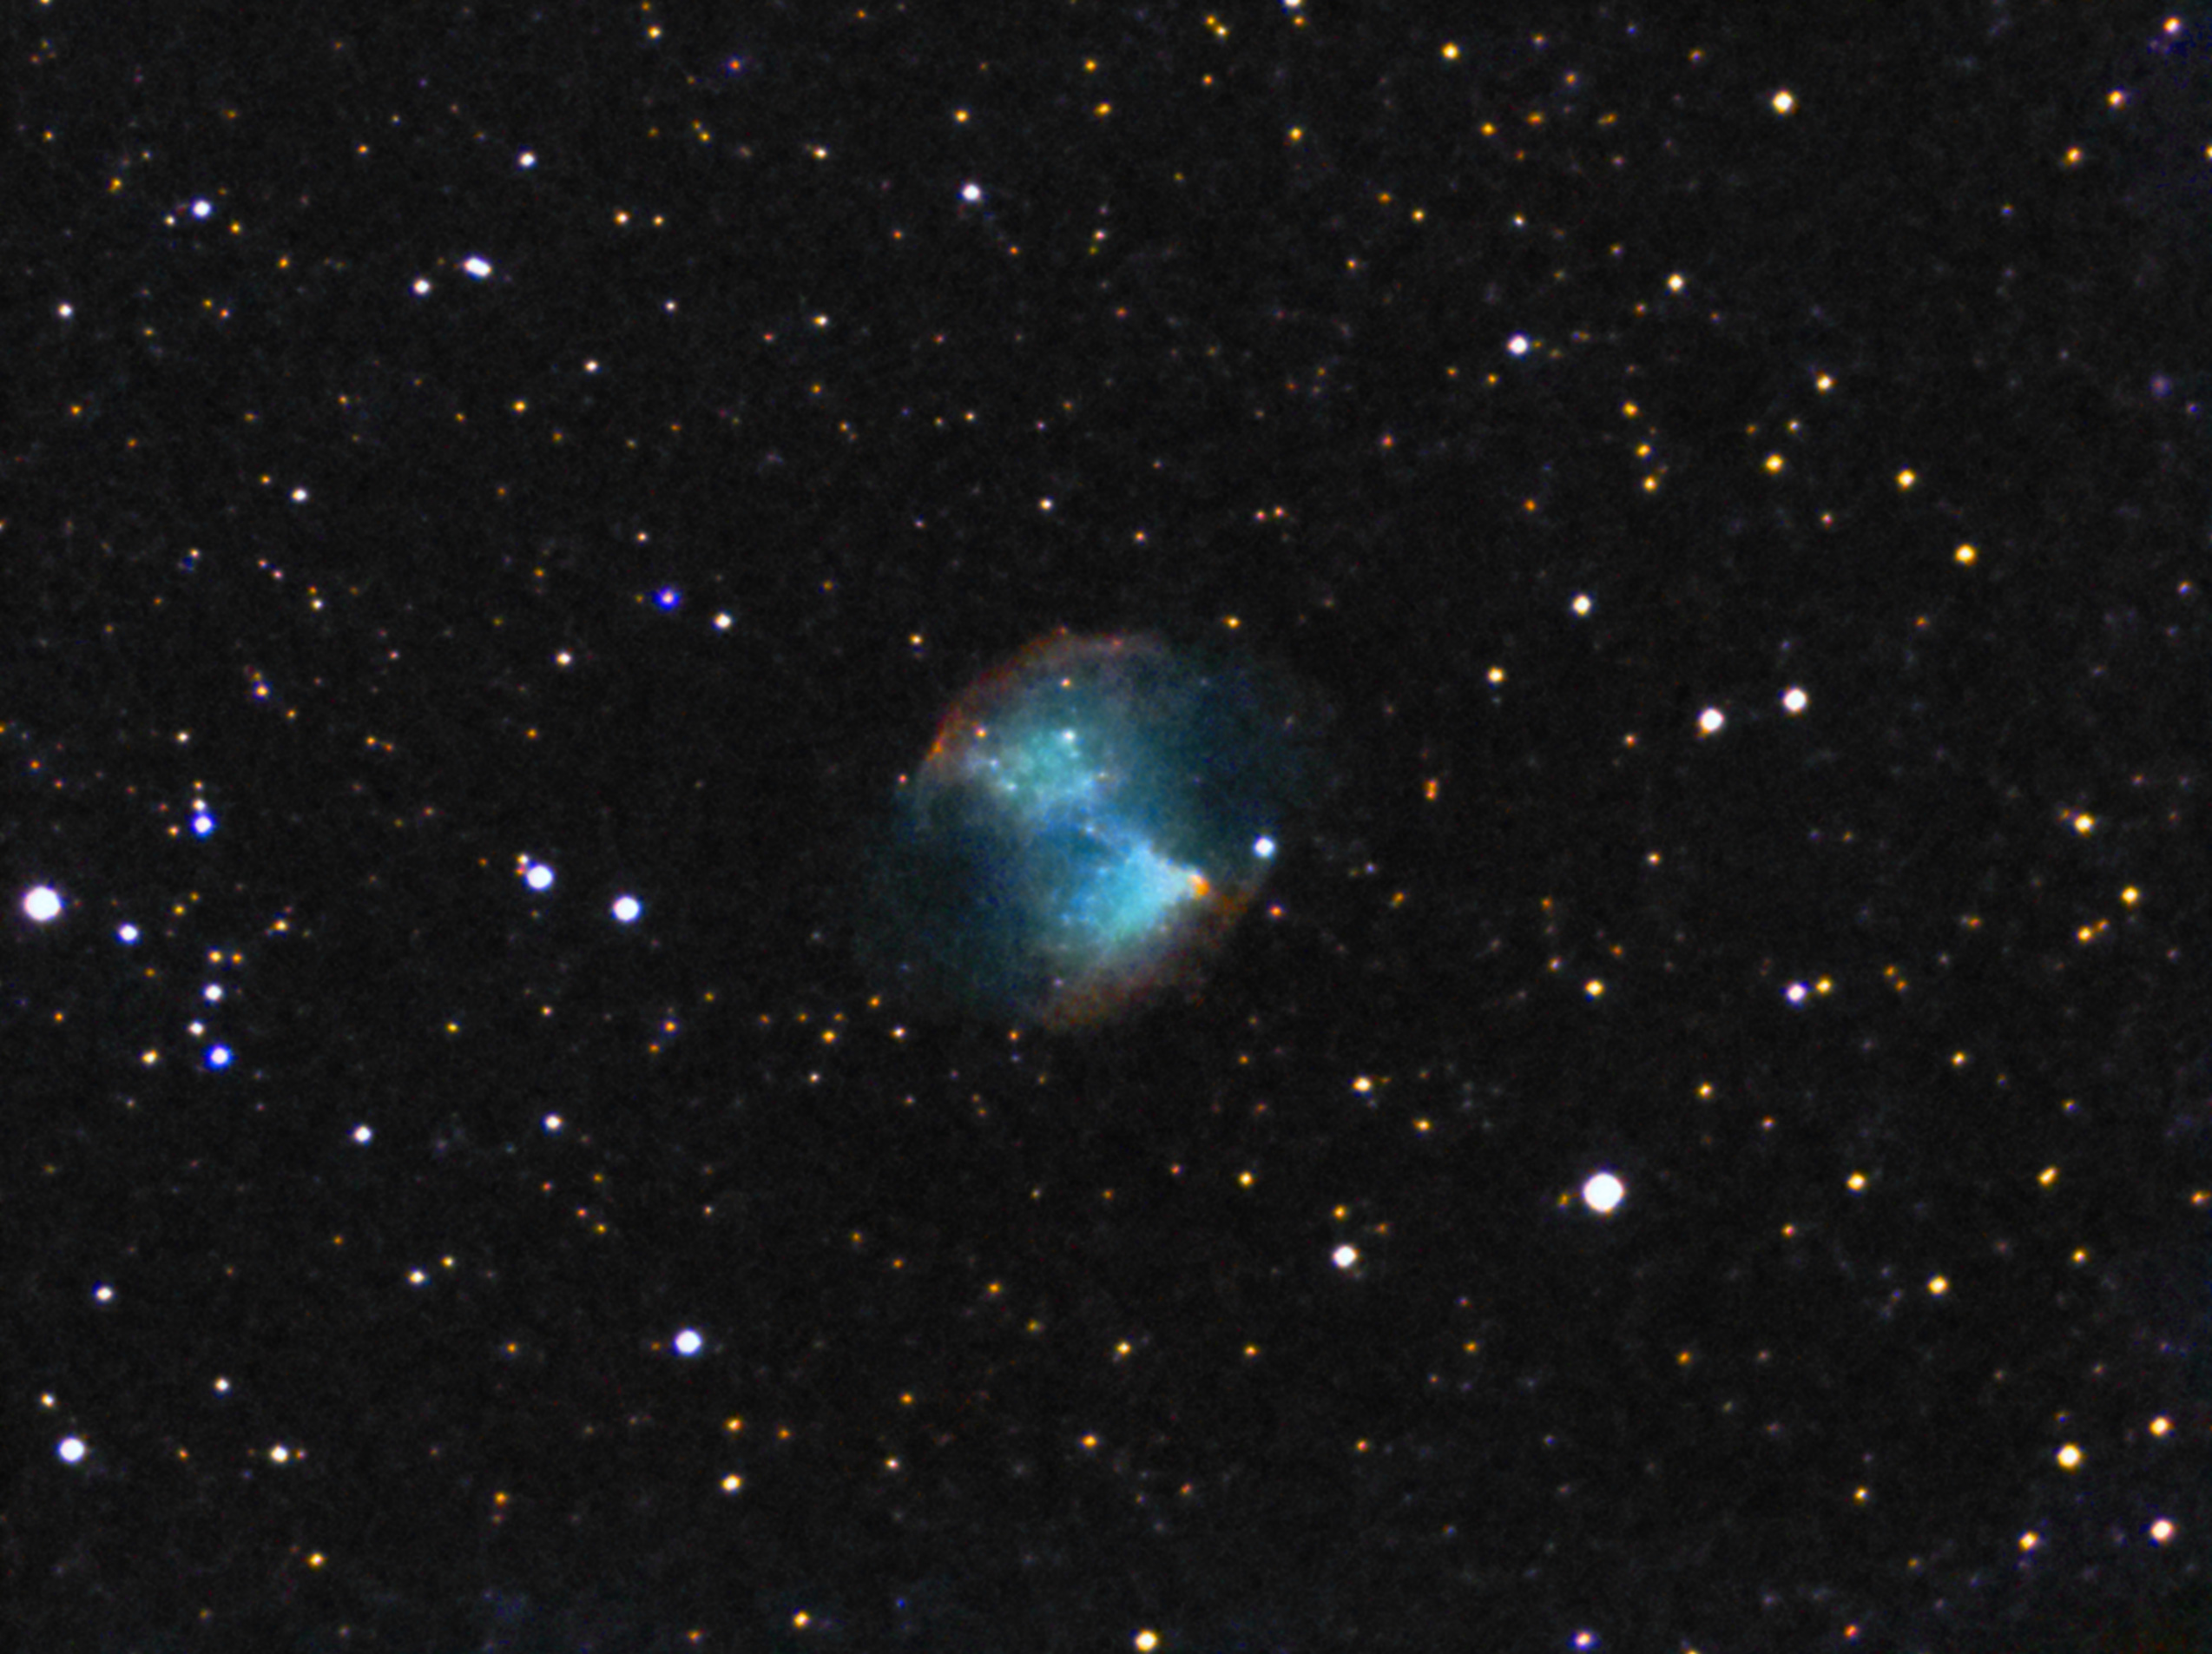
I let the camera take sub-images for an hour for this picture. I used 8 second subs with no darks at a low gain setting of 1241 (100-5000 Range.) Still lots of hot pixels without darks, but shot noise was low so I could stack lots more sub-images than this 450 stack and still be within limits.
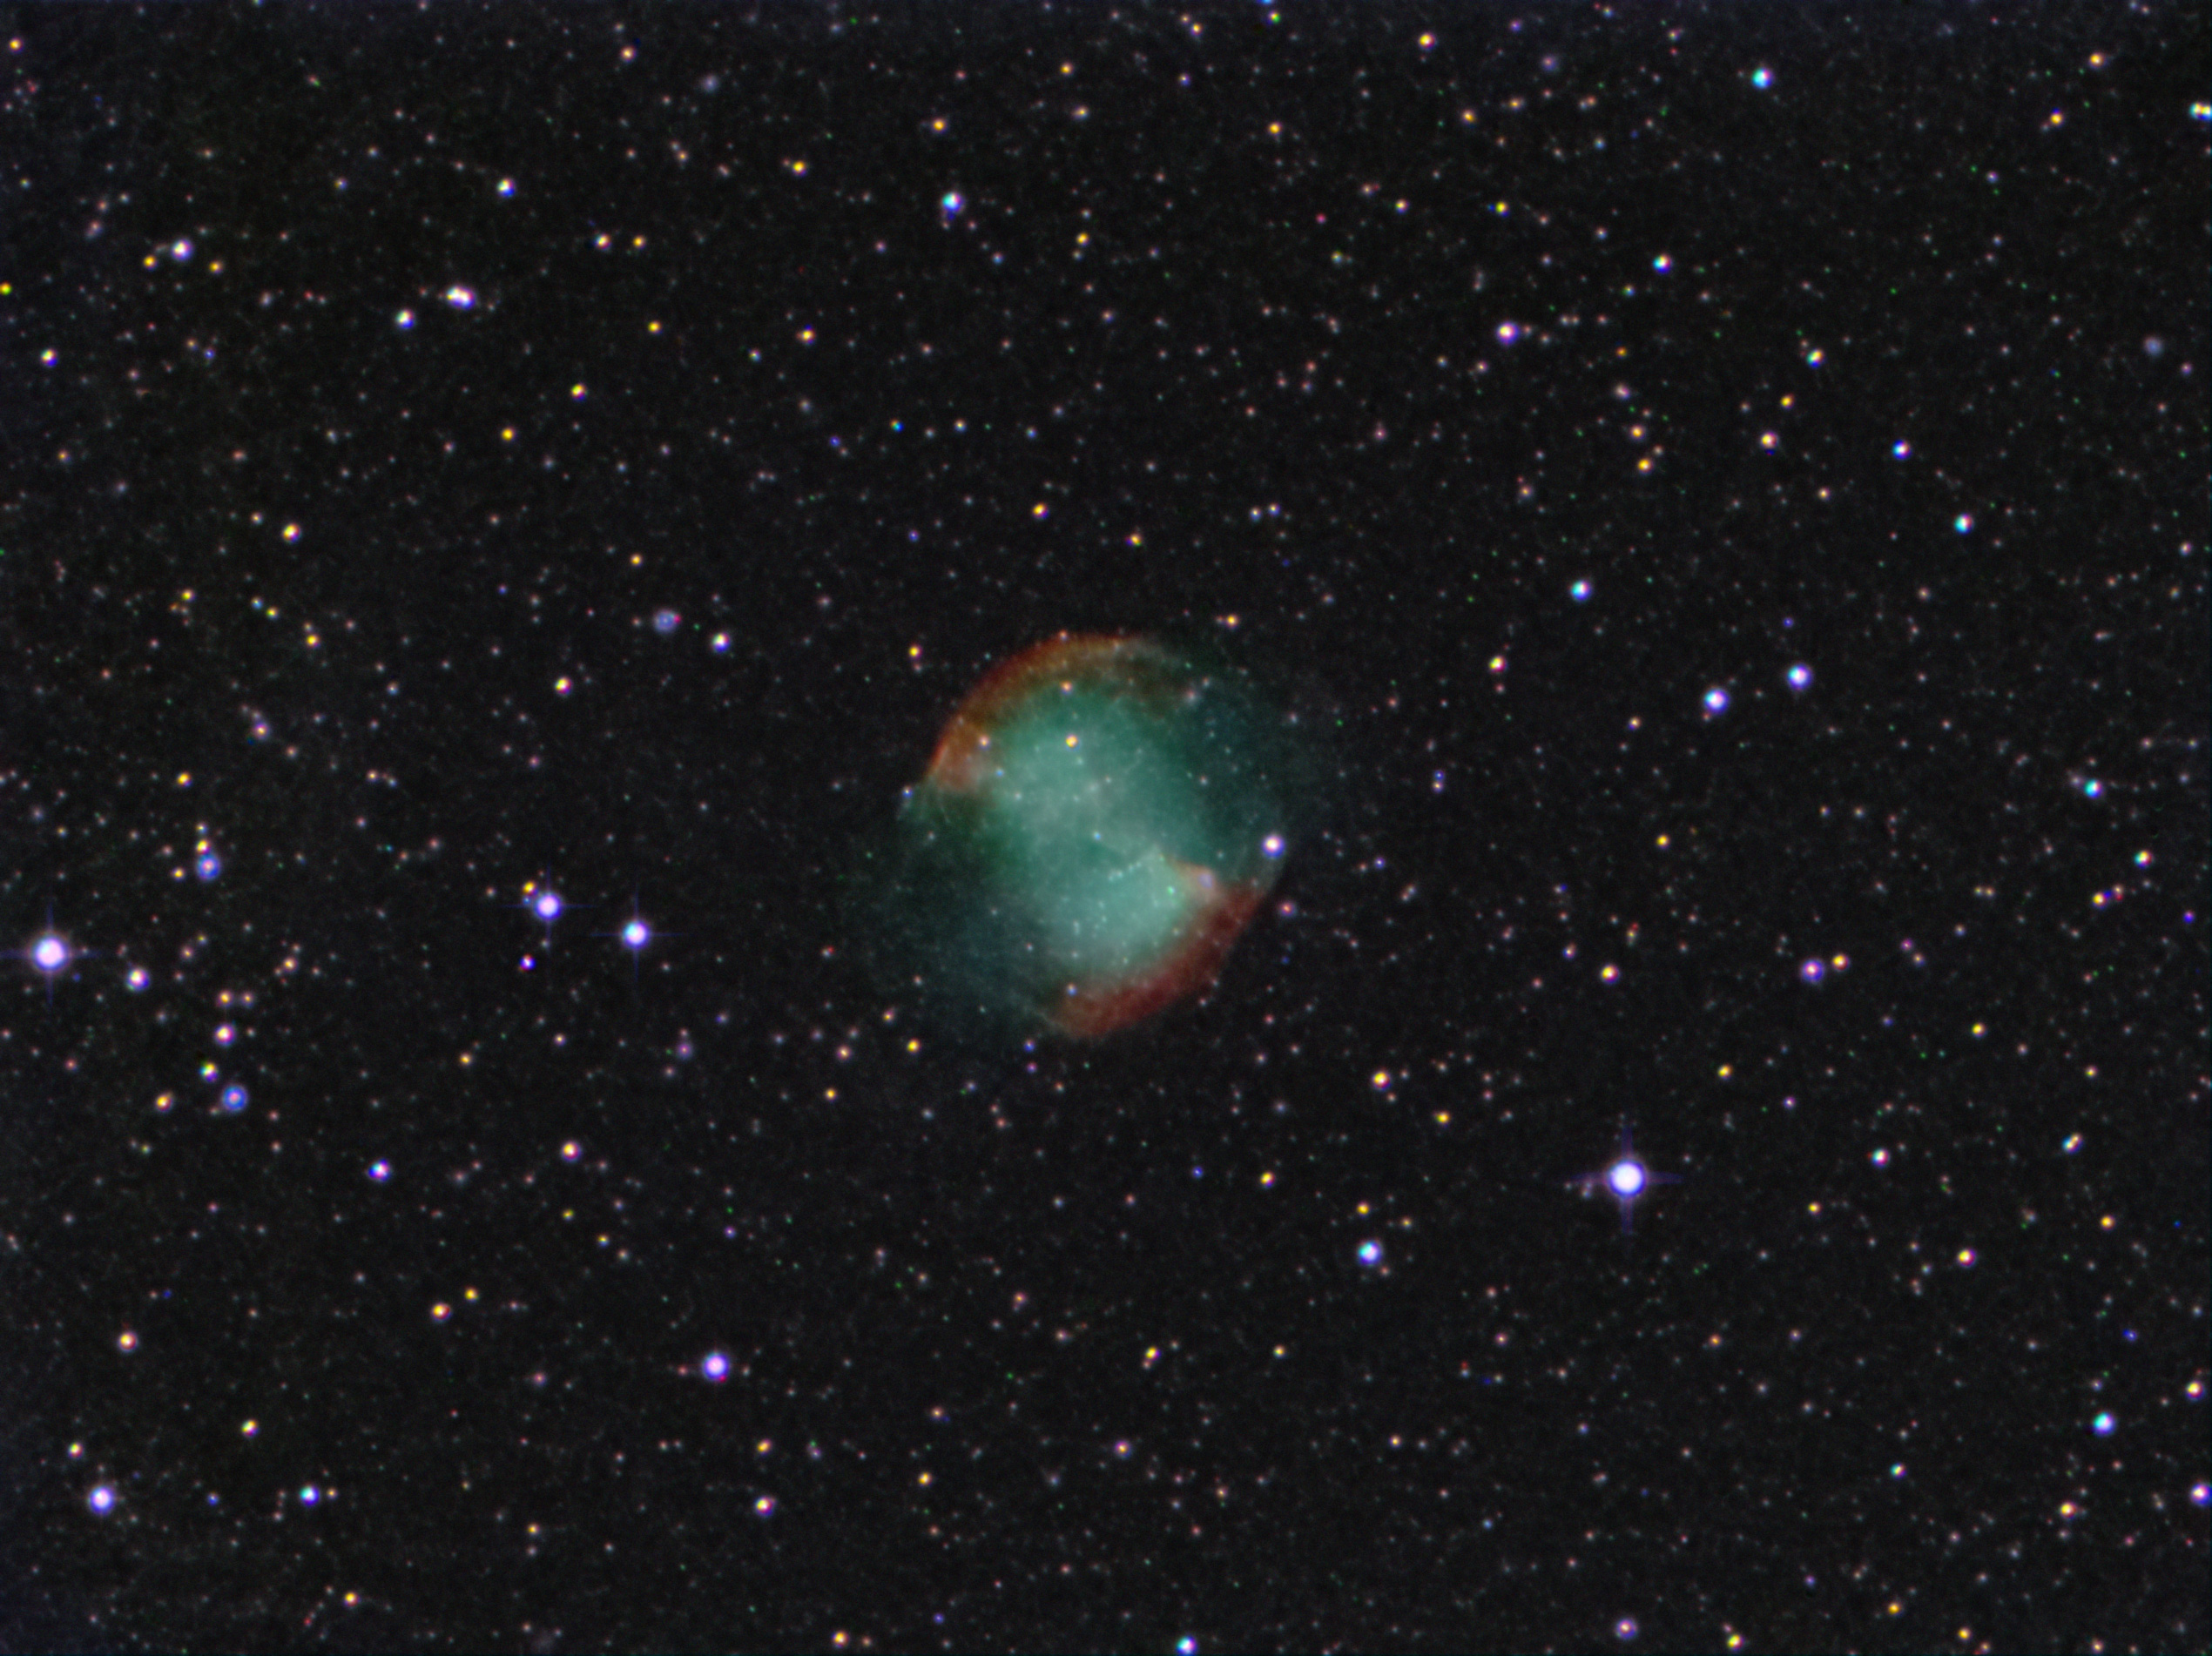
This data was taken in the middle of a metro area with very strong light pollution. Mag 3 is the dimmest stars you can see naked eye on most nights. Not one of my best of this object because of all the LP, but it was fun to see it build up and get better and better as the subs were added in. I should have shot darks before letting it rip on this object, but I did not think I had more than 20 minutes before the Dumb Bell went behind the trees, so I skipped doing them. Oh, well… next time!
In the meantime, I added another 97 subs to this shot from a session I did last December. Here is how that turned out:

For my wide monitor, I created this composite/combined image with the data above, a set of 50×8 sec subs and 14×180 sec ISO 1600 subs from a modified Canon DSLR:
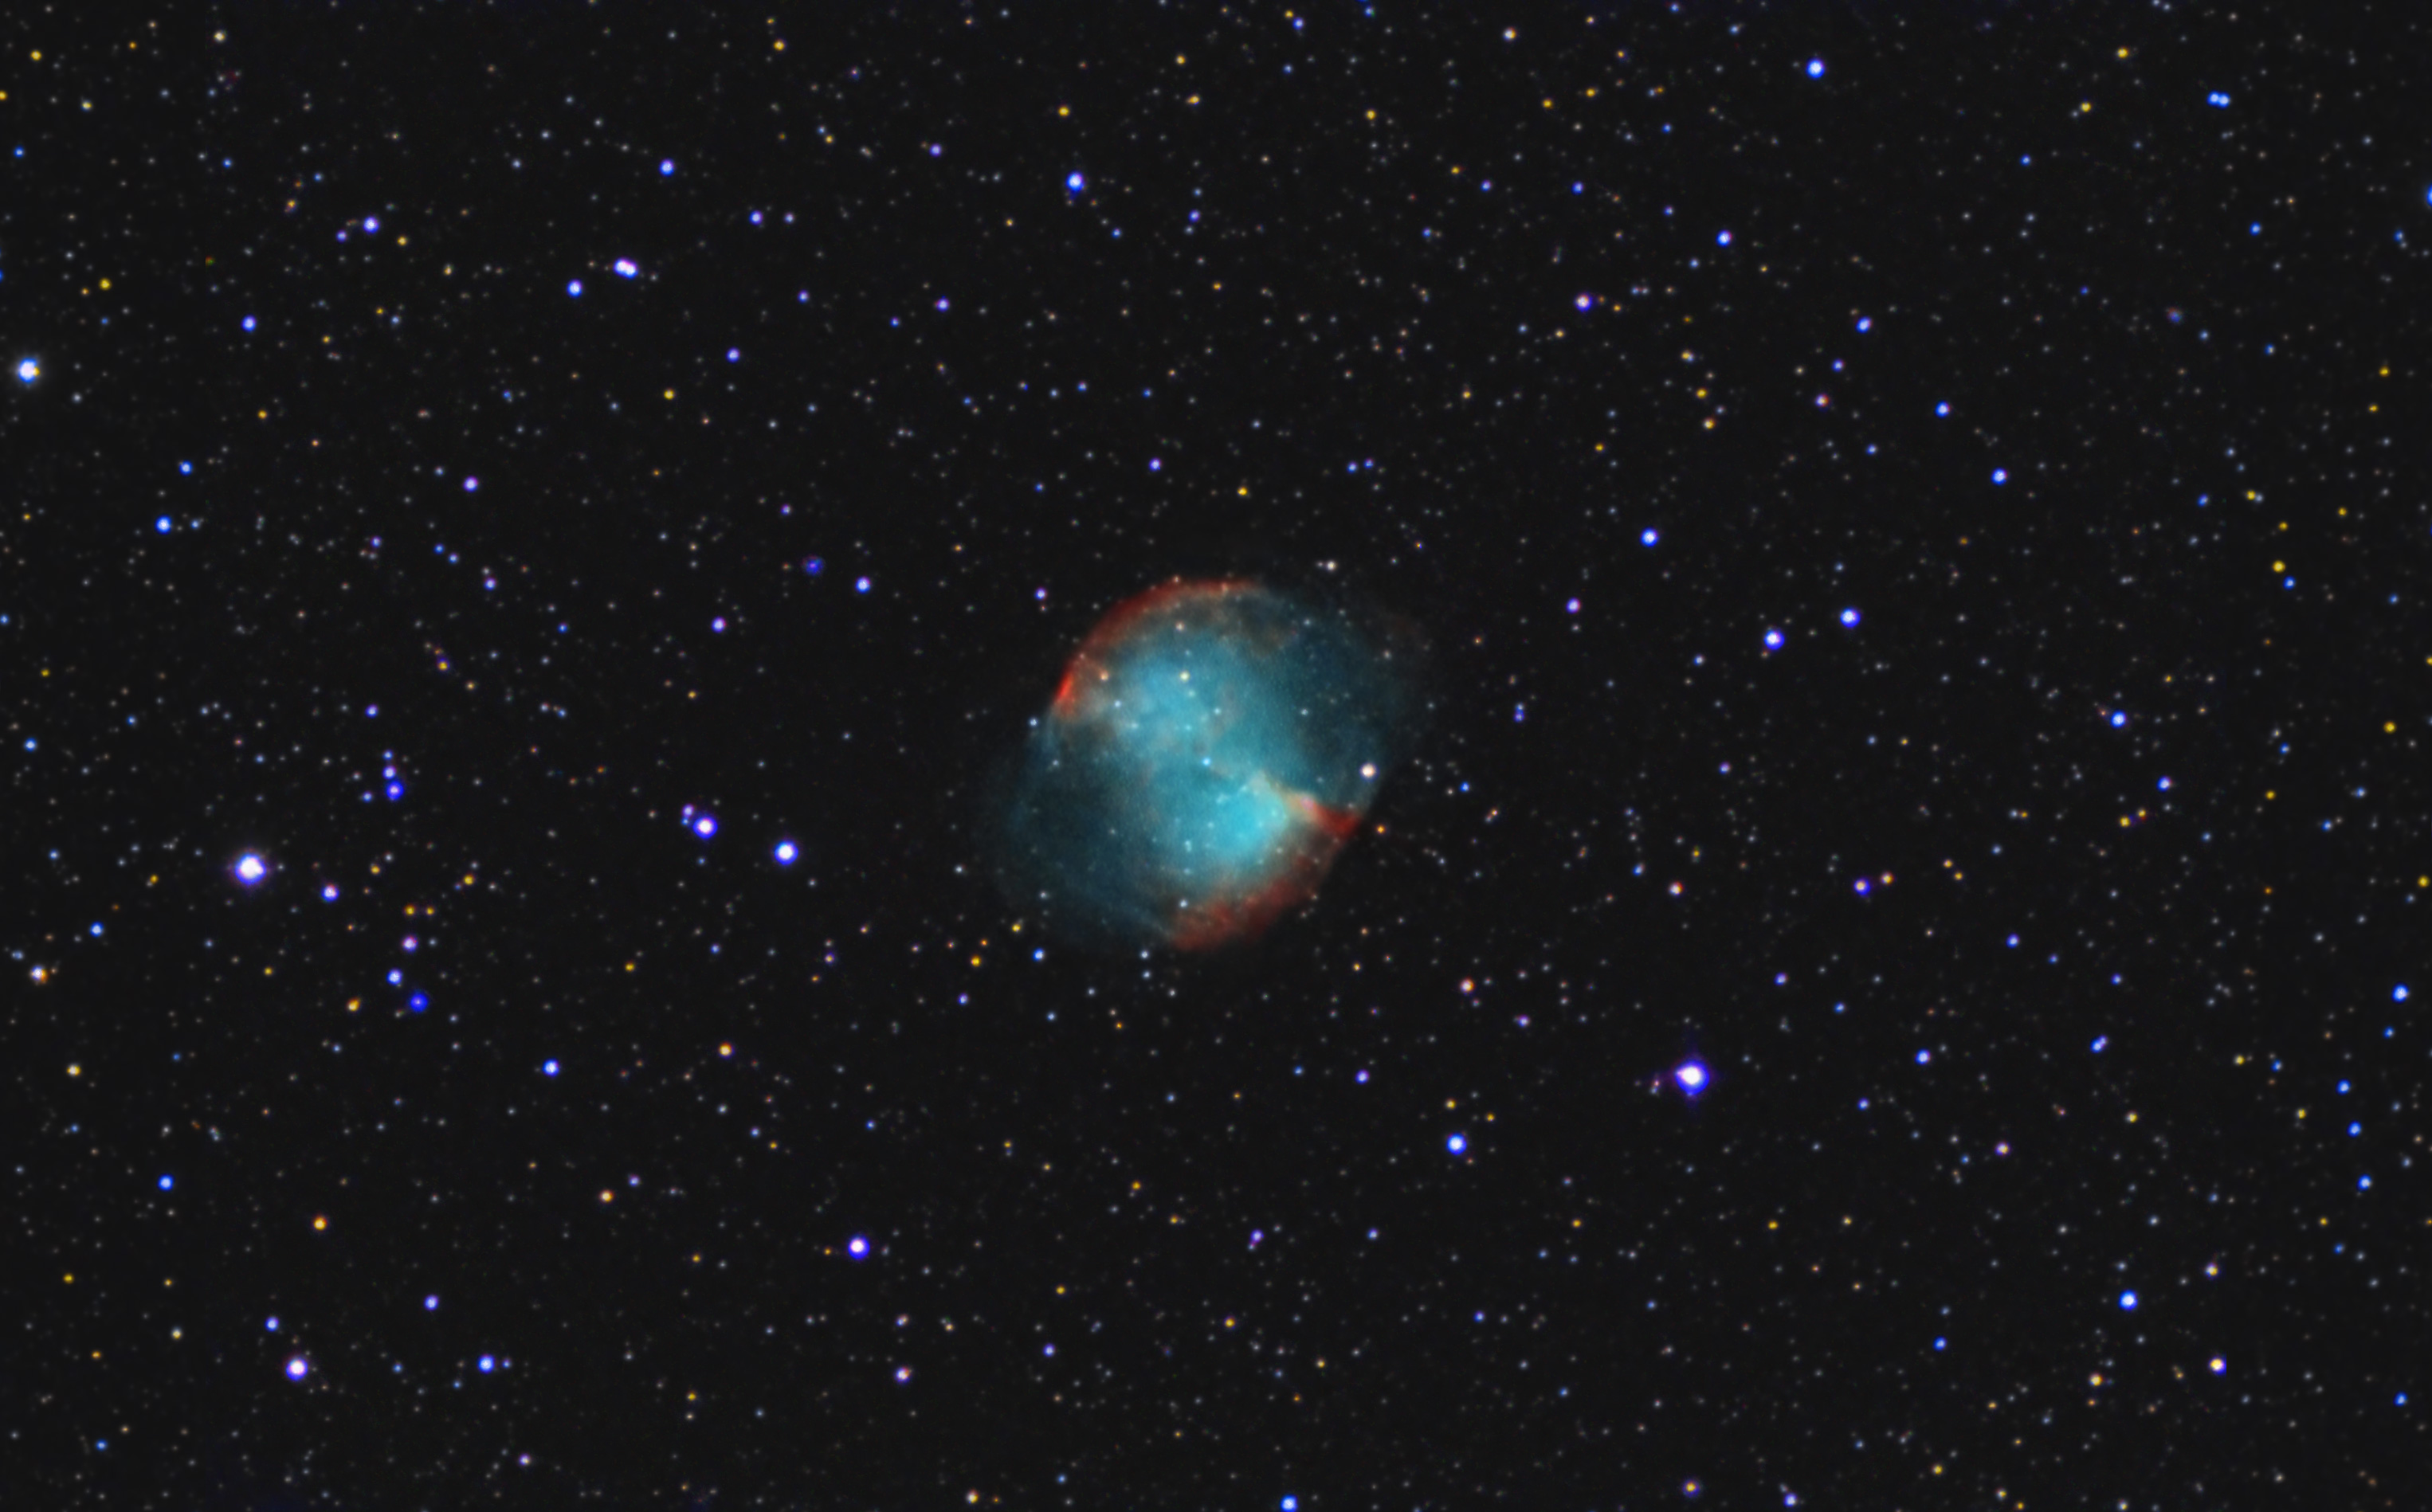
I like this one the best. 🙂
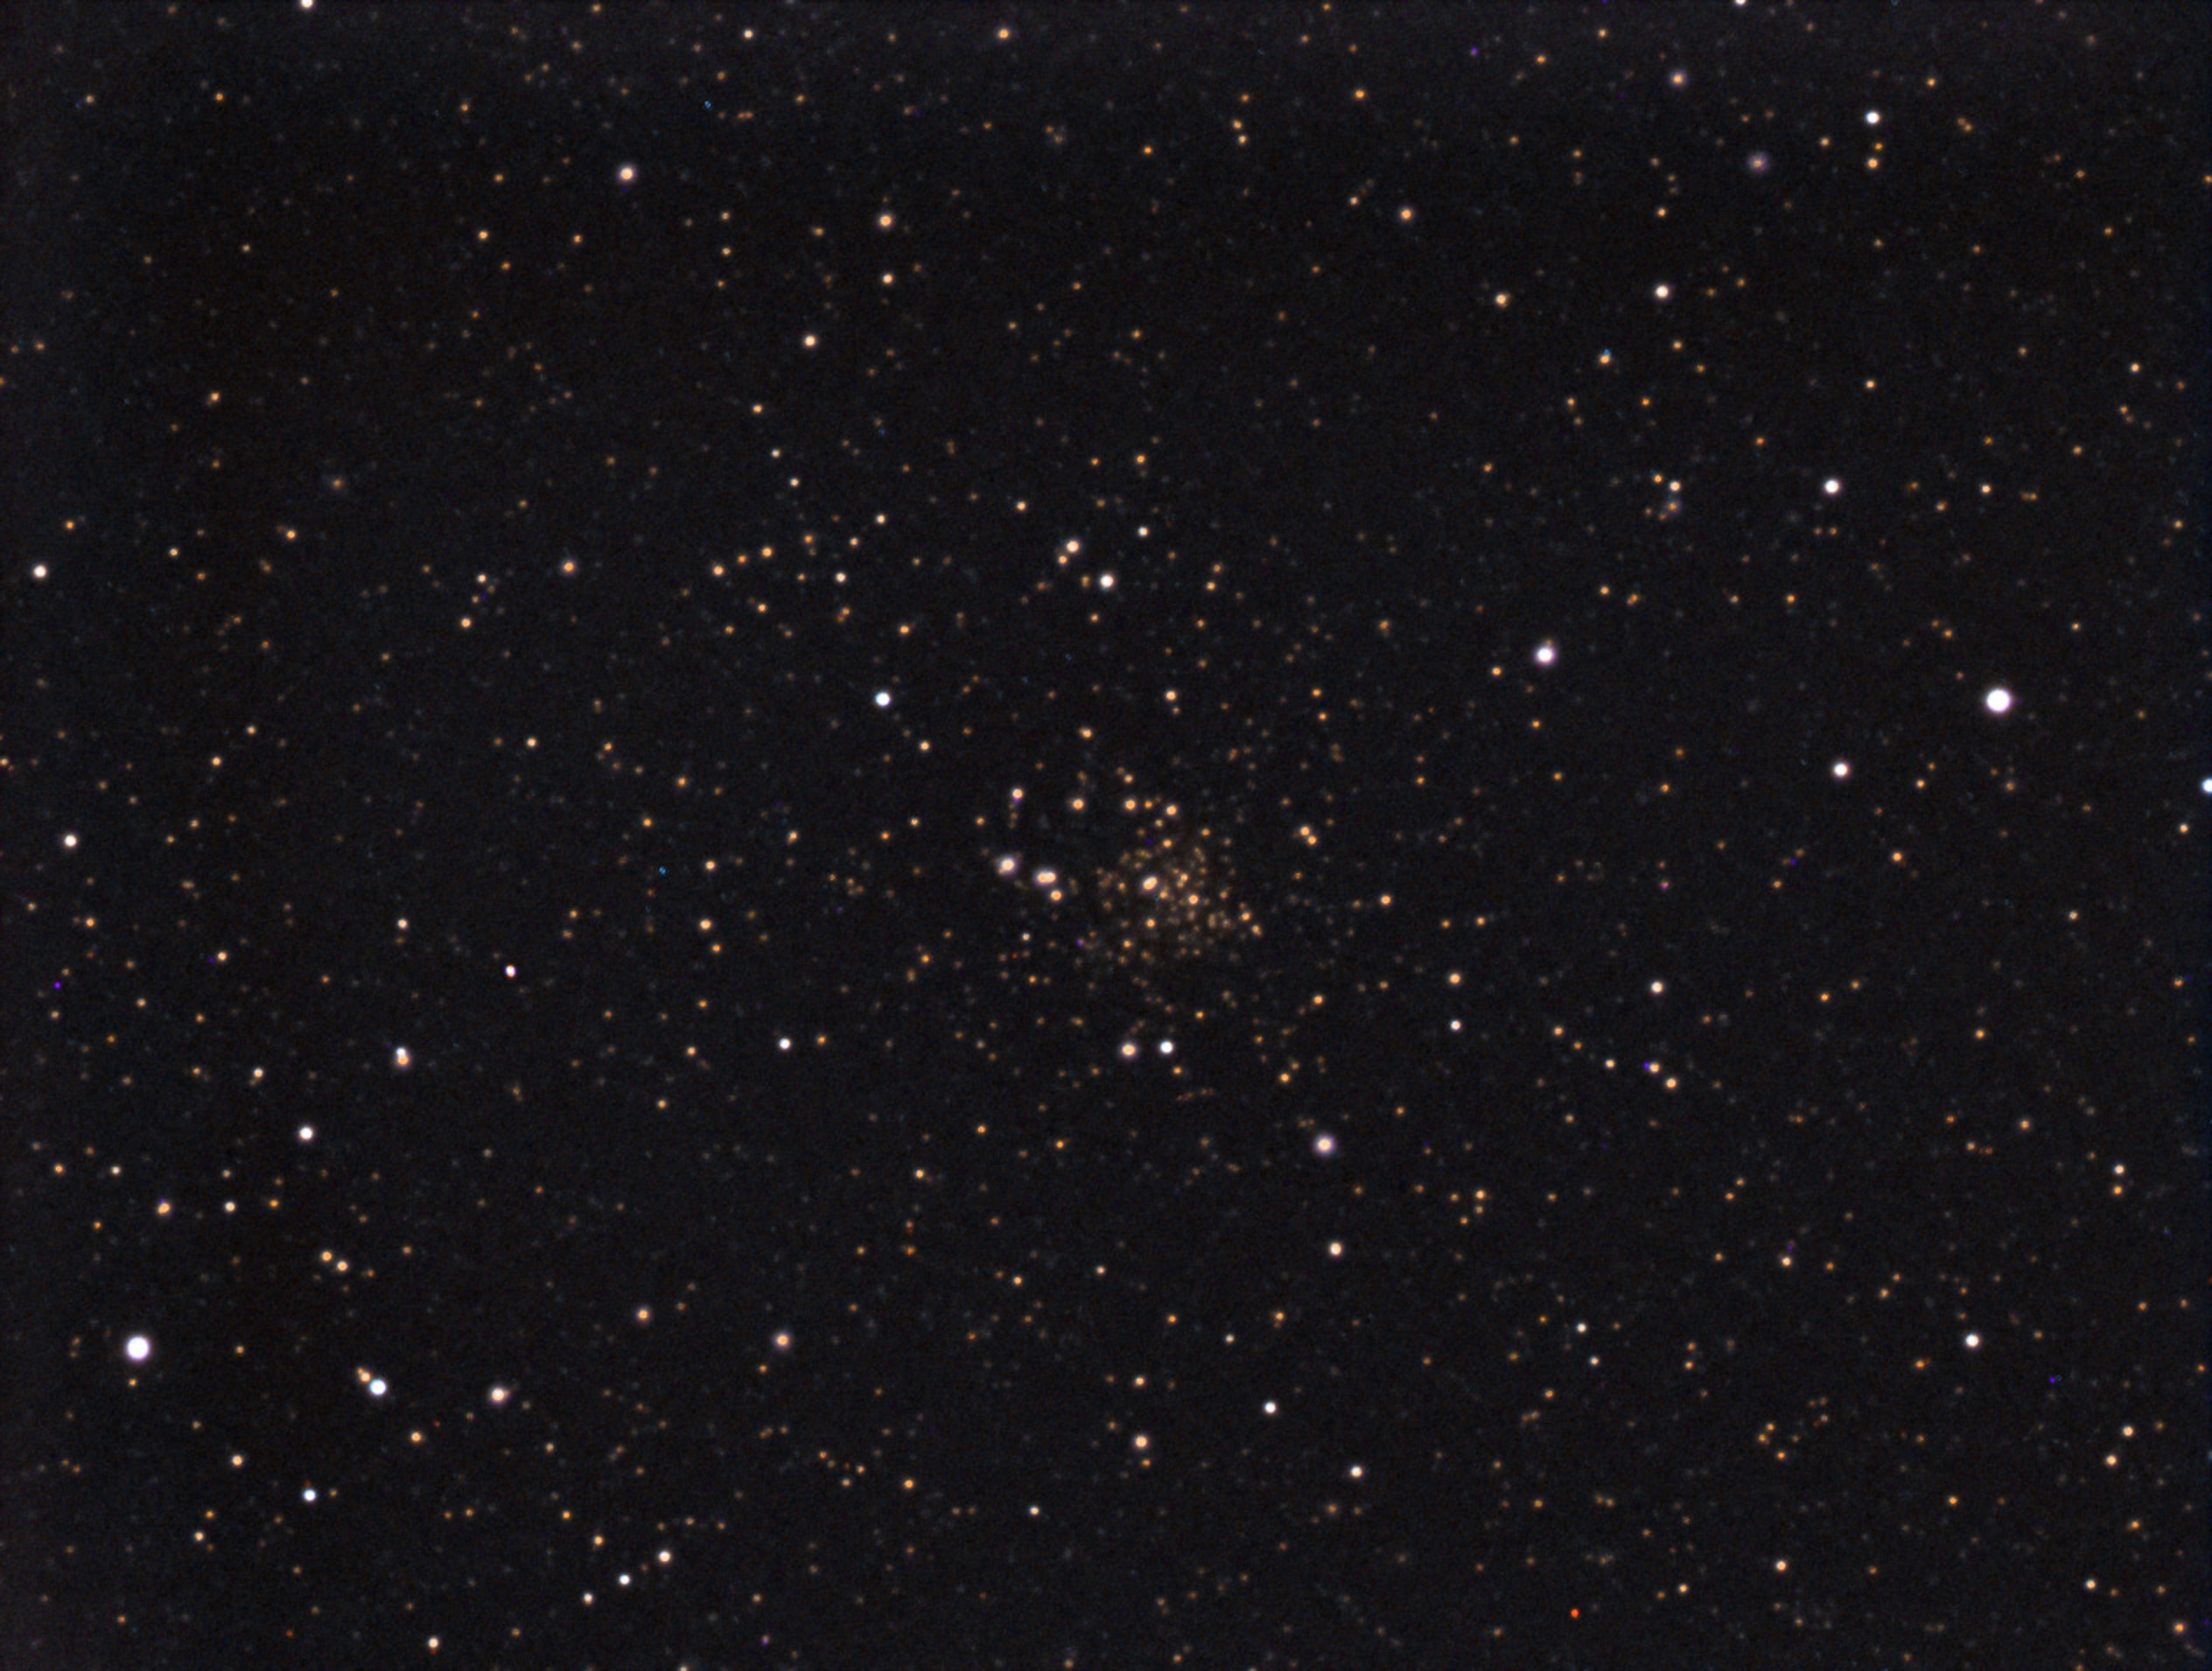
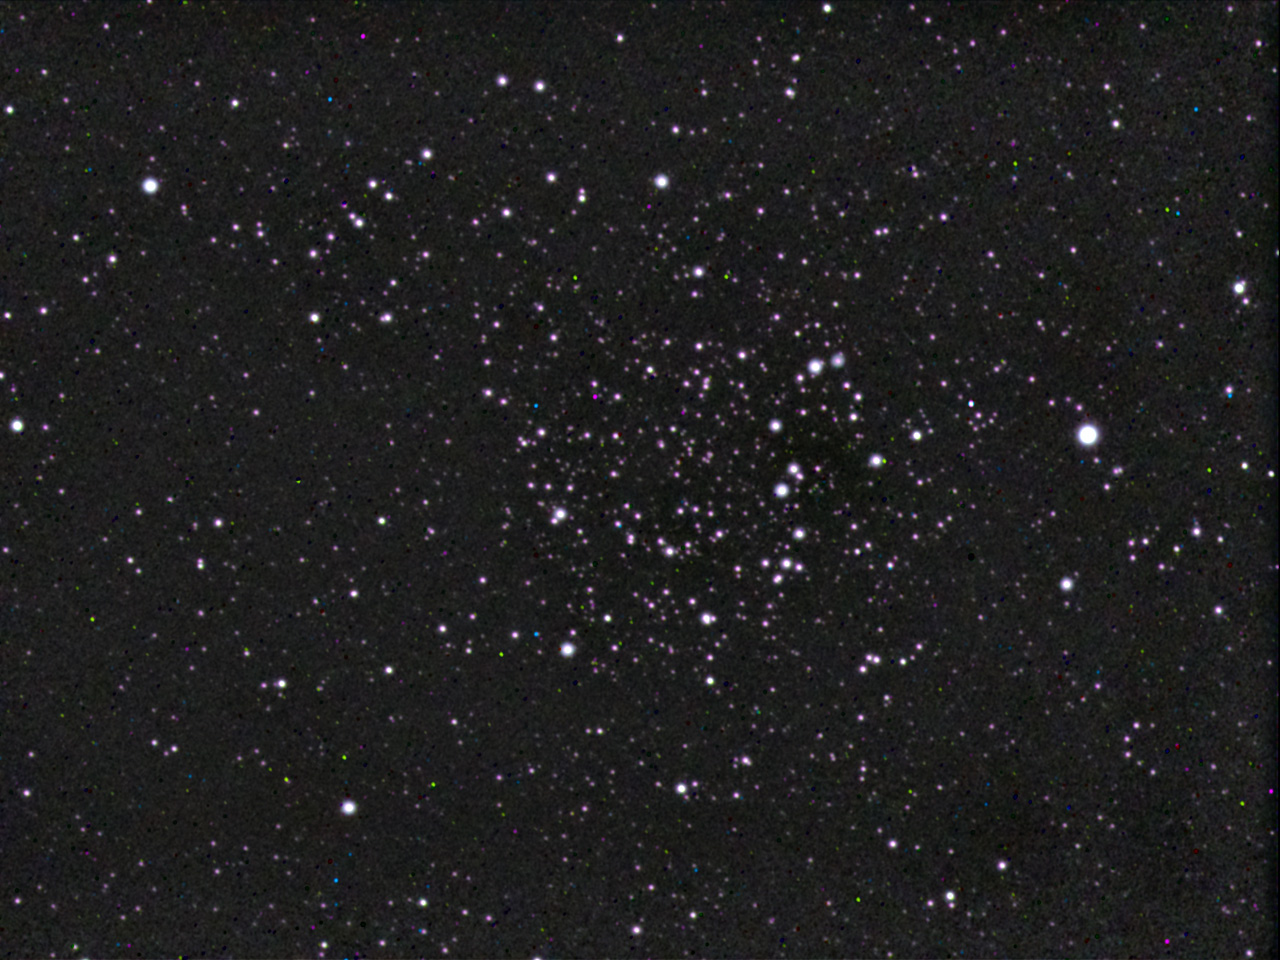
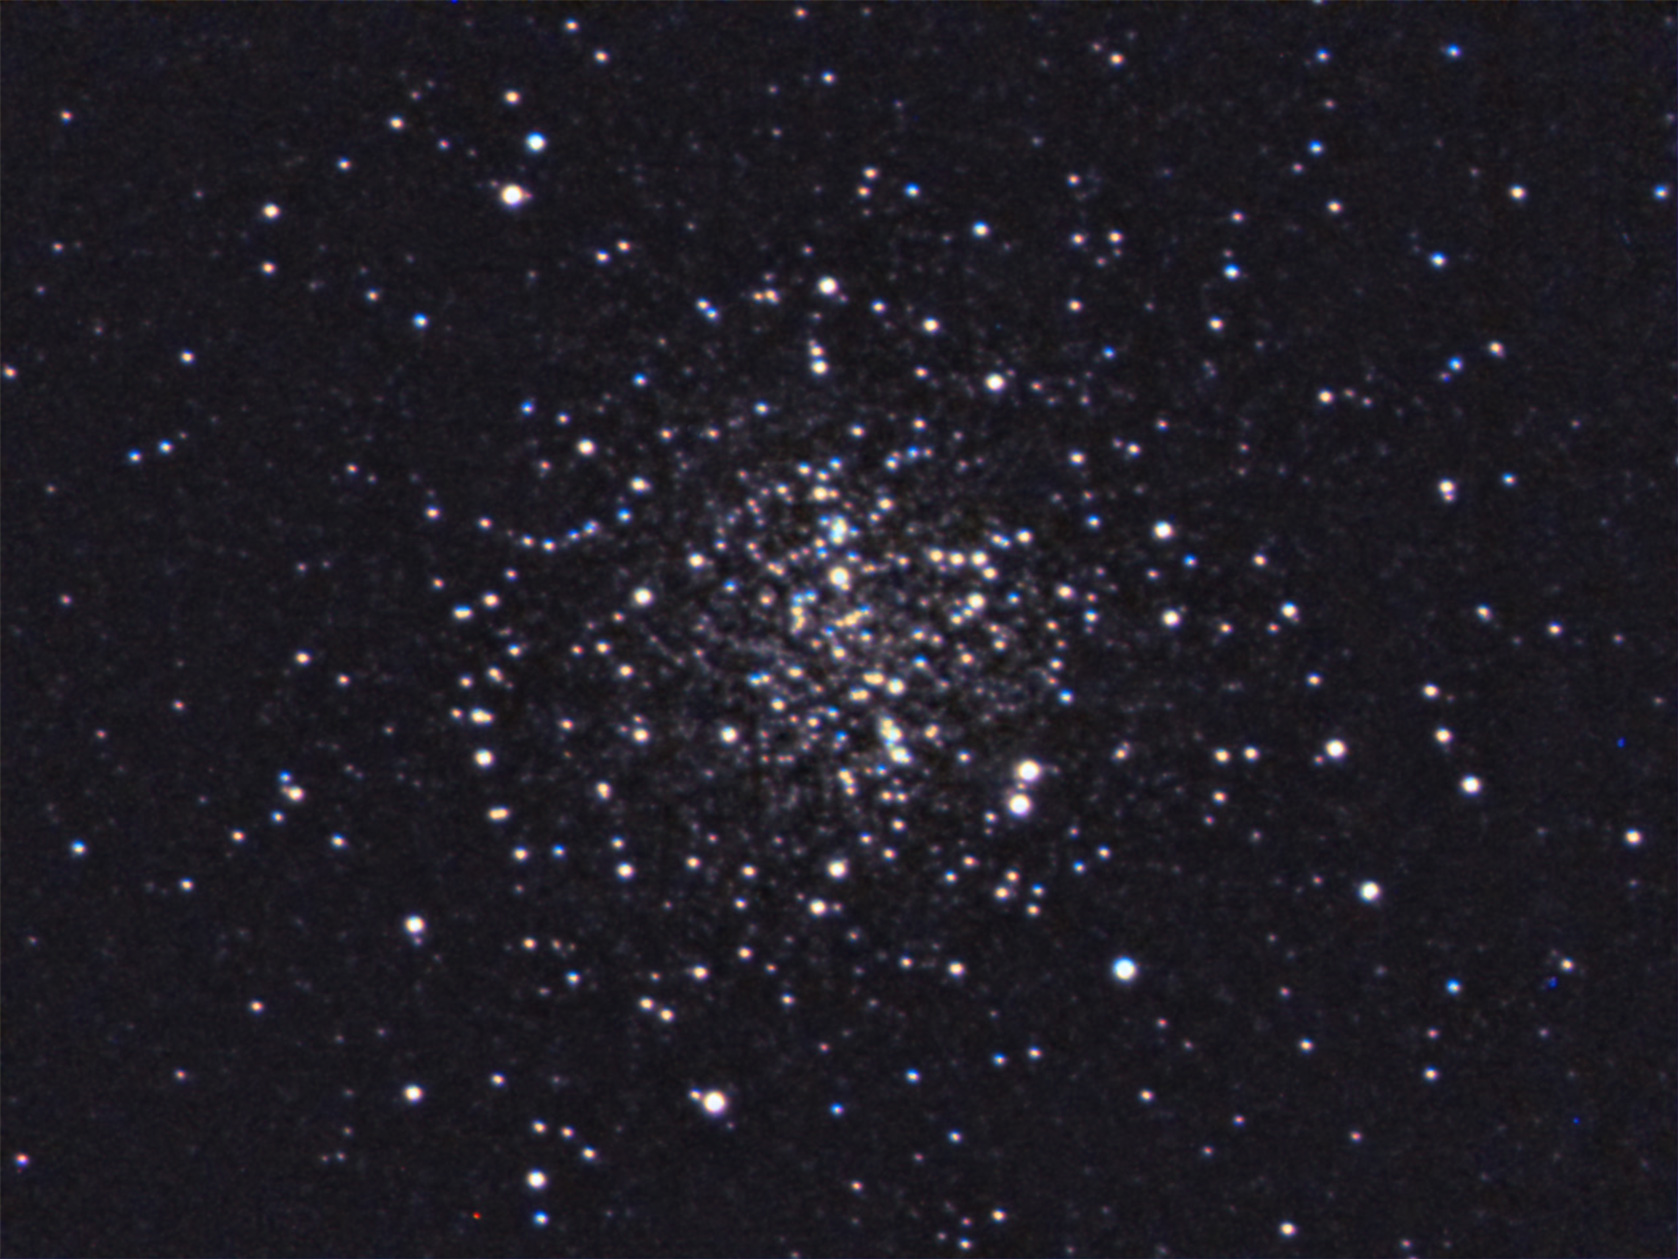
Right under the Dumbbell Nebula is is M71, a tight open cluster that looks like an arrowhead. It has the tightly packed appearance of a globular, but it is not. This is 10 minutes worth of exposure in 8 sec sub-images.
The image below is a shot with about 16 minutes of exposure (119 x 8 sec.) I caught a few more background stars, I think.

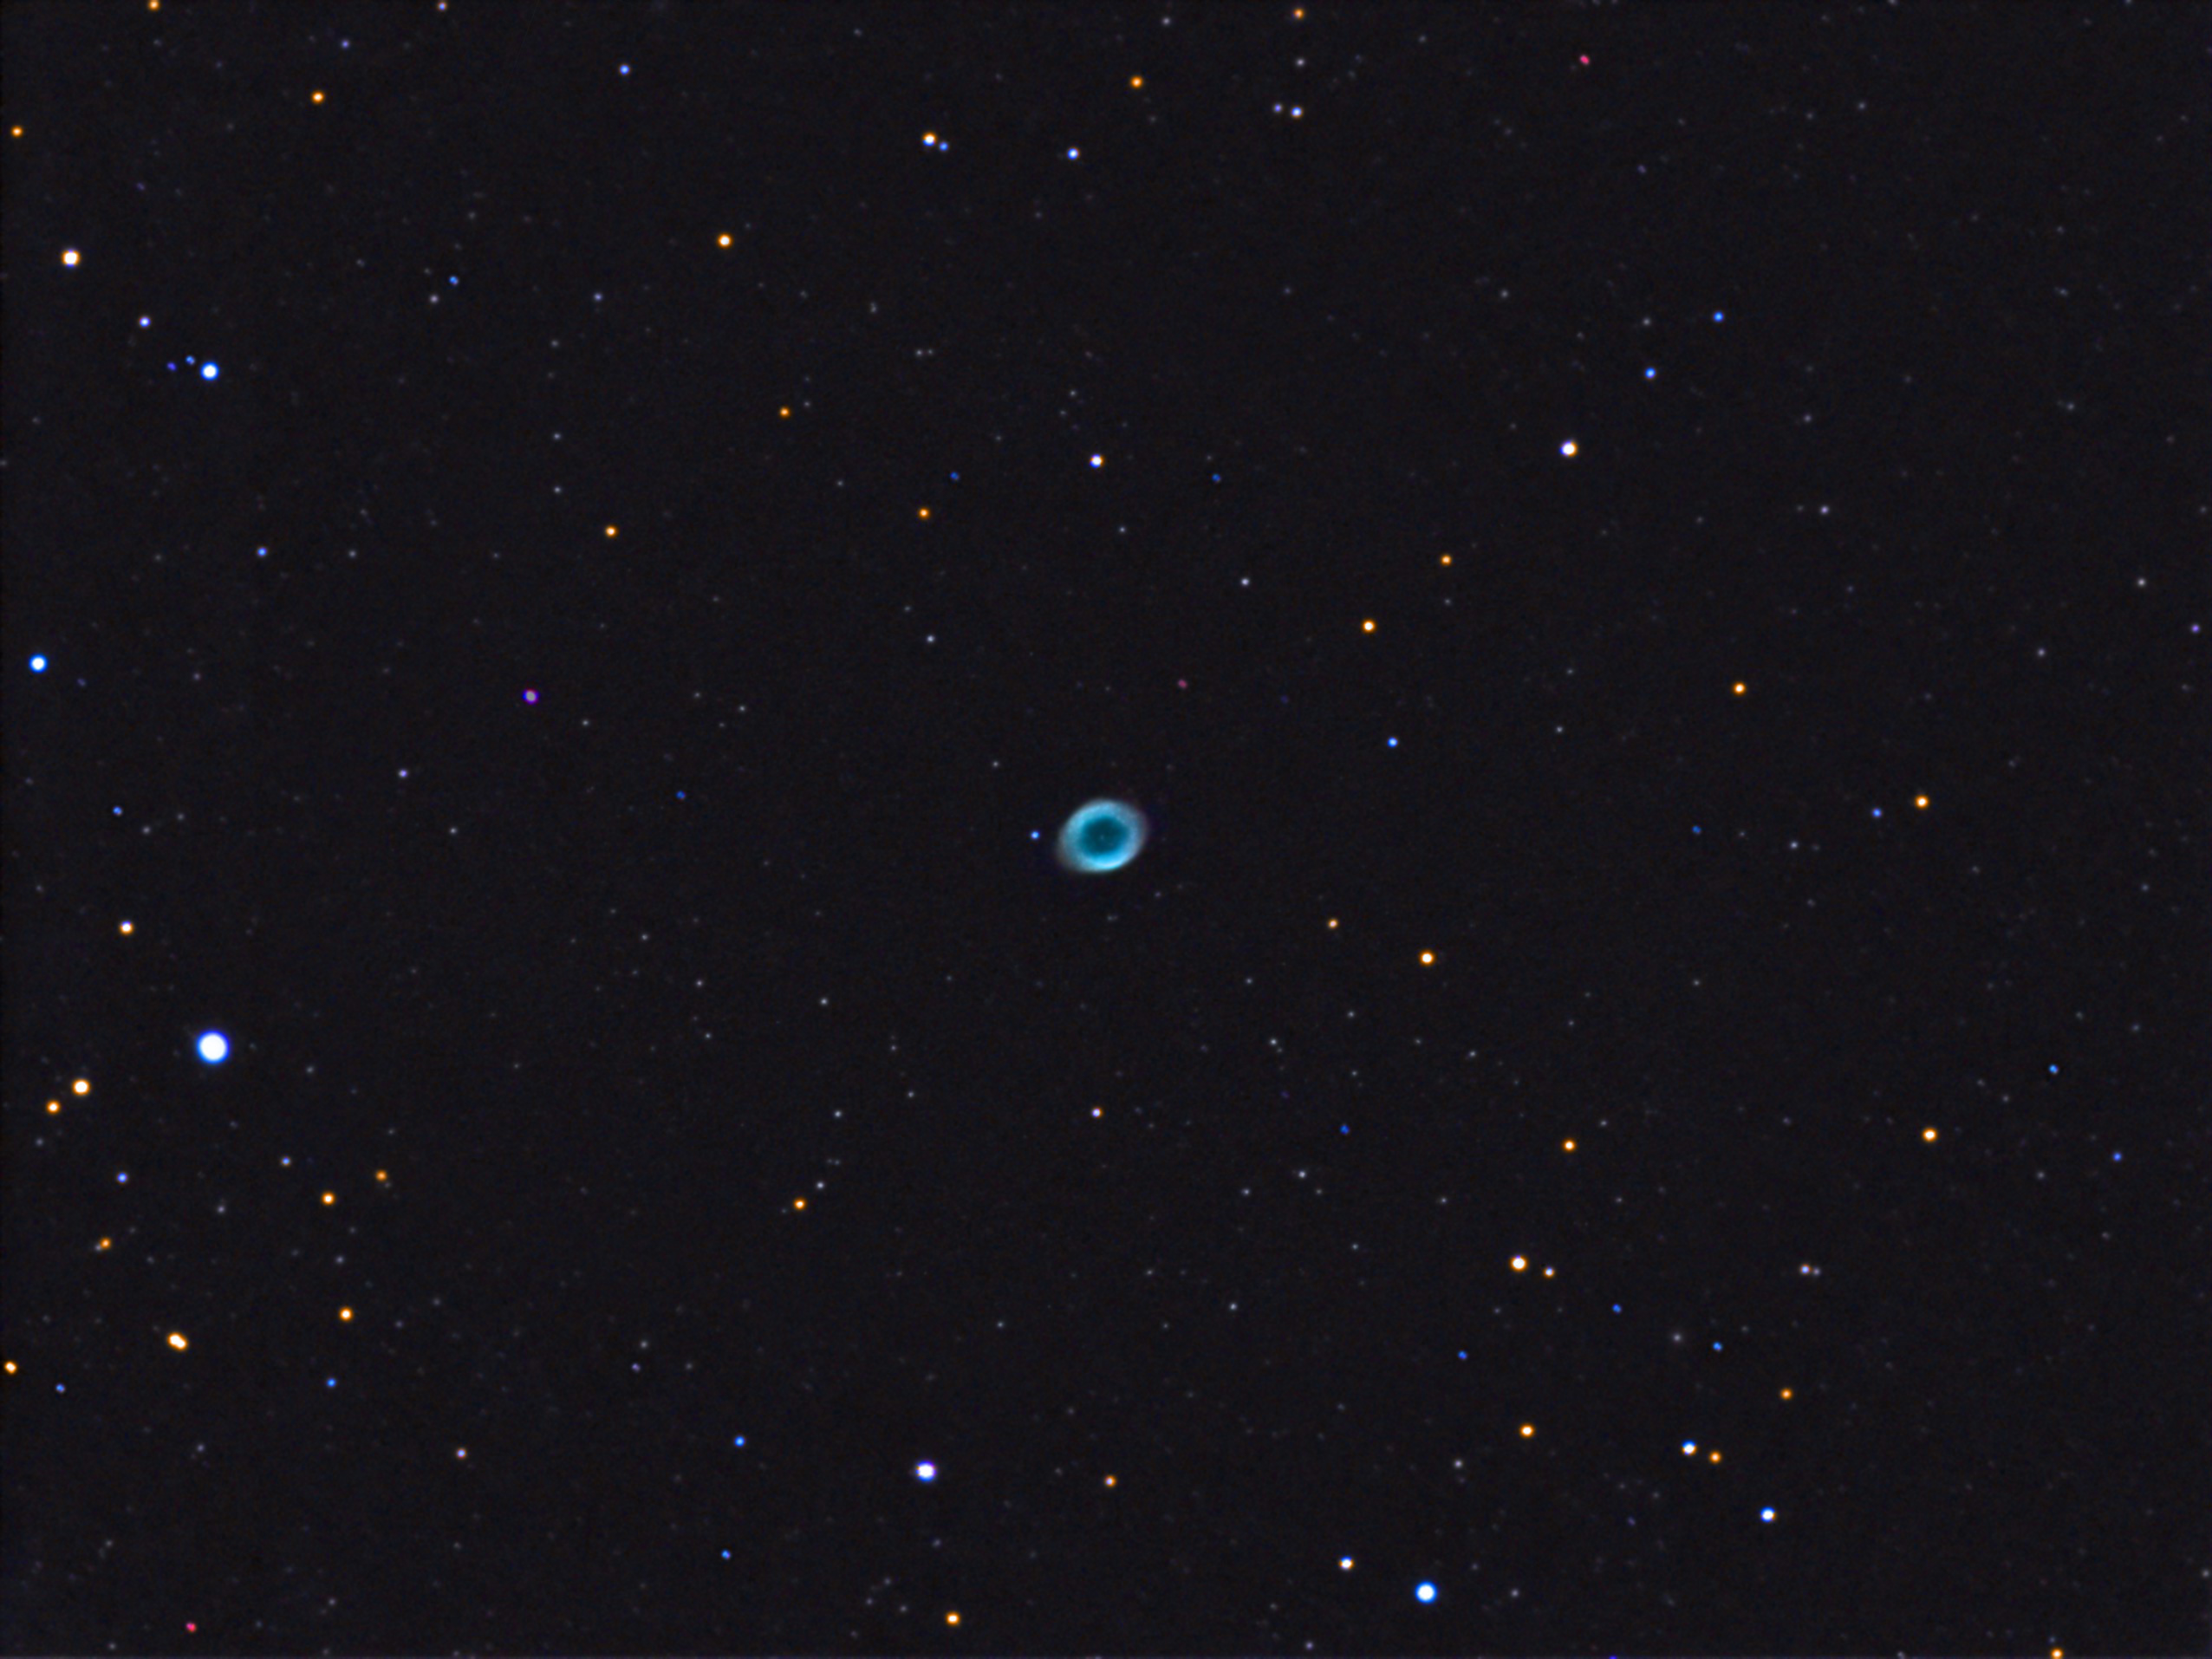
I shot this once before with this camera, but I think this one came out better. Sharpcap 2.9 was used for acquisition. Clouds came and went throughout the night, but I had fun viewing lots of other objects in between them.
On this night, after dusting off all the equipment and finding out what still worked and updating my laptop the night before, I decided to play around with a new version of ToupSky I just installed while updating all the hardware drivers and astro software I use.
The version date was Oct 11, 2018, the same day I downloaded and installed it. They’ve included lots more with this version than they did previously. ToupSky still lacks 16-bit support for most file formats, however, which is why I still use SharpCap 2.9.
Dark subtraction and flat field correction is now in the public release as well as a number of other bonuses. Before, you would get these features only with software included with a camera from various companies who resell the ToupTech cameras (like RisingSky.)
Anyway, this image was created with various Live Stack images I did while testing this new ToupSky version. It is good for beginners, but the lack of 16-bit support for TIFF and other formats that can do 16-bit really degrades from the usefulness of the package for serious imaging.

First appreciable cold front with clear skies came through, finally. I managed to get some scope time to do a shake-down imaging session to test equipment. This was on the night of Oct 11, 2018 and I was shooting from a Bortle Red zone in the city. I shot a few things playing around and these were the best three pictures of the bunch. Not the prettiest astro images , but at least I got to see what stuff still works and what did not after not imaging since March 2018.
My USB hub and some cables probably need replacing. The hub has seen better days. There is lots of corrosion inside the connectors. These connection problems precipitated other problems with the laptop and my EQMOD settings got trashed. I had to delete the AppData/Roaming/EQMOD folder to fix it. That required me to redo all the location settings, guide speeds, etc. Could have been worse, I guess.
I managed to update drivers and the astro-related software on the laptop, which was a good thing. My Toupcam IM224 had a batch of new drivers released the very same day as the imaging session. I could not have timed it better. lol
Oh, and my dew strap for the TV-85 was not working, either. The wire broke inside the strip, so I just tossed it. Oh, well. Luckily, it was so dry this night I did not have to worry about any dew.
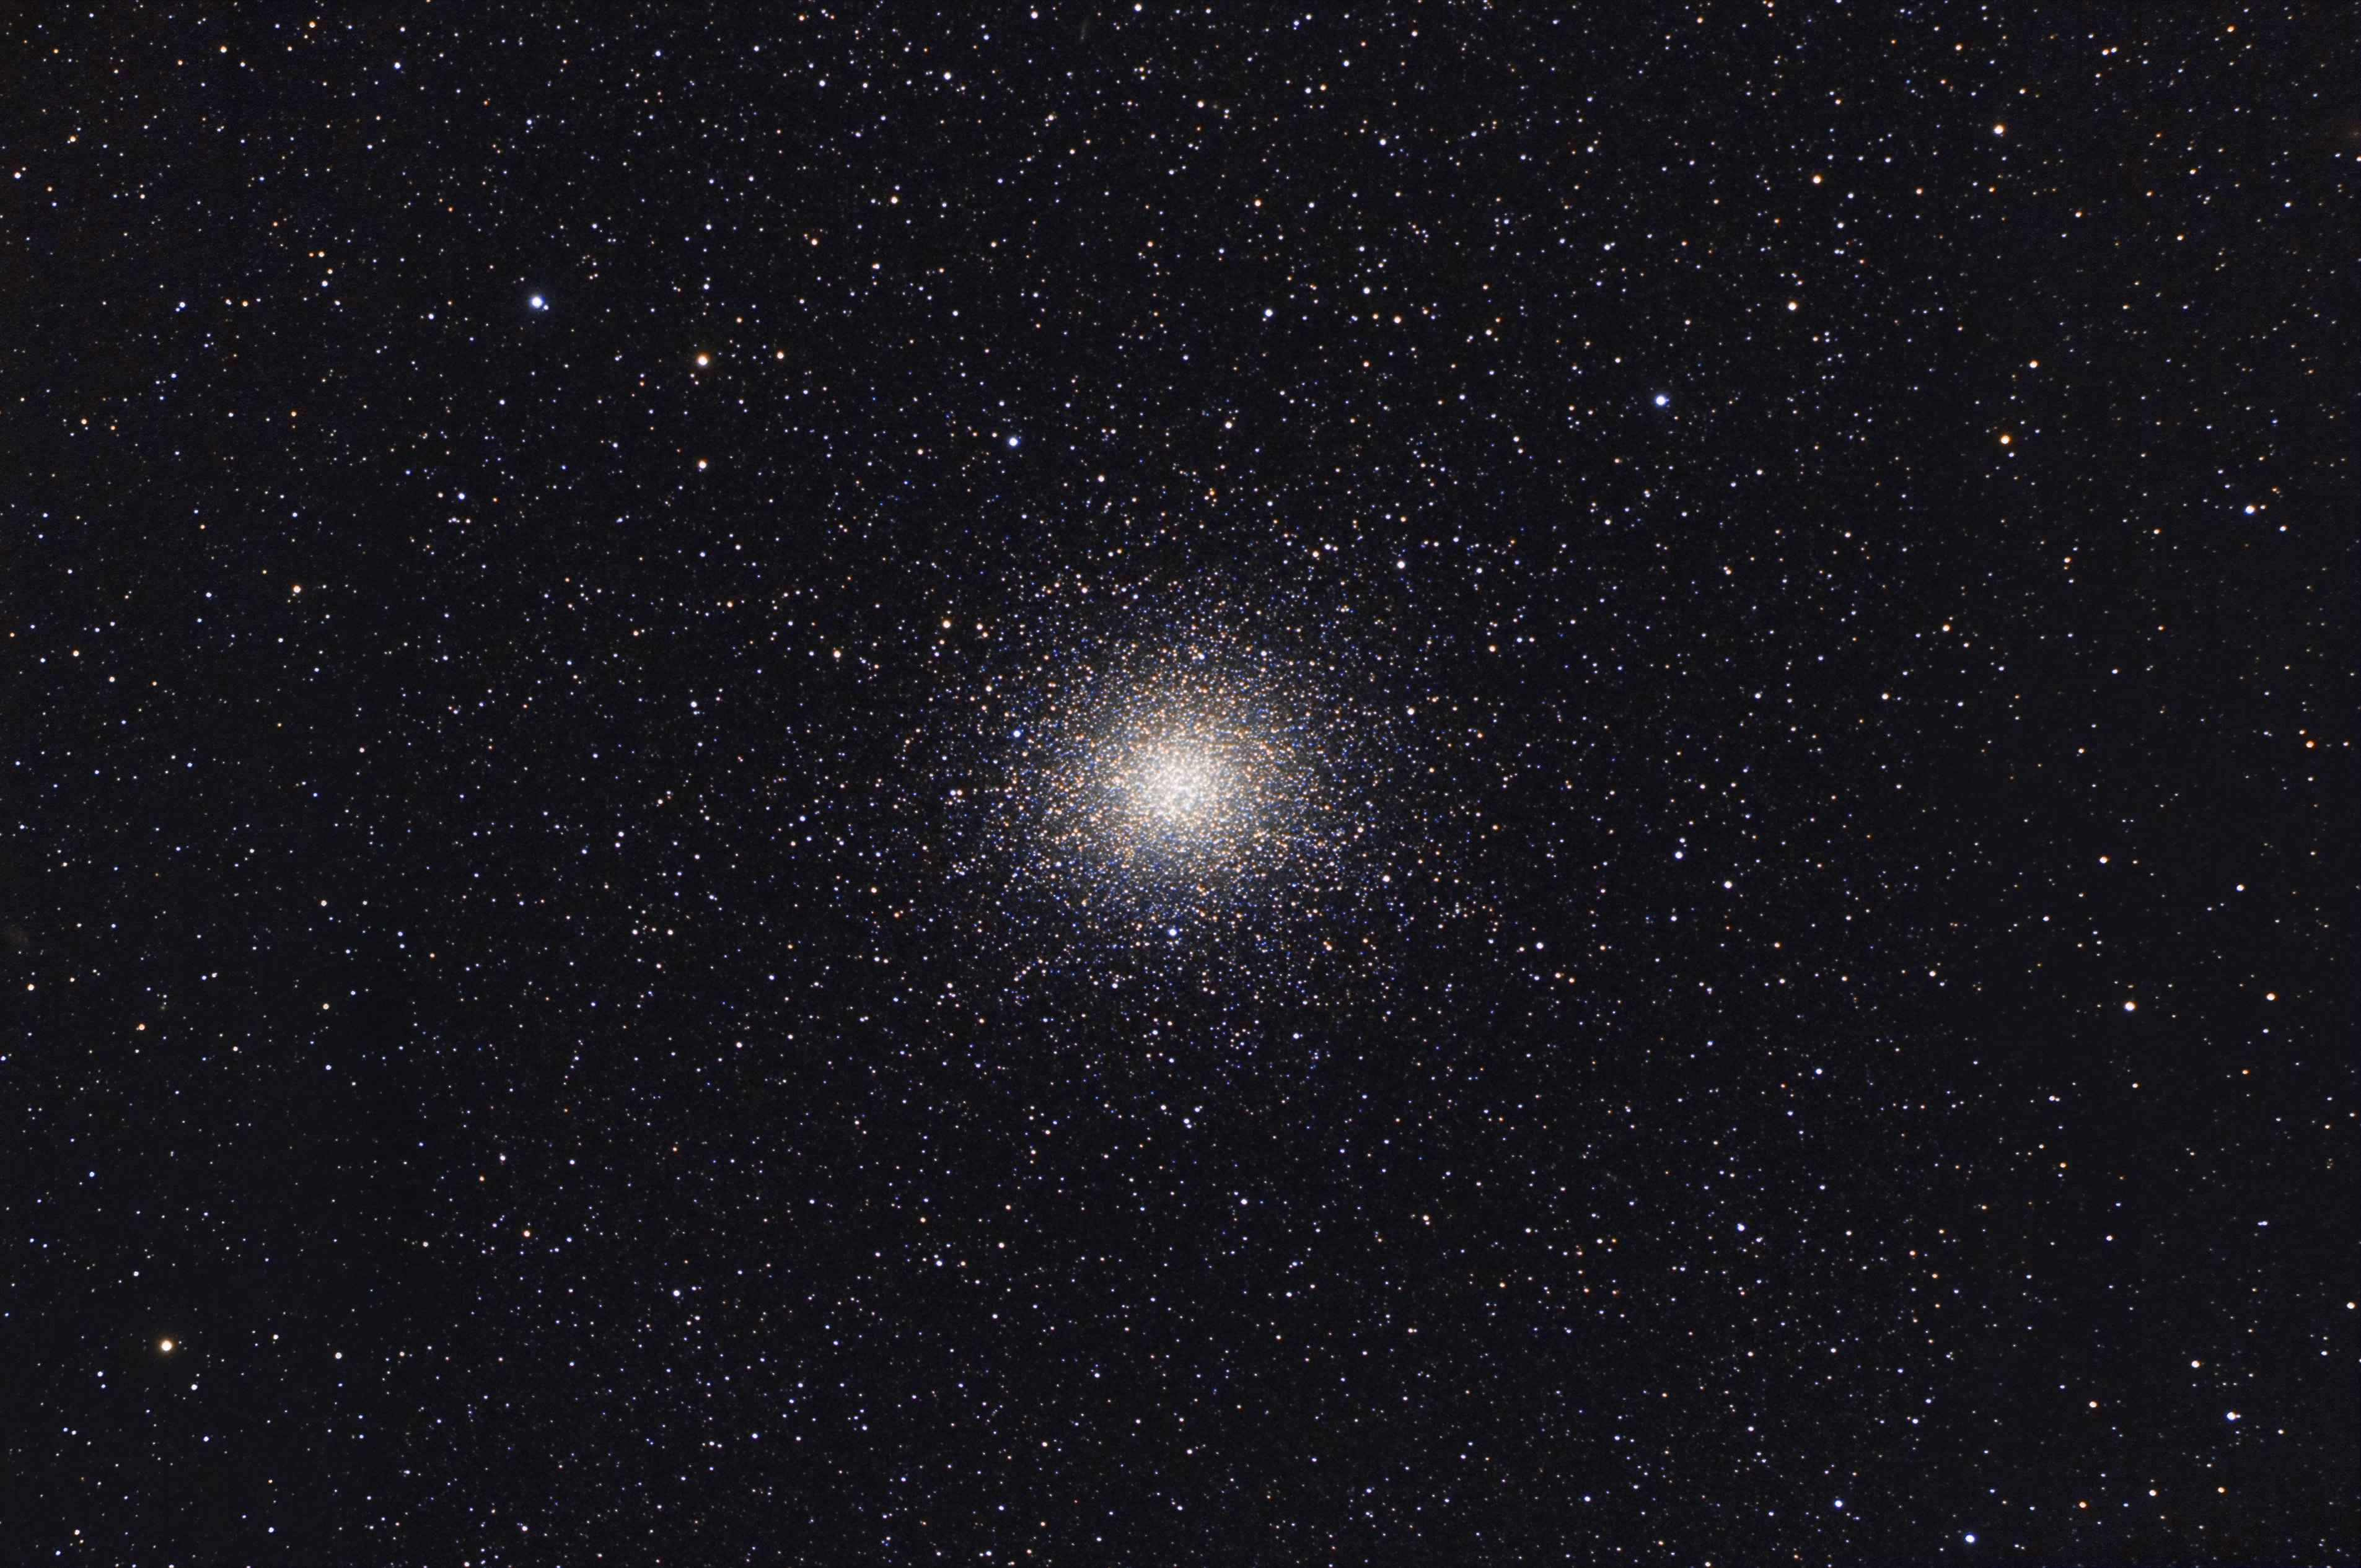
My last two sessions of Omega Centauri were combined and reworked into one image and here are the results. Both sets were taken with my TV-85. One set was taken from a dark sky site and the other was taken from an LP polluted site during moonlight.
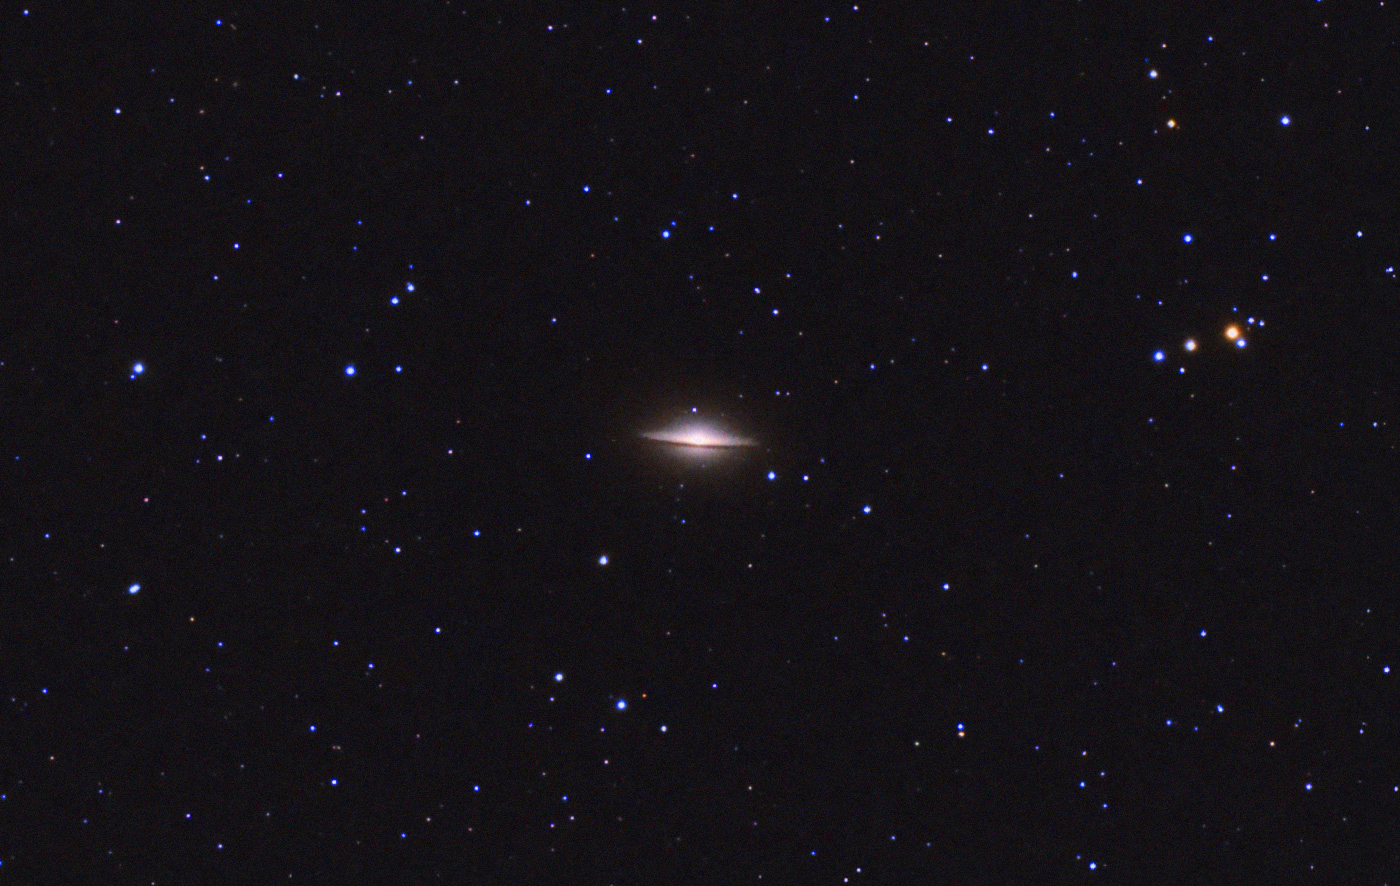
One of my favorite galaxies. I like all edge-on galaxies and this one has a uniqueness to it that makes it special. The original had a splotchy background and the color was muted and dull. I increased saturation and shifted the color balance to be more bluish. I used the add noise PS filters to get the background to look smoother.

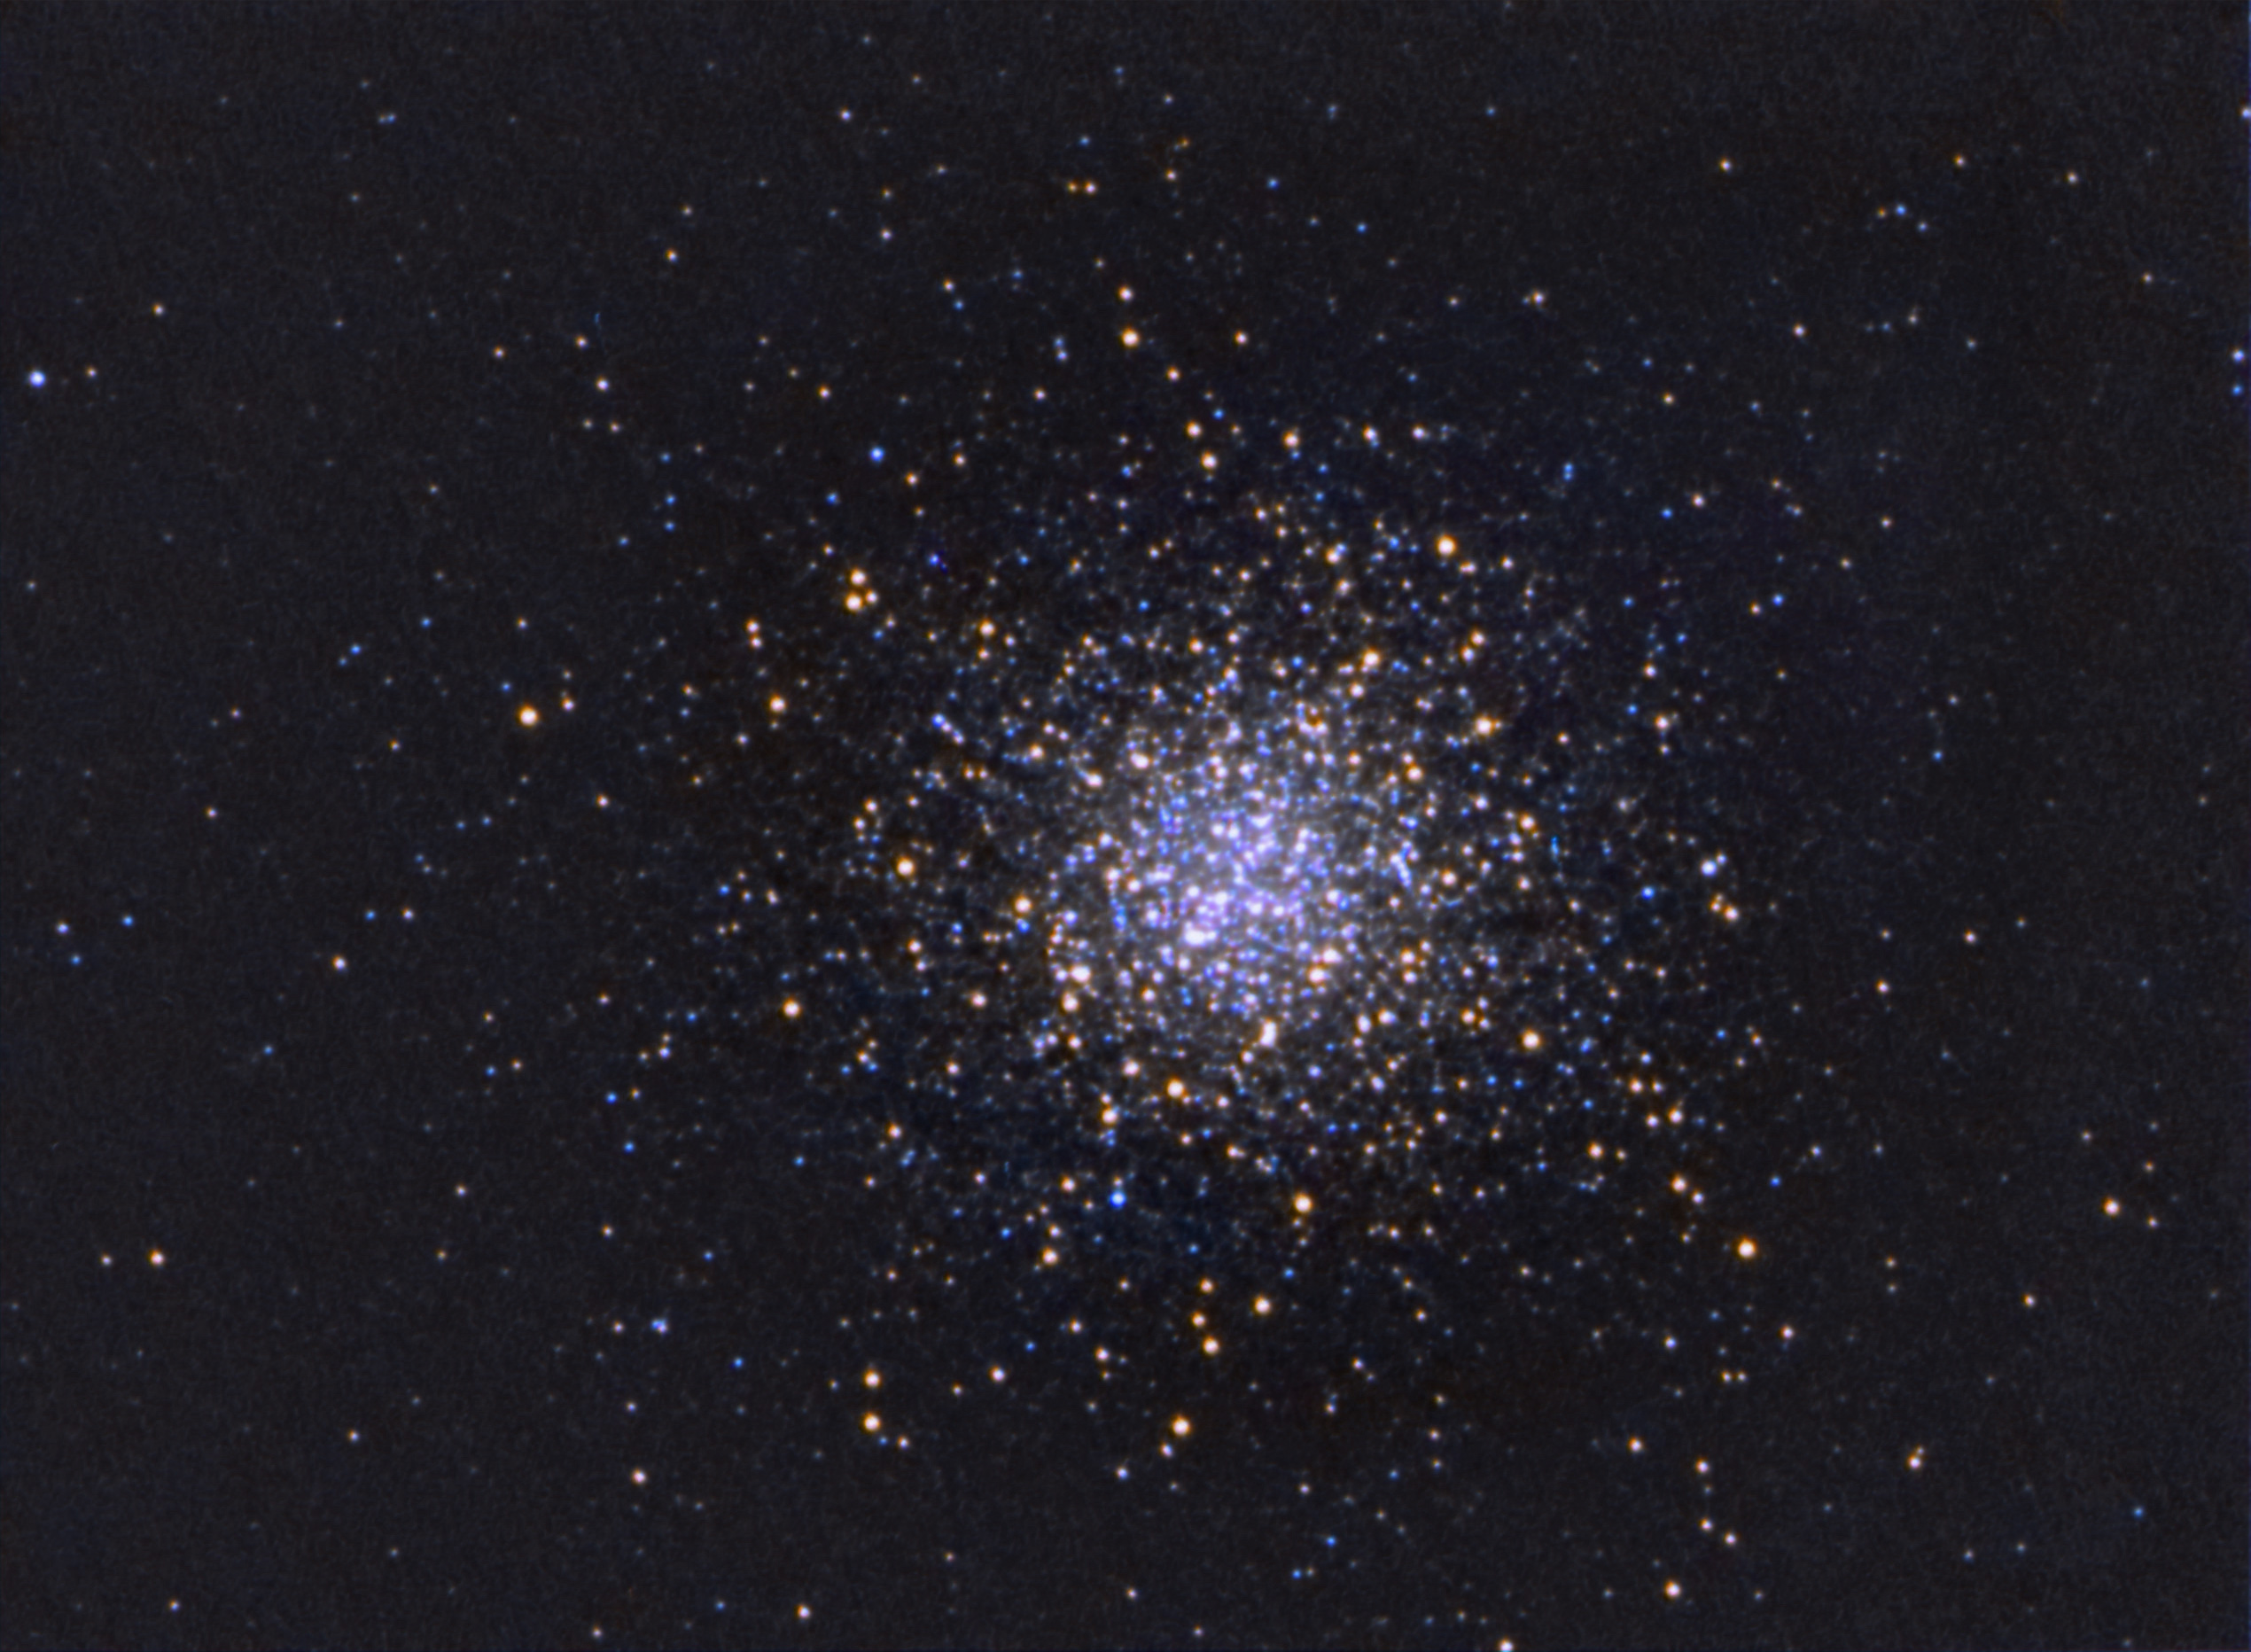
Here are two globular clusters, M13 and M4, that I took with an Orion 6 inch F/8 newt and a Rising Tech Sony IMX224 eyepiece cam.
I reworked the first M13 image and tried for better color. Here’s what I got:
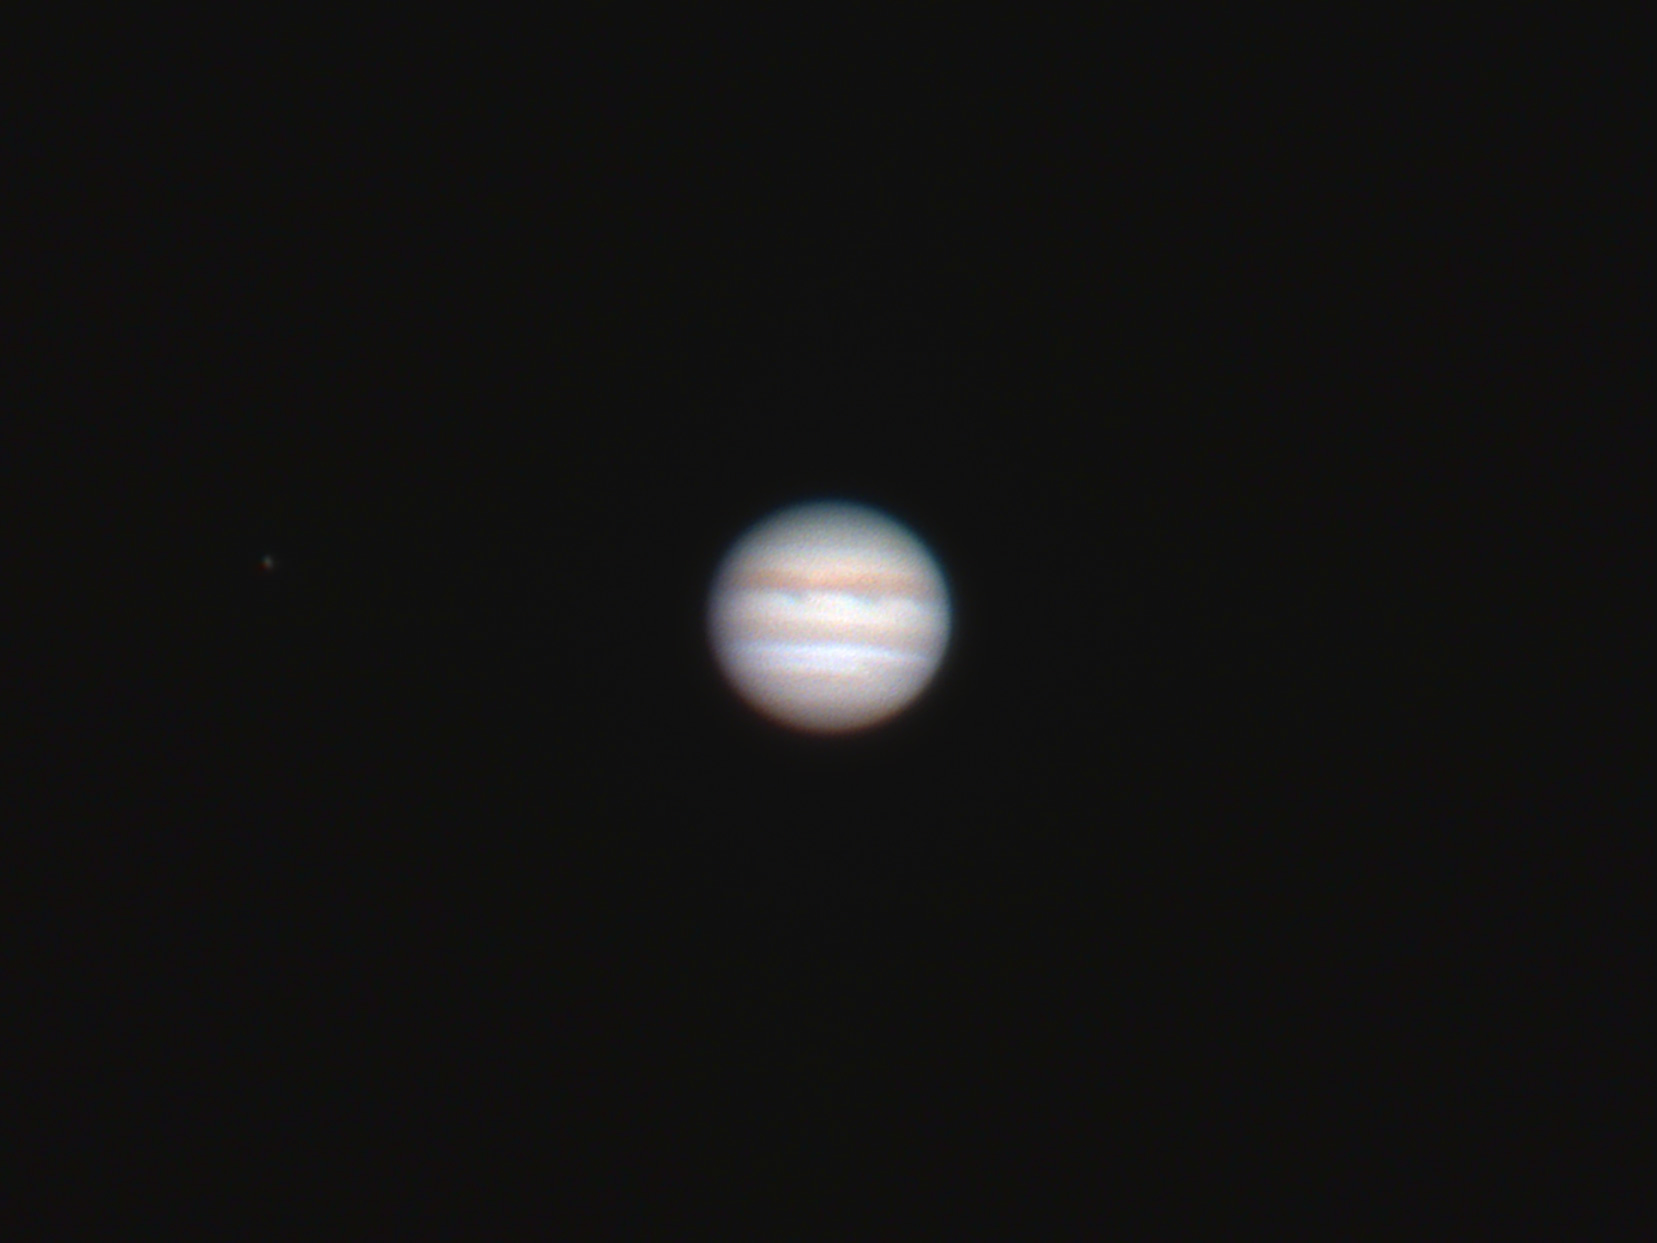
An image of Jupiter, finally! Its been ages since I shot it with a high-res setup. The 6 inch, F/8 Newt I used was barely up to the task, but it did produce a usable image. Seeing was poor, but otherwise it was a beautiful morning with beautiful and very transparent skies.