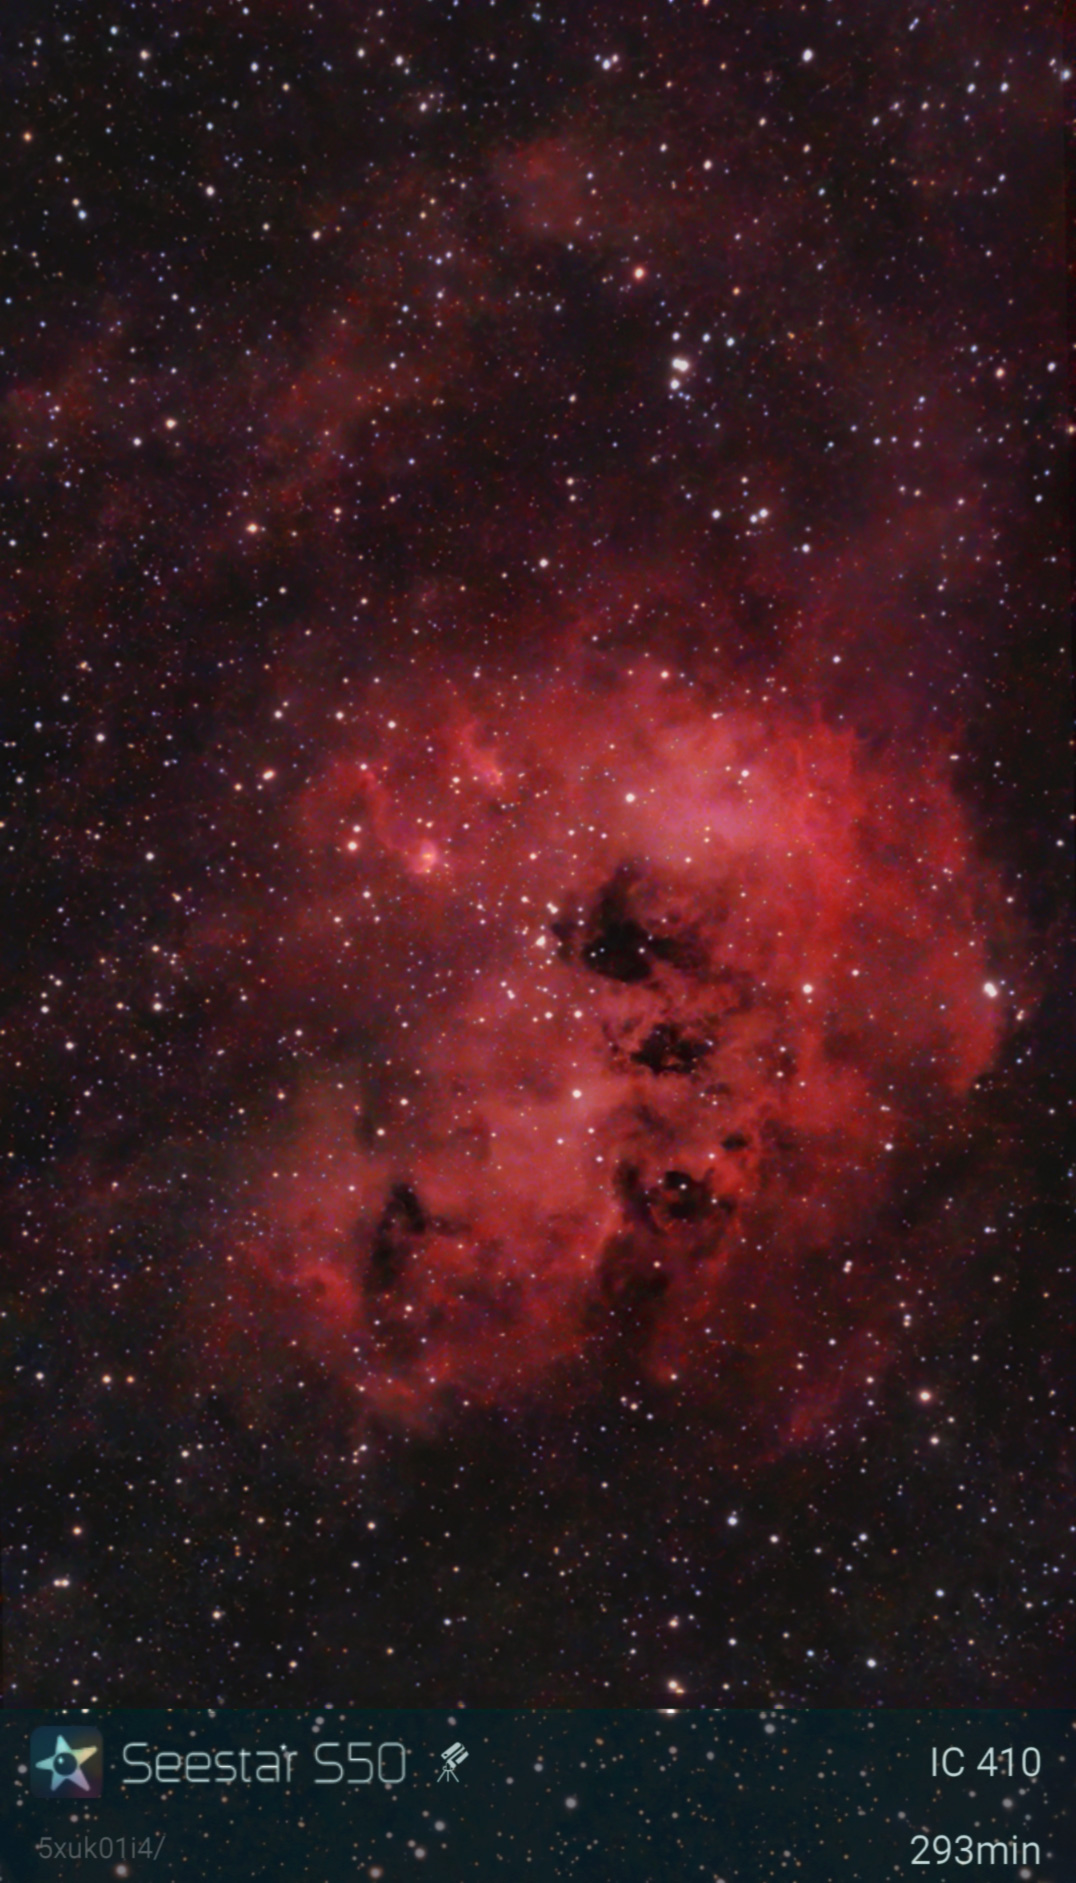
Feb 22nd, 2026 was a pretty decent night, but I was a little too worn down to travel , so I stayed in the city and tried some nebula and star cluster shots to see how well this new camera on the S30 Pro behaves with clear skies, but heavy light pollution.
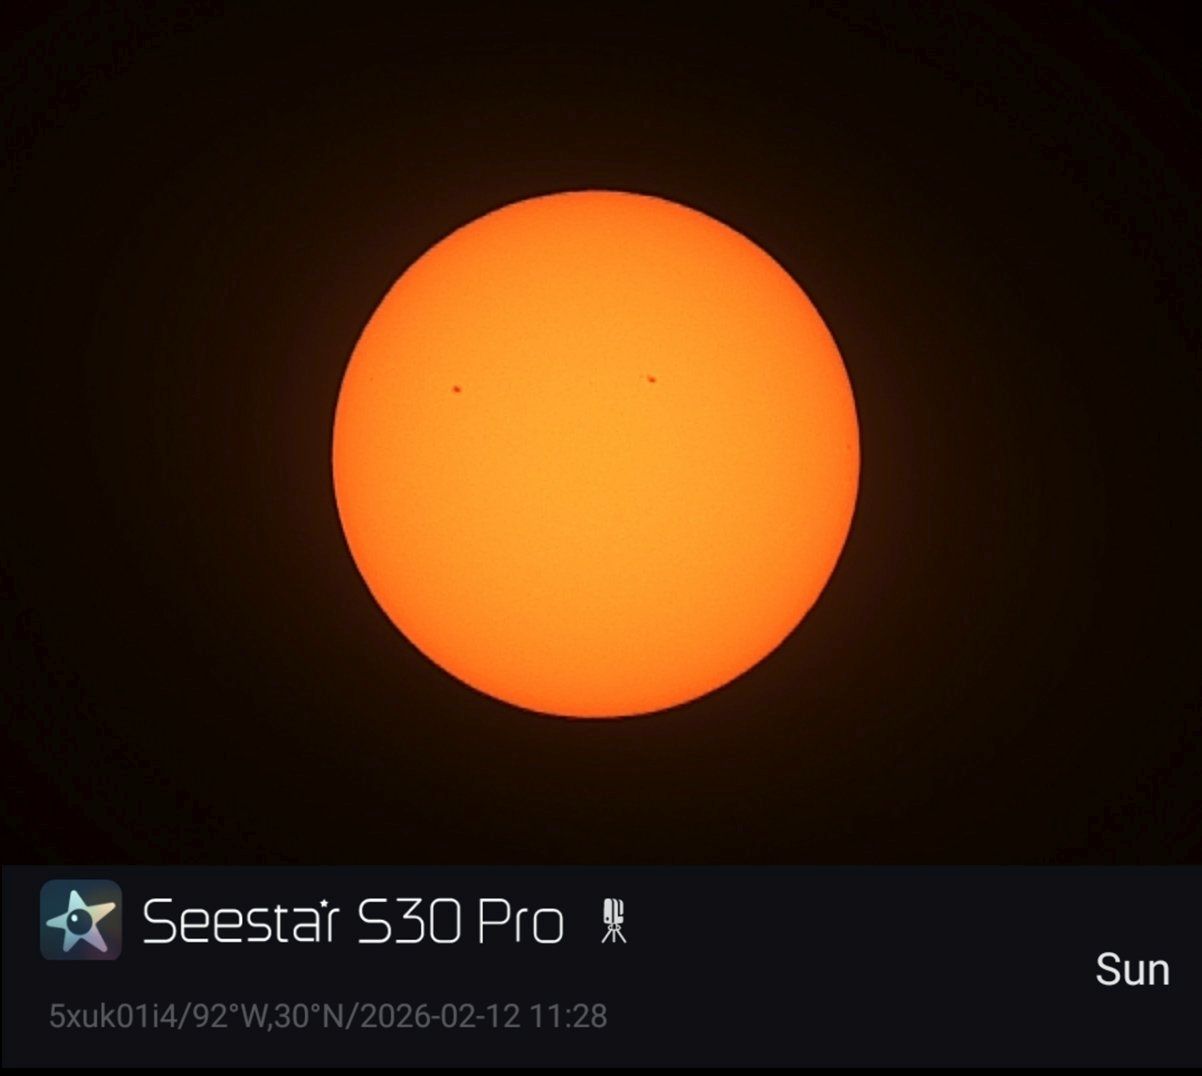
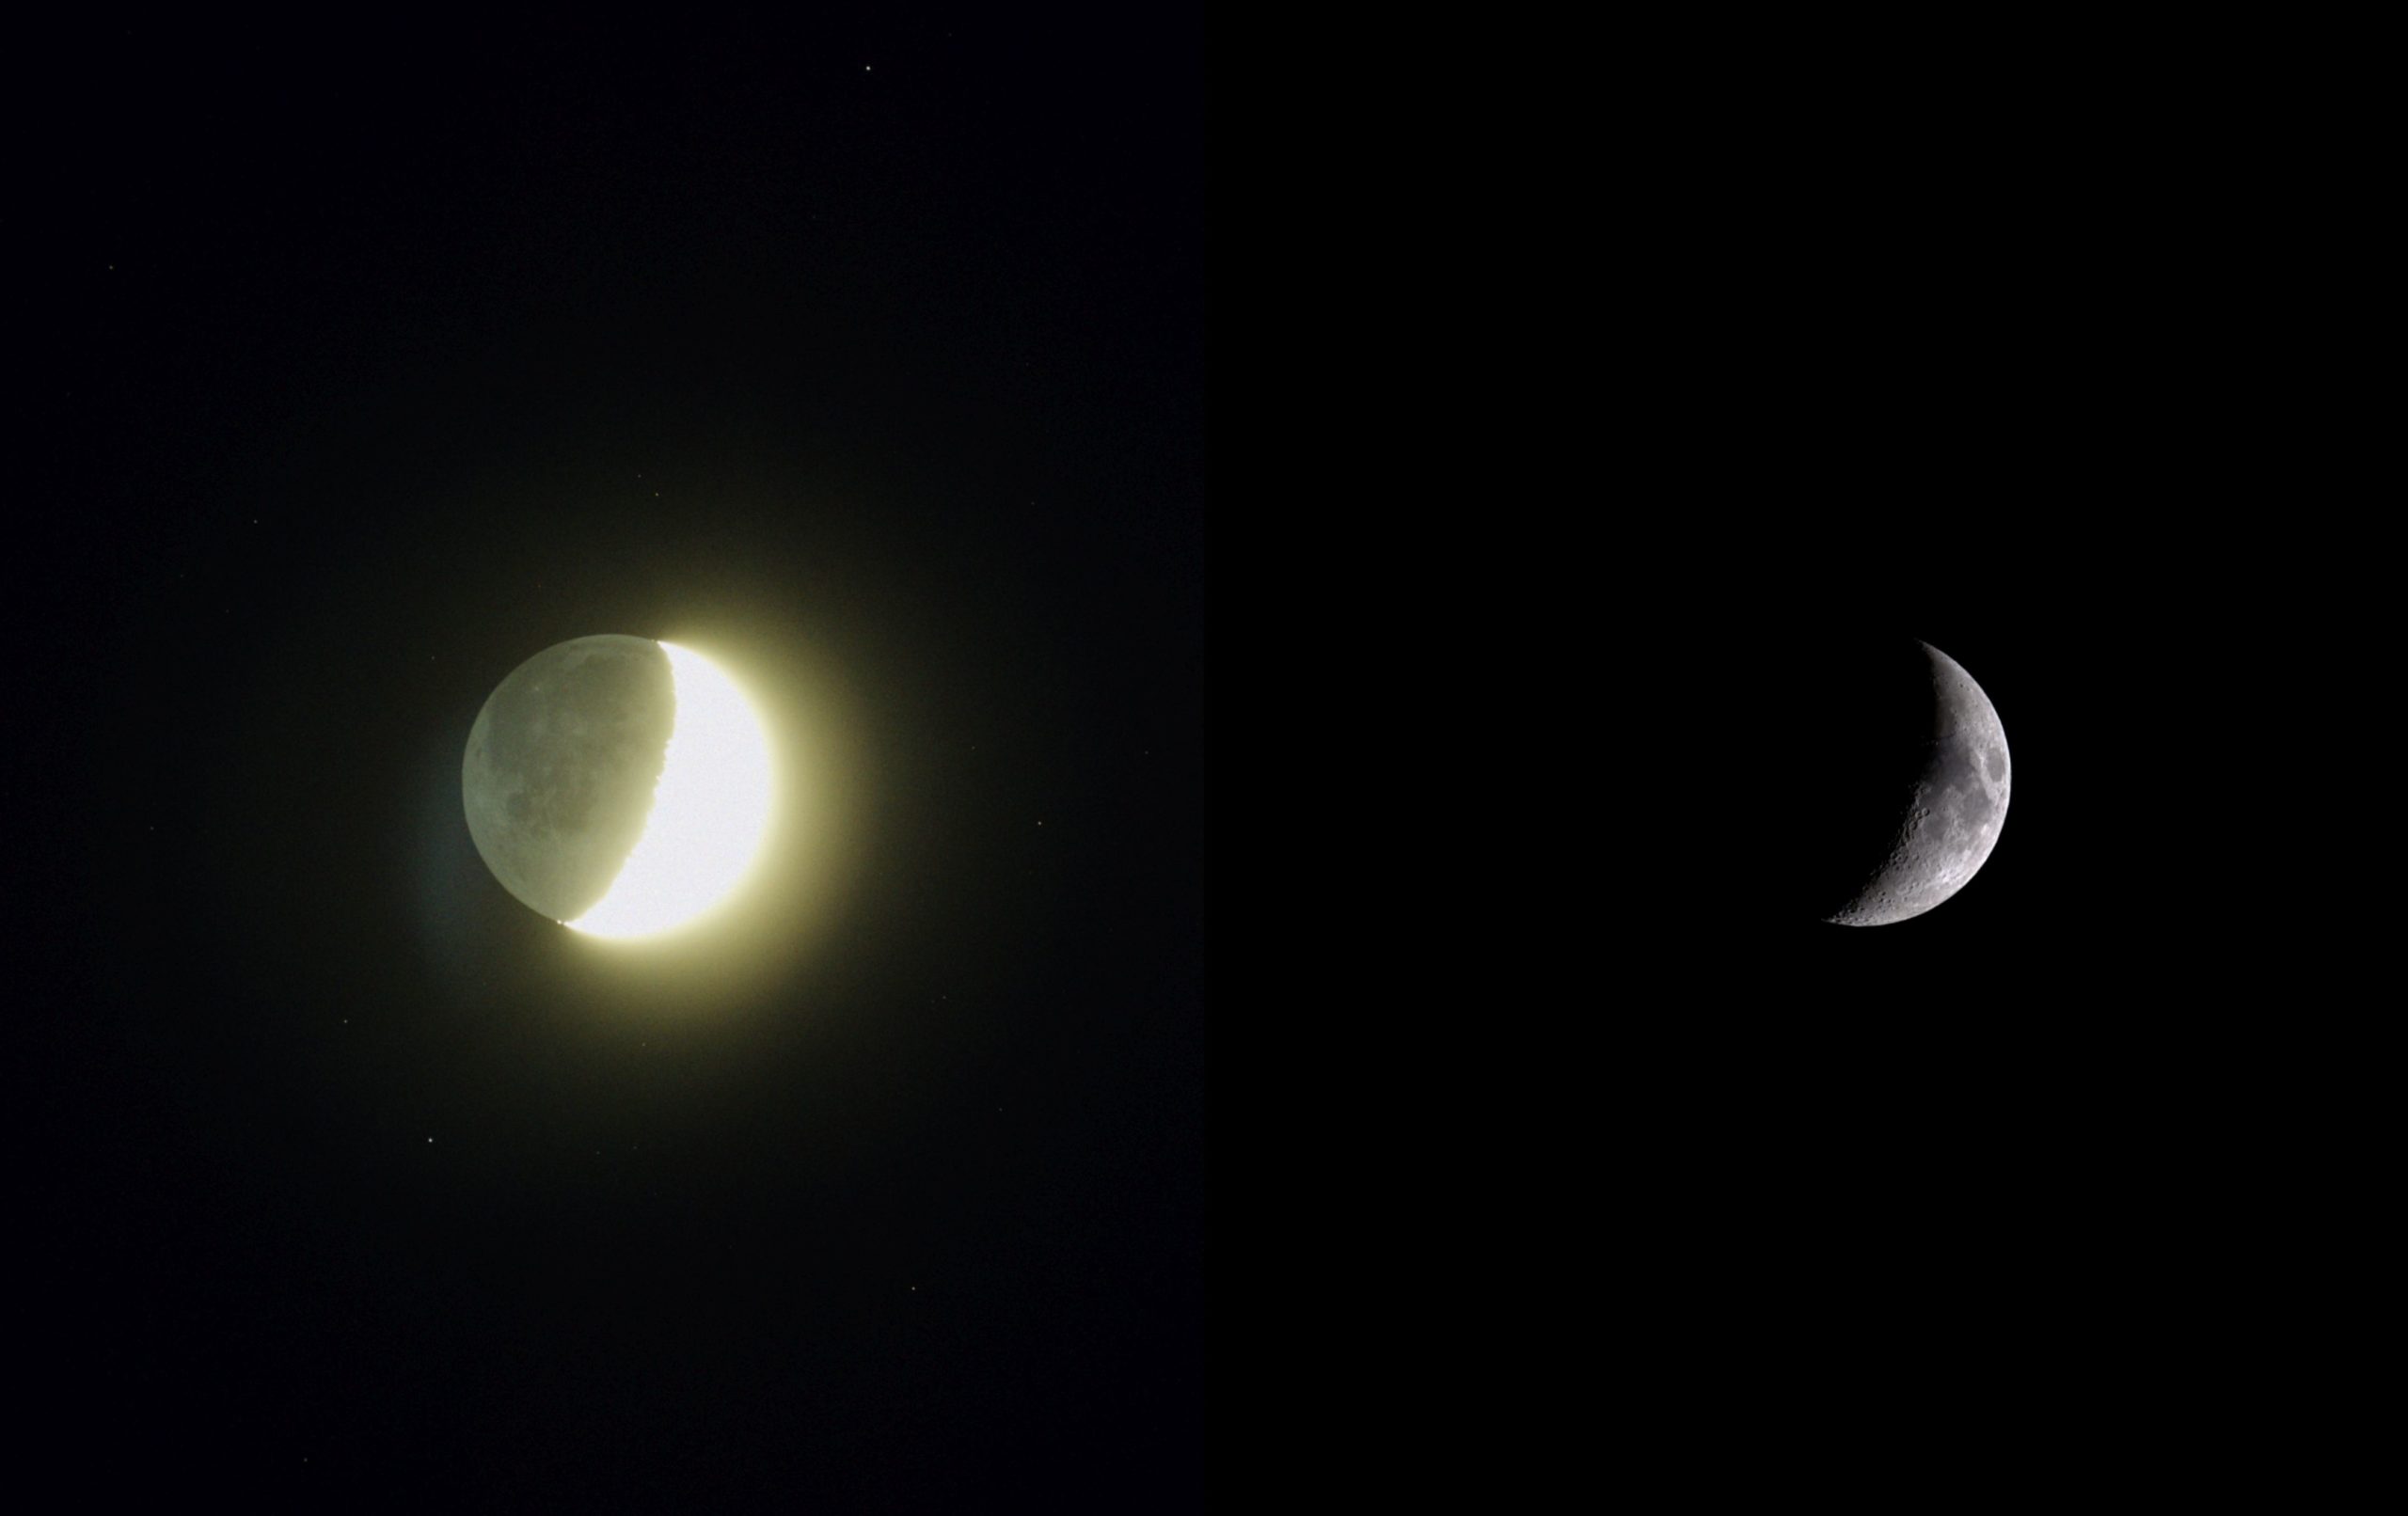
To start things off, I did a quickie solar system session and got the moon. The results are above. The Seestar S30 Pro’s Image scale is not quite there for moon shots, but that’s why I have the Seestar S50, which works great on that target.
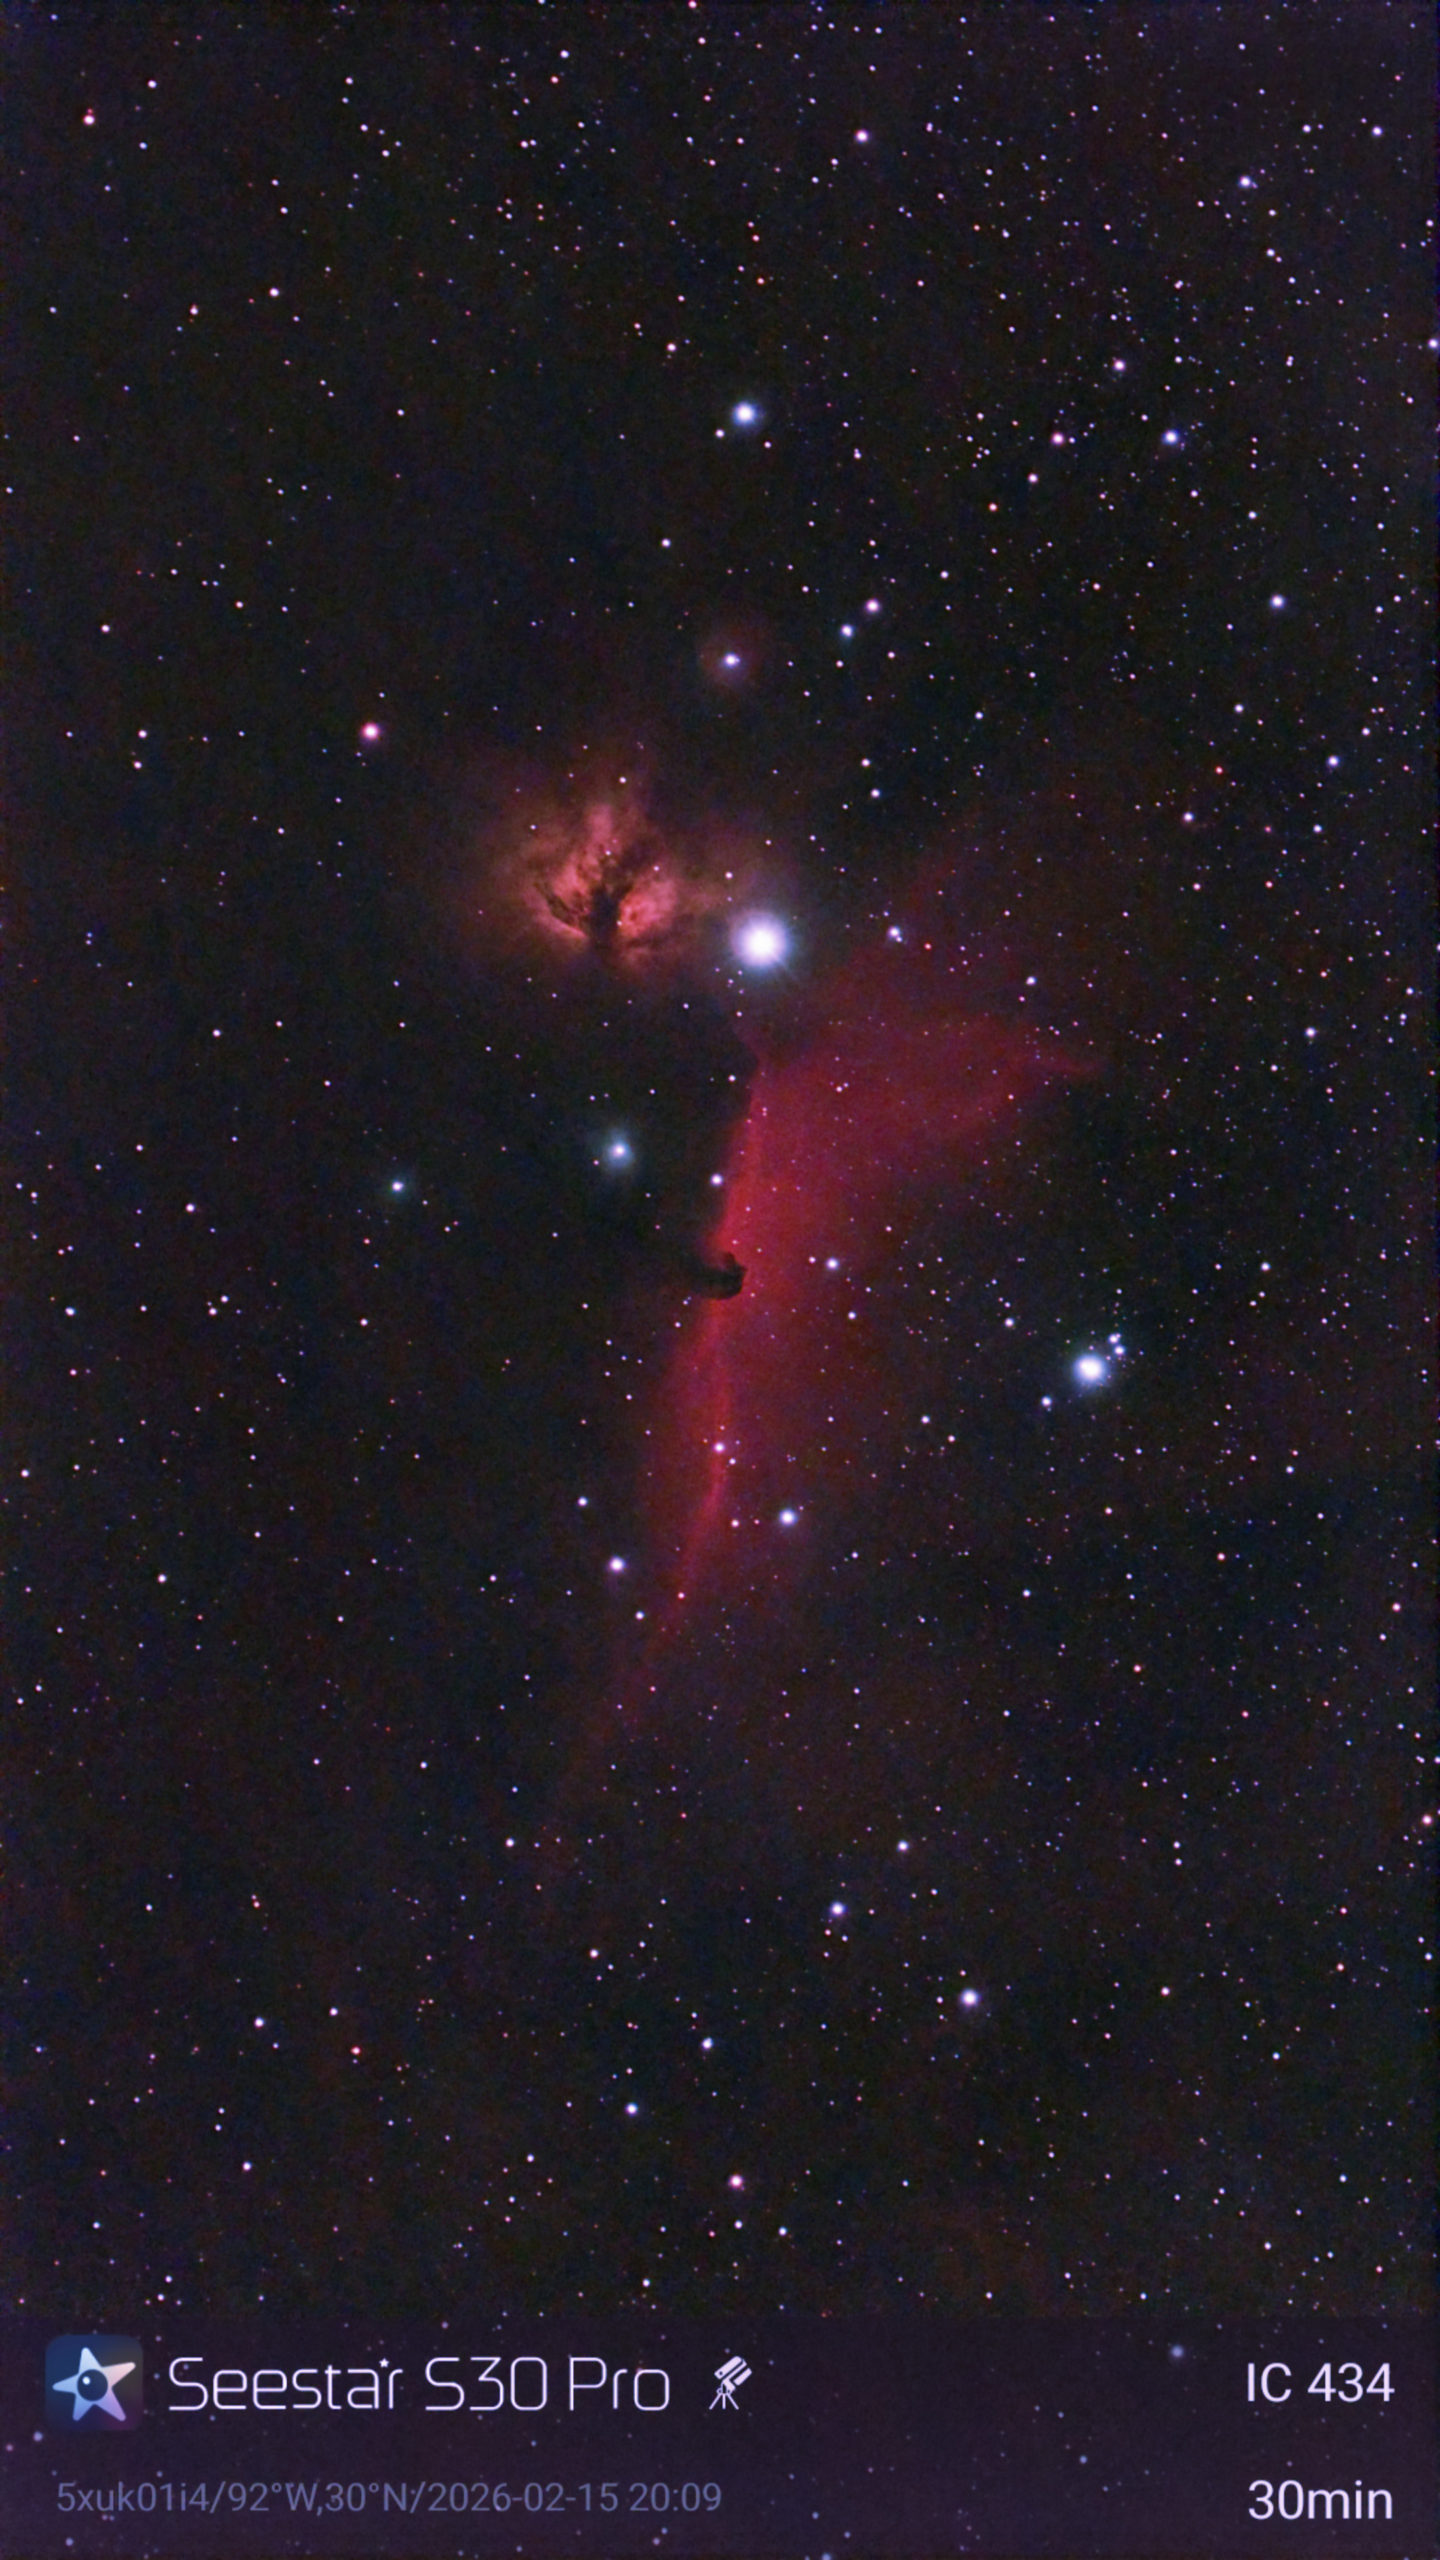
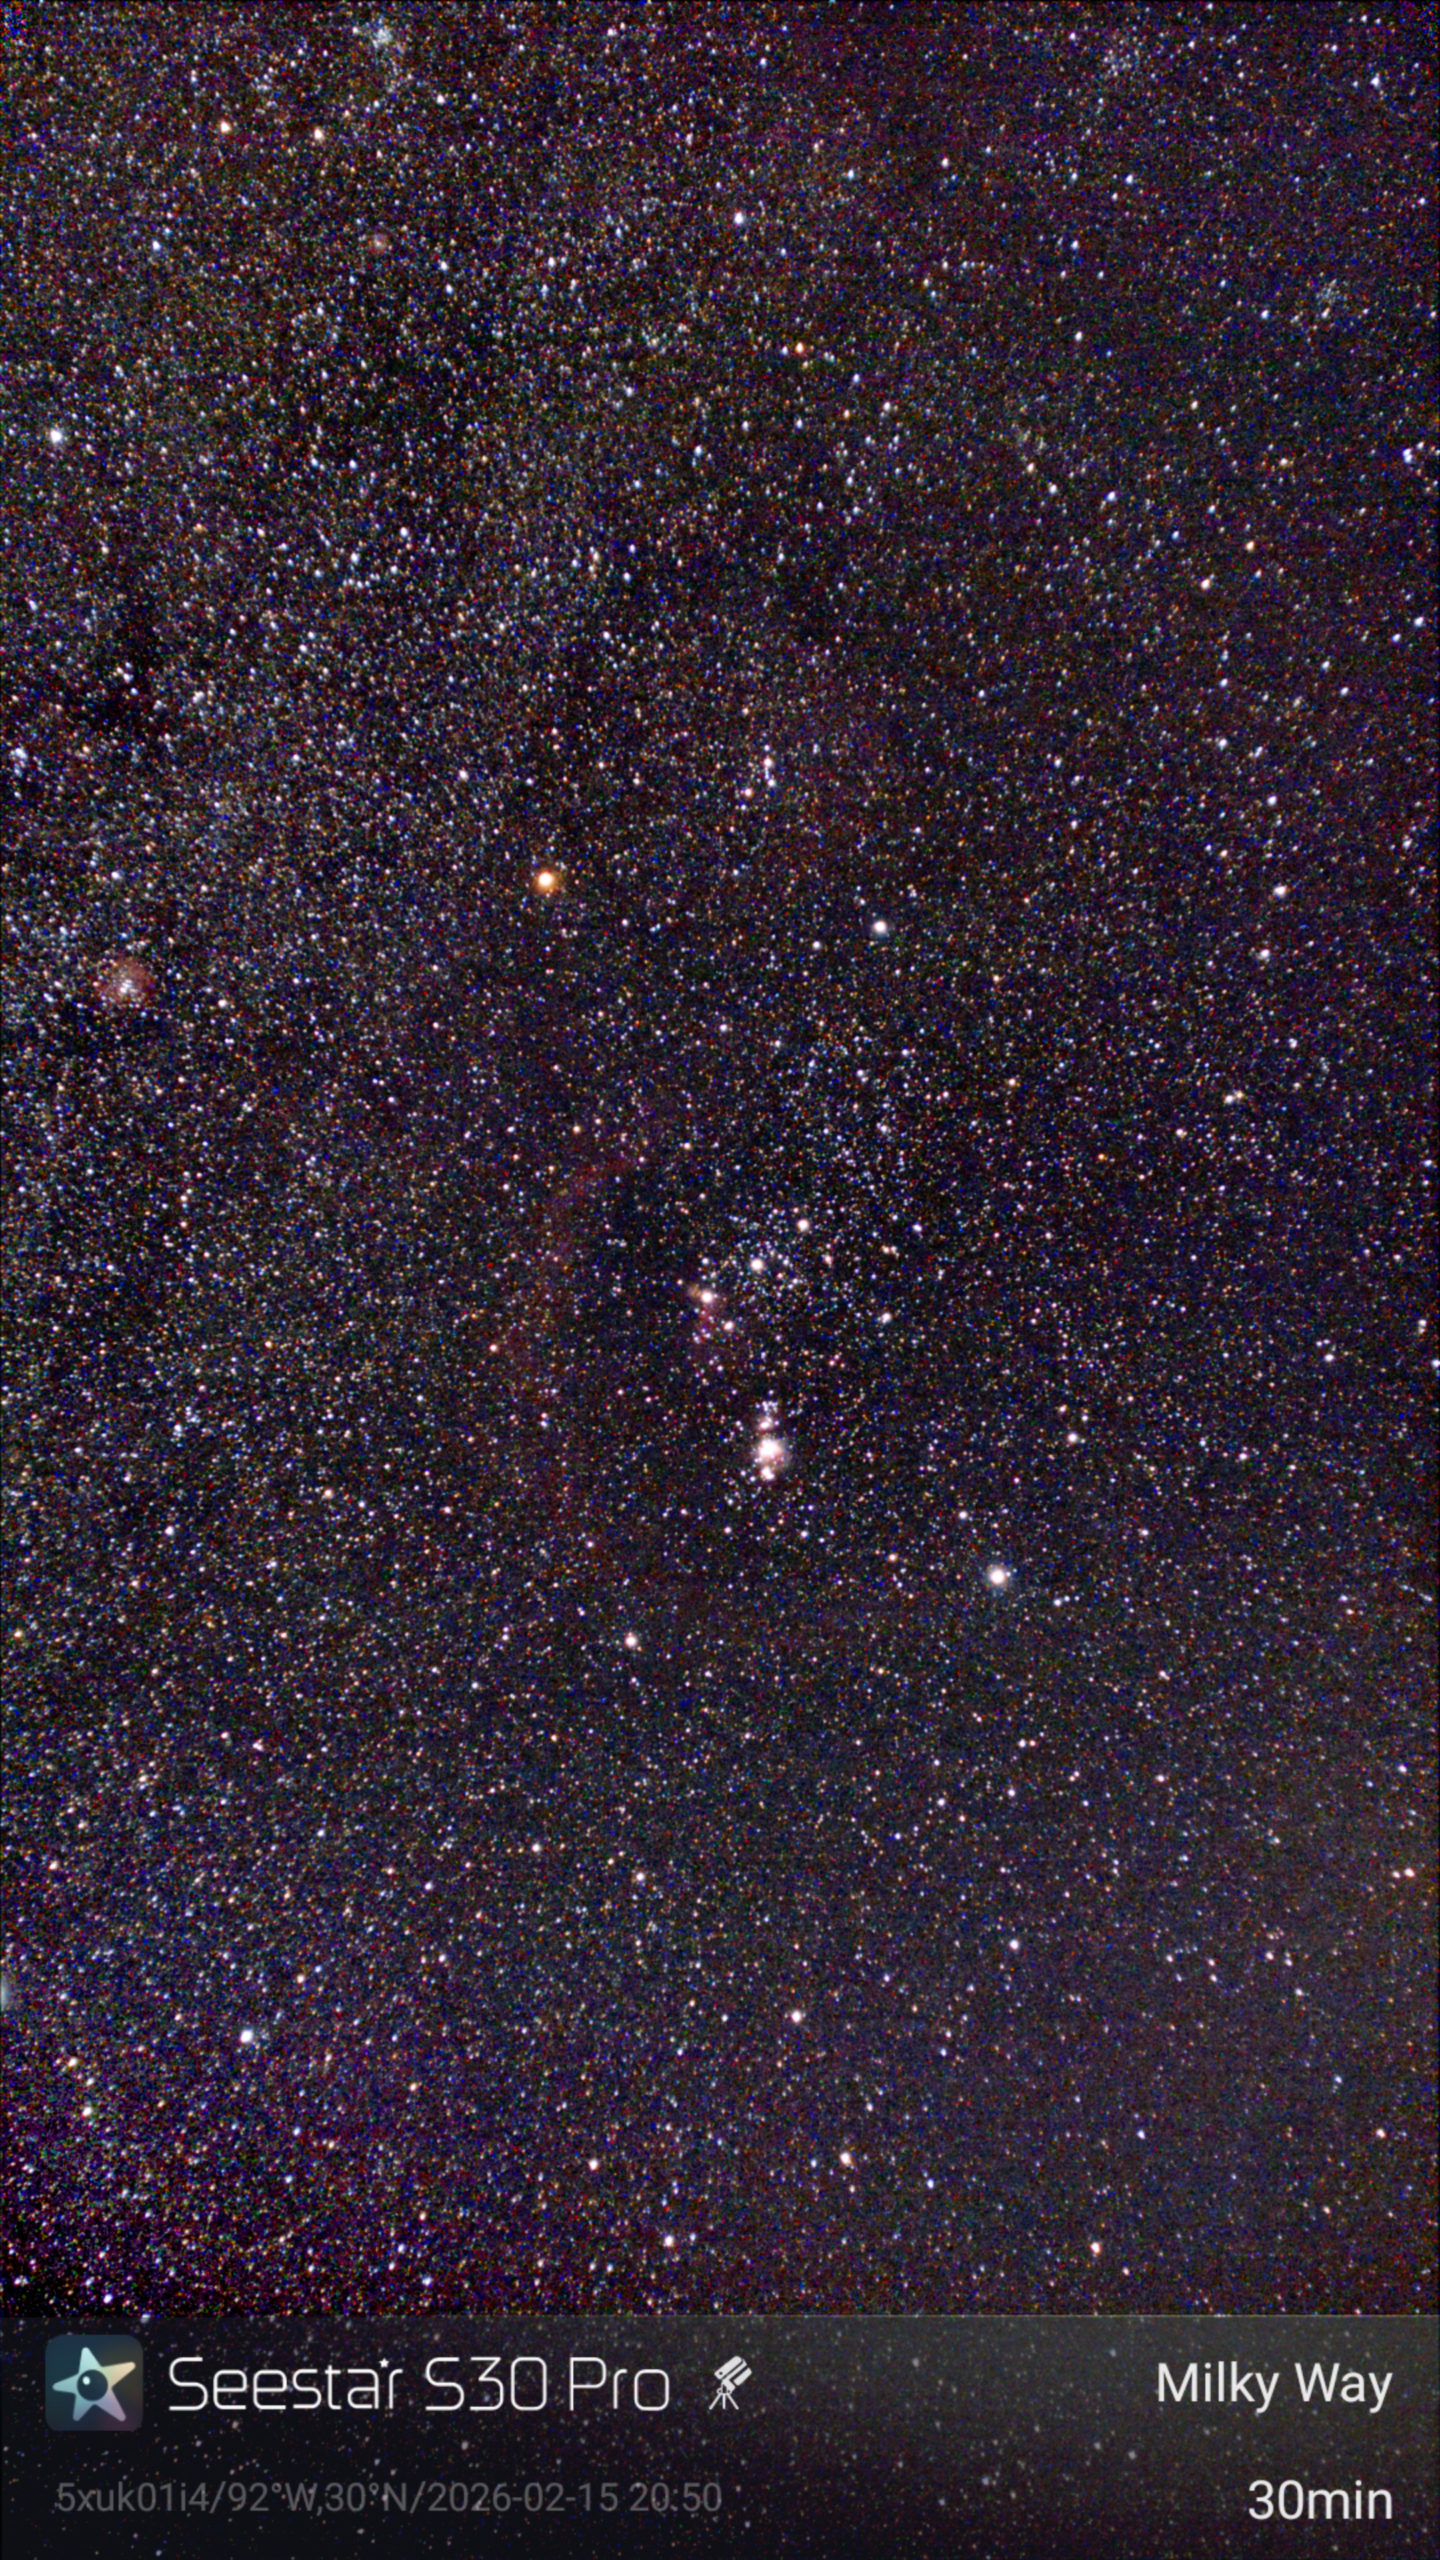
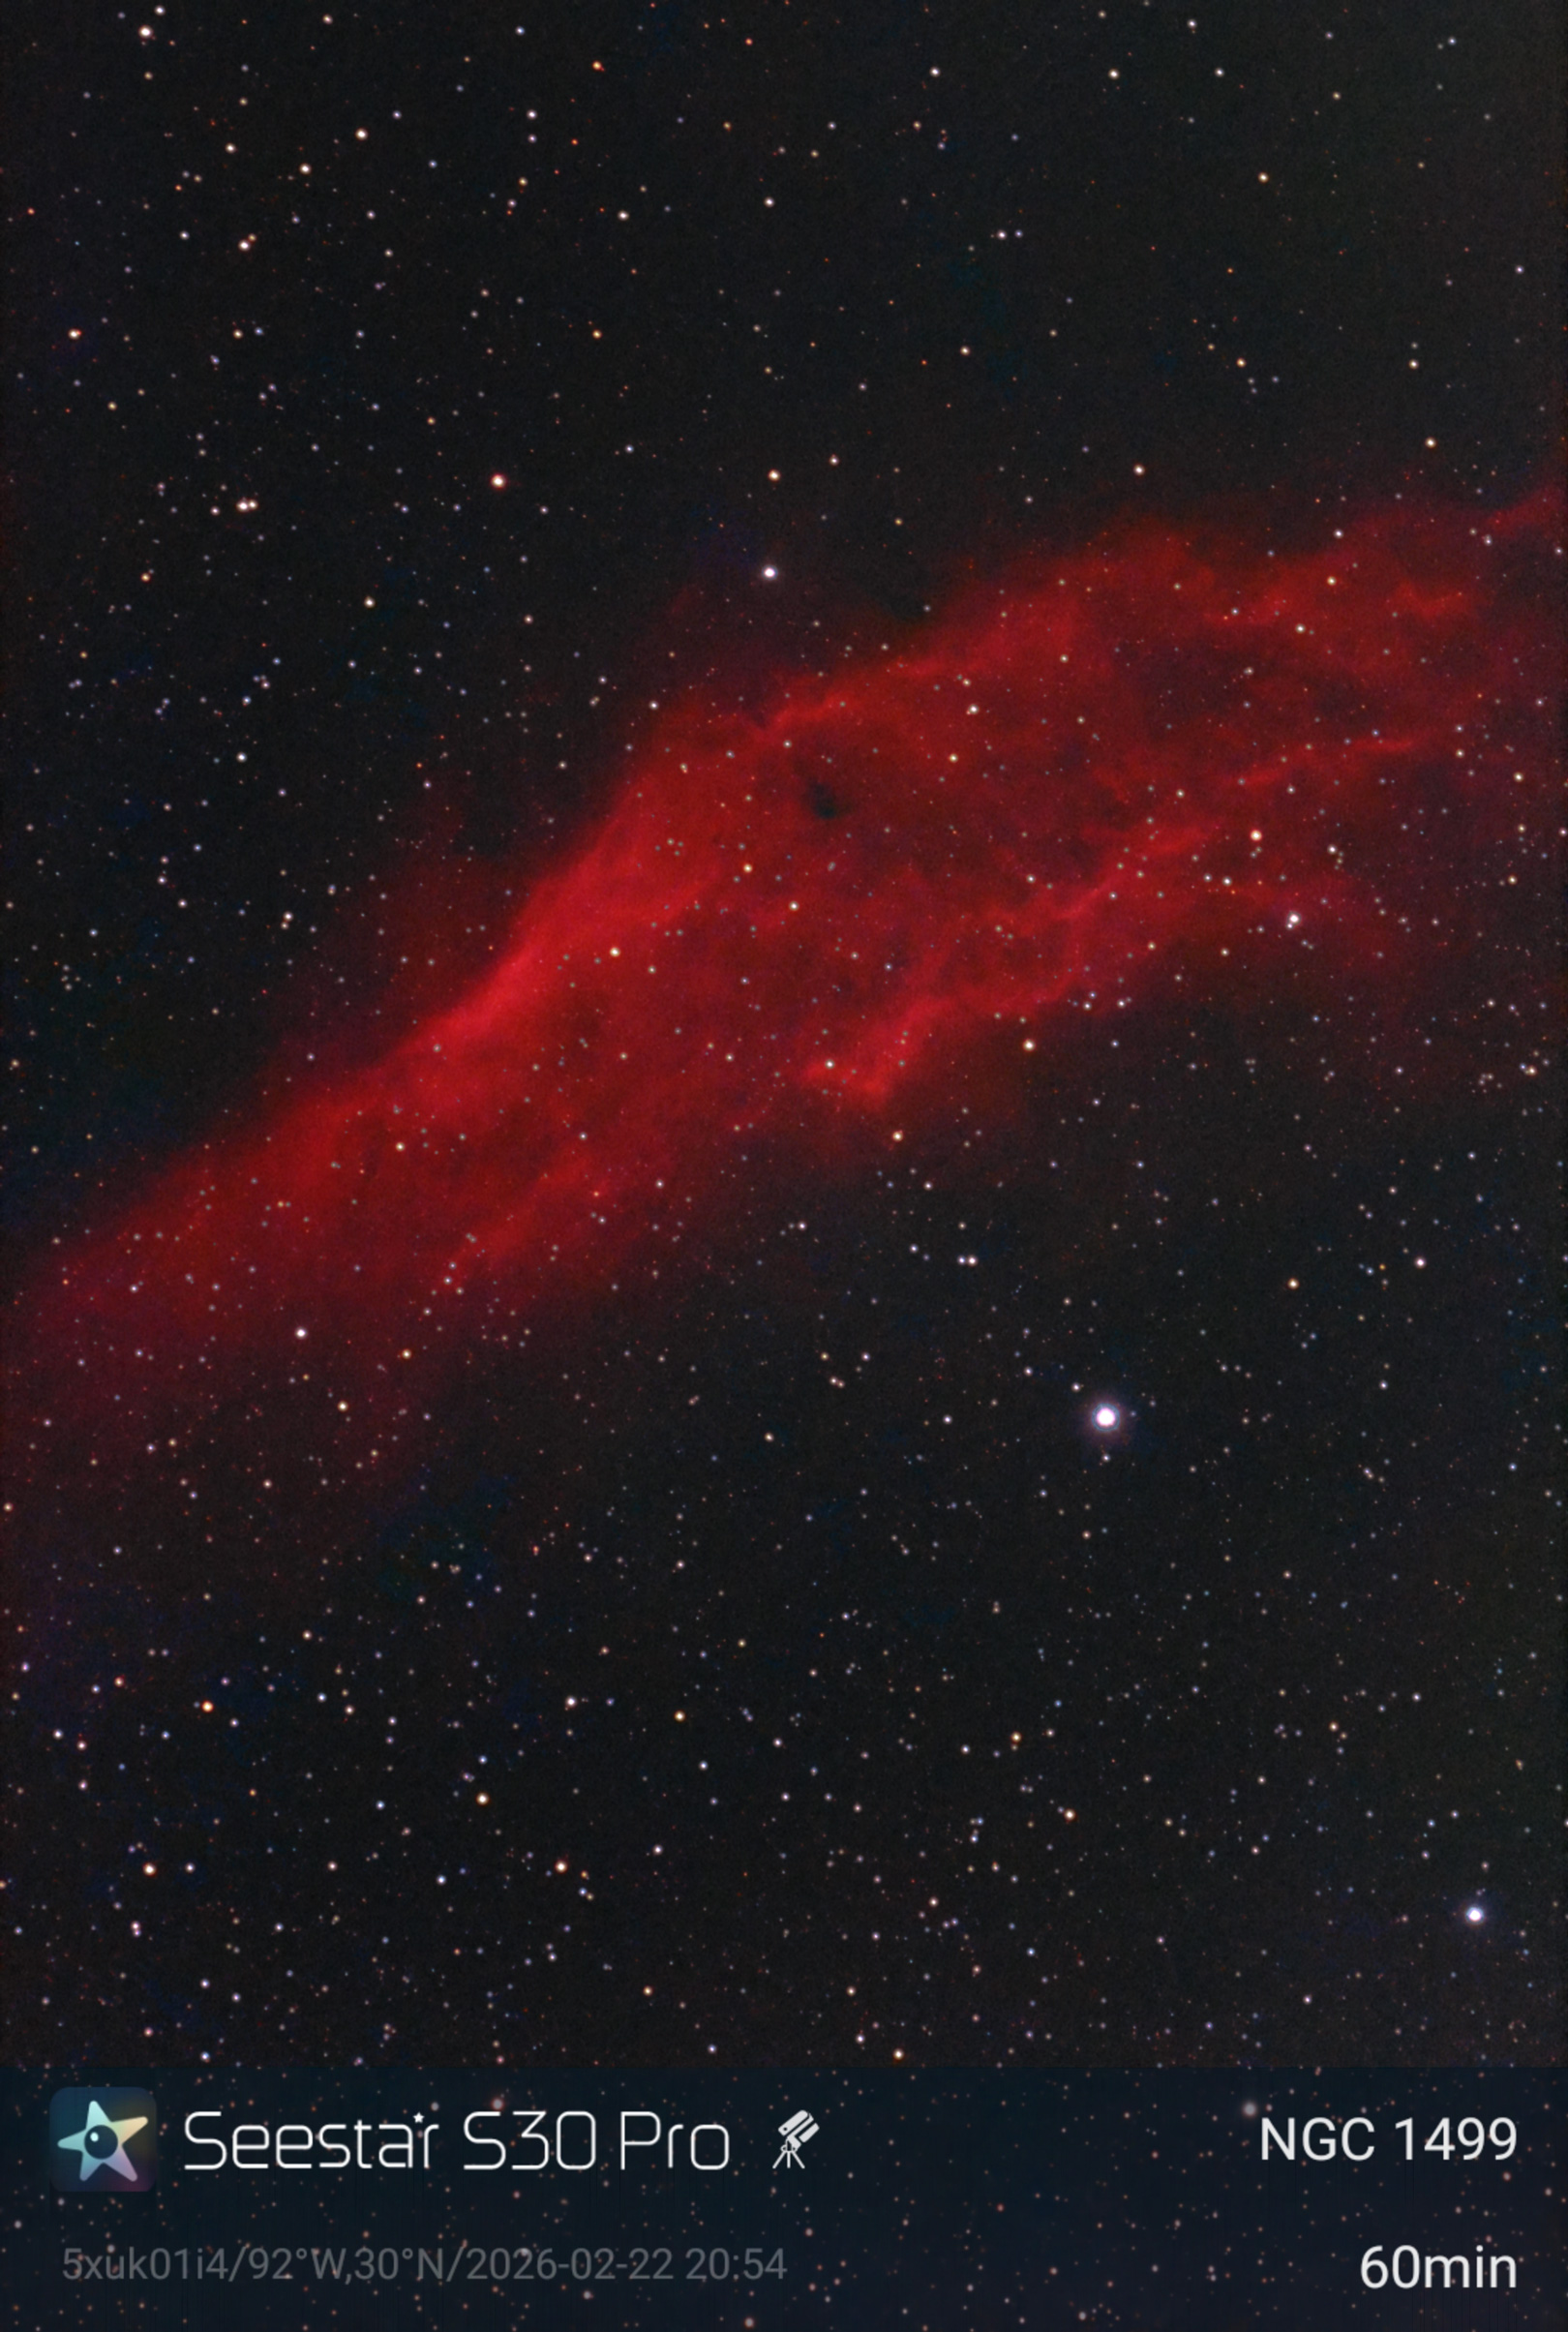
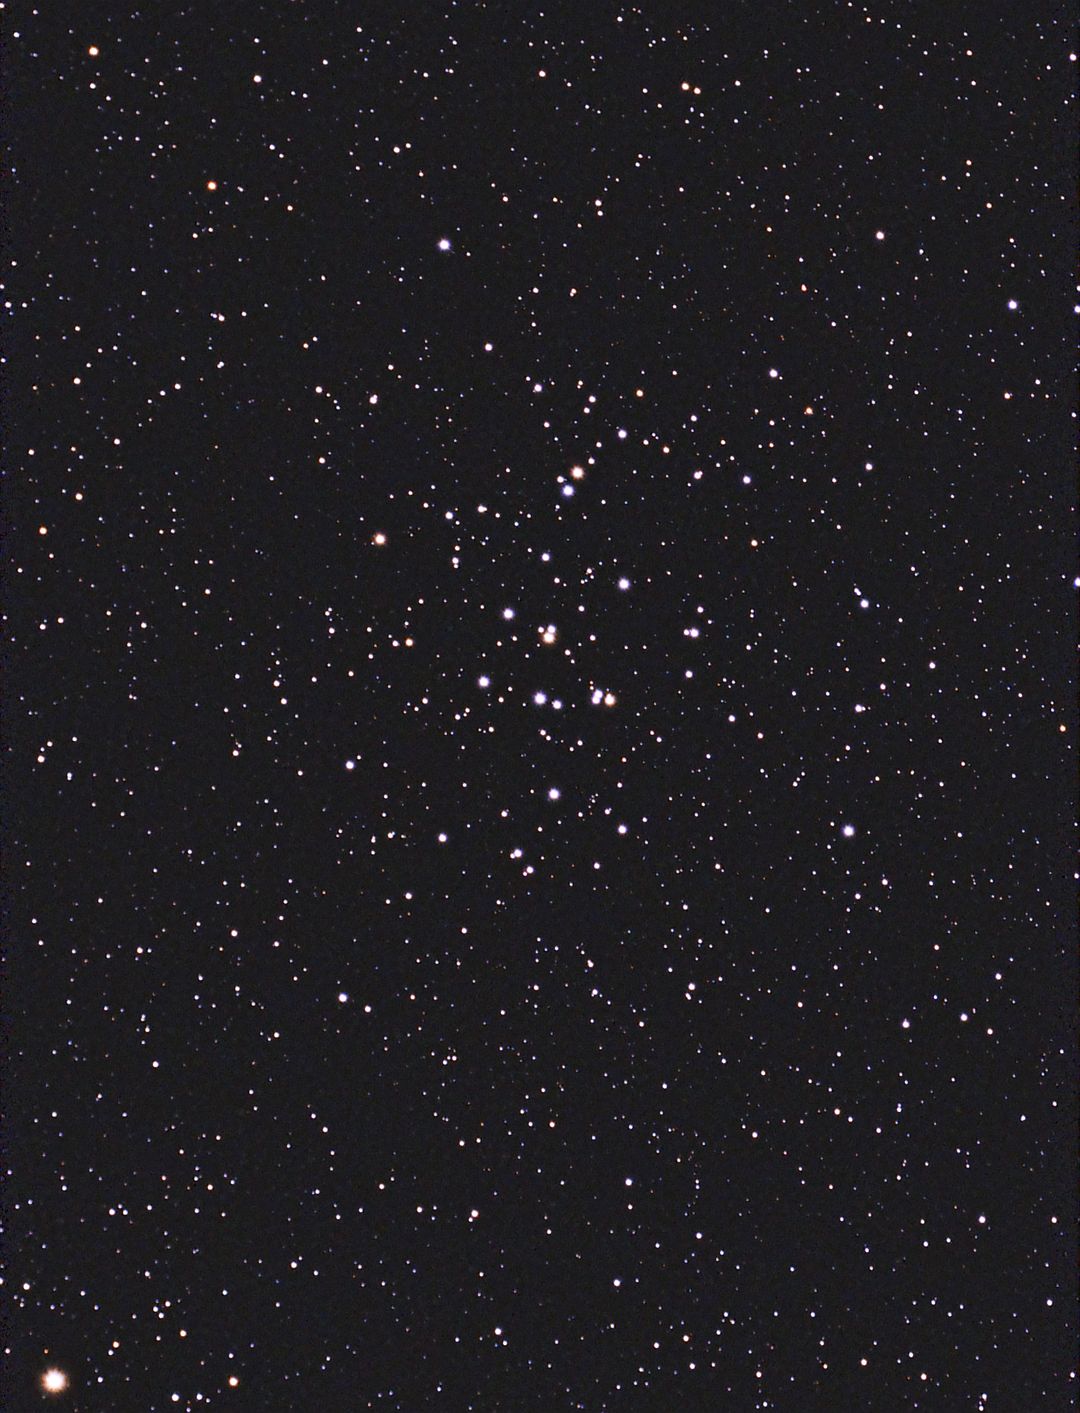
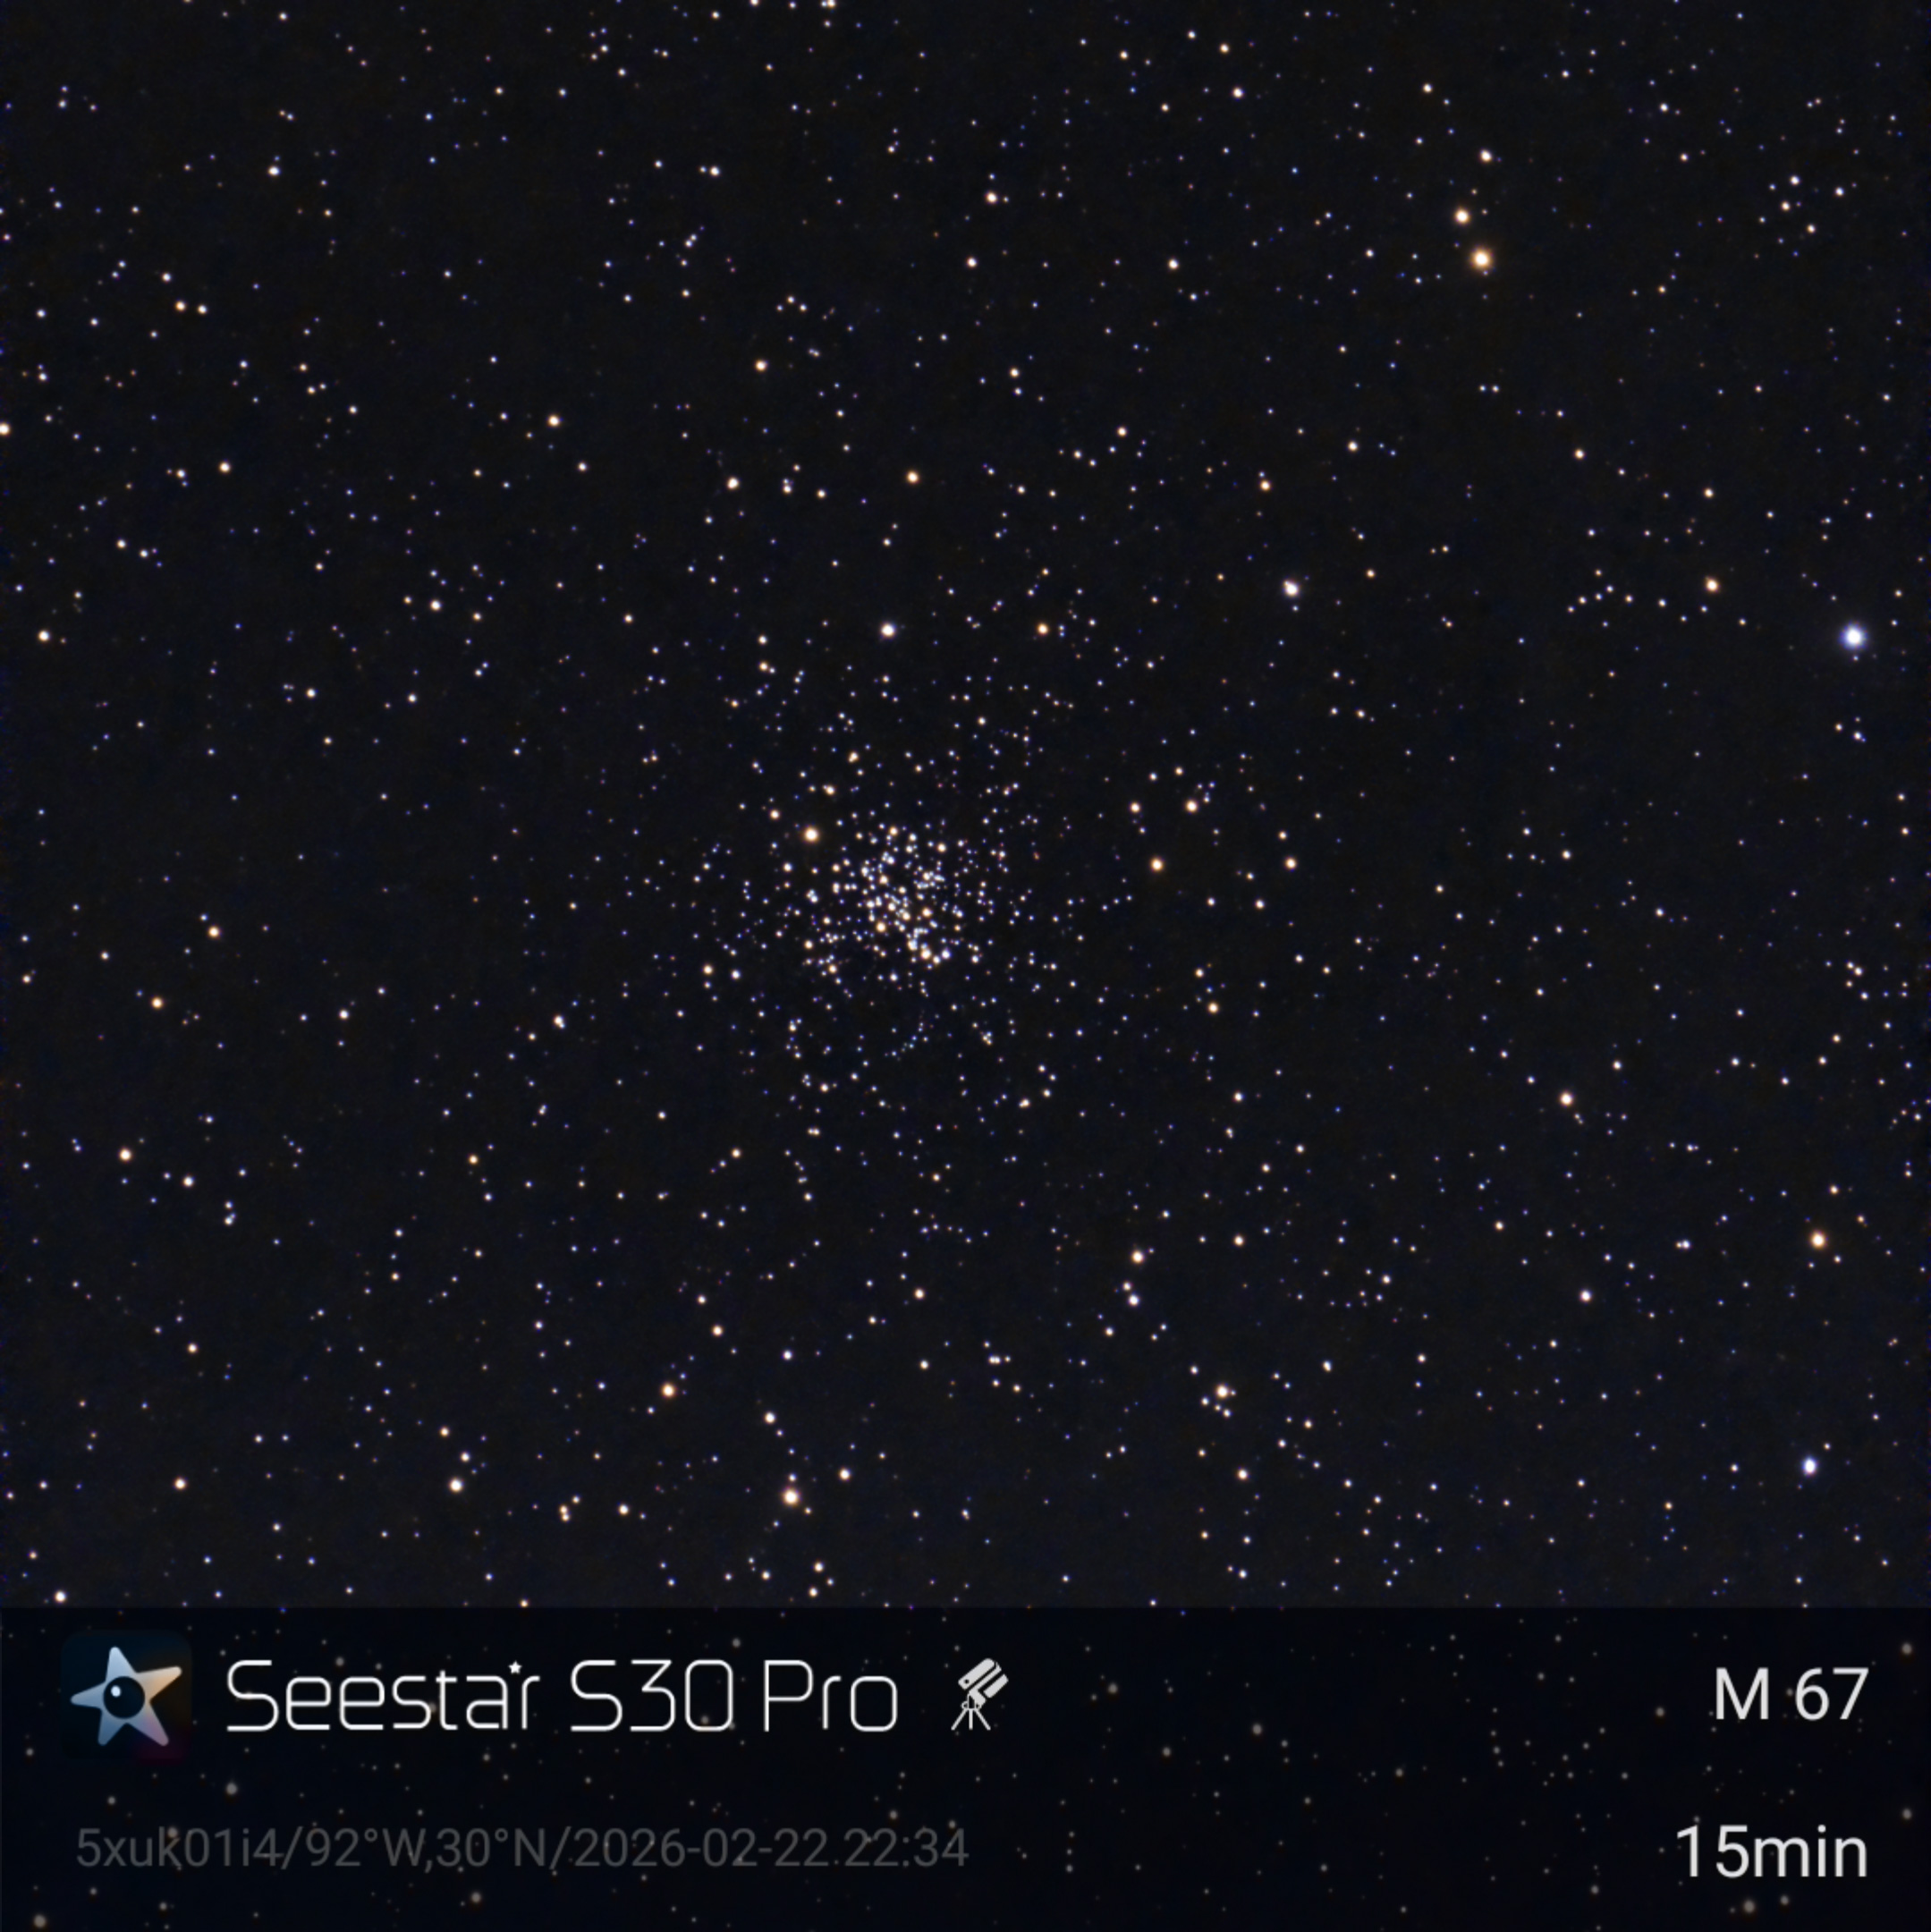
After the moon, I picked the California Nebula as my first DSO target of the night. It did great on that one. Afterwards, I tried it on some star clusters. I shot M44 and M67 in Cancer. Then, M35 in Gemini. I haven’t gotten around to processing all of the clusters, yet, though. I’ll add the others once I have them done.

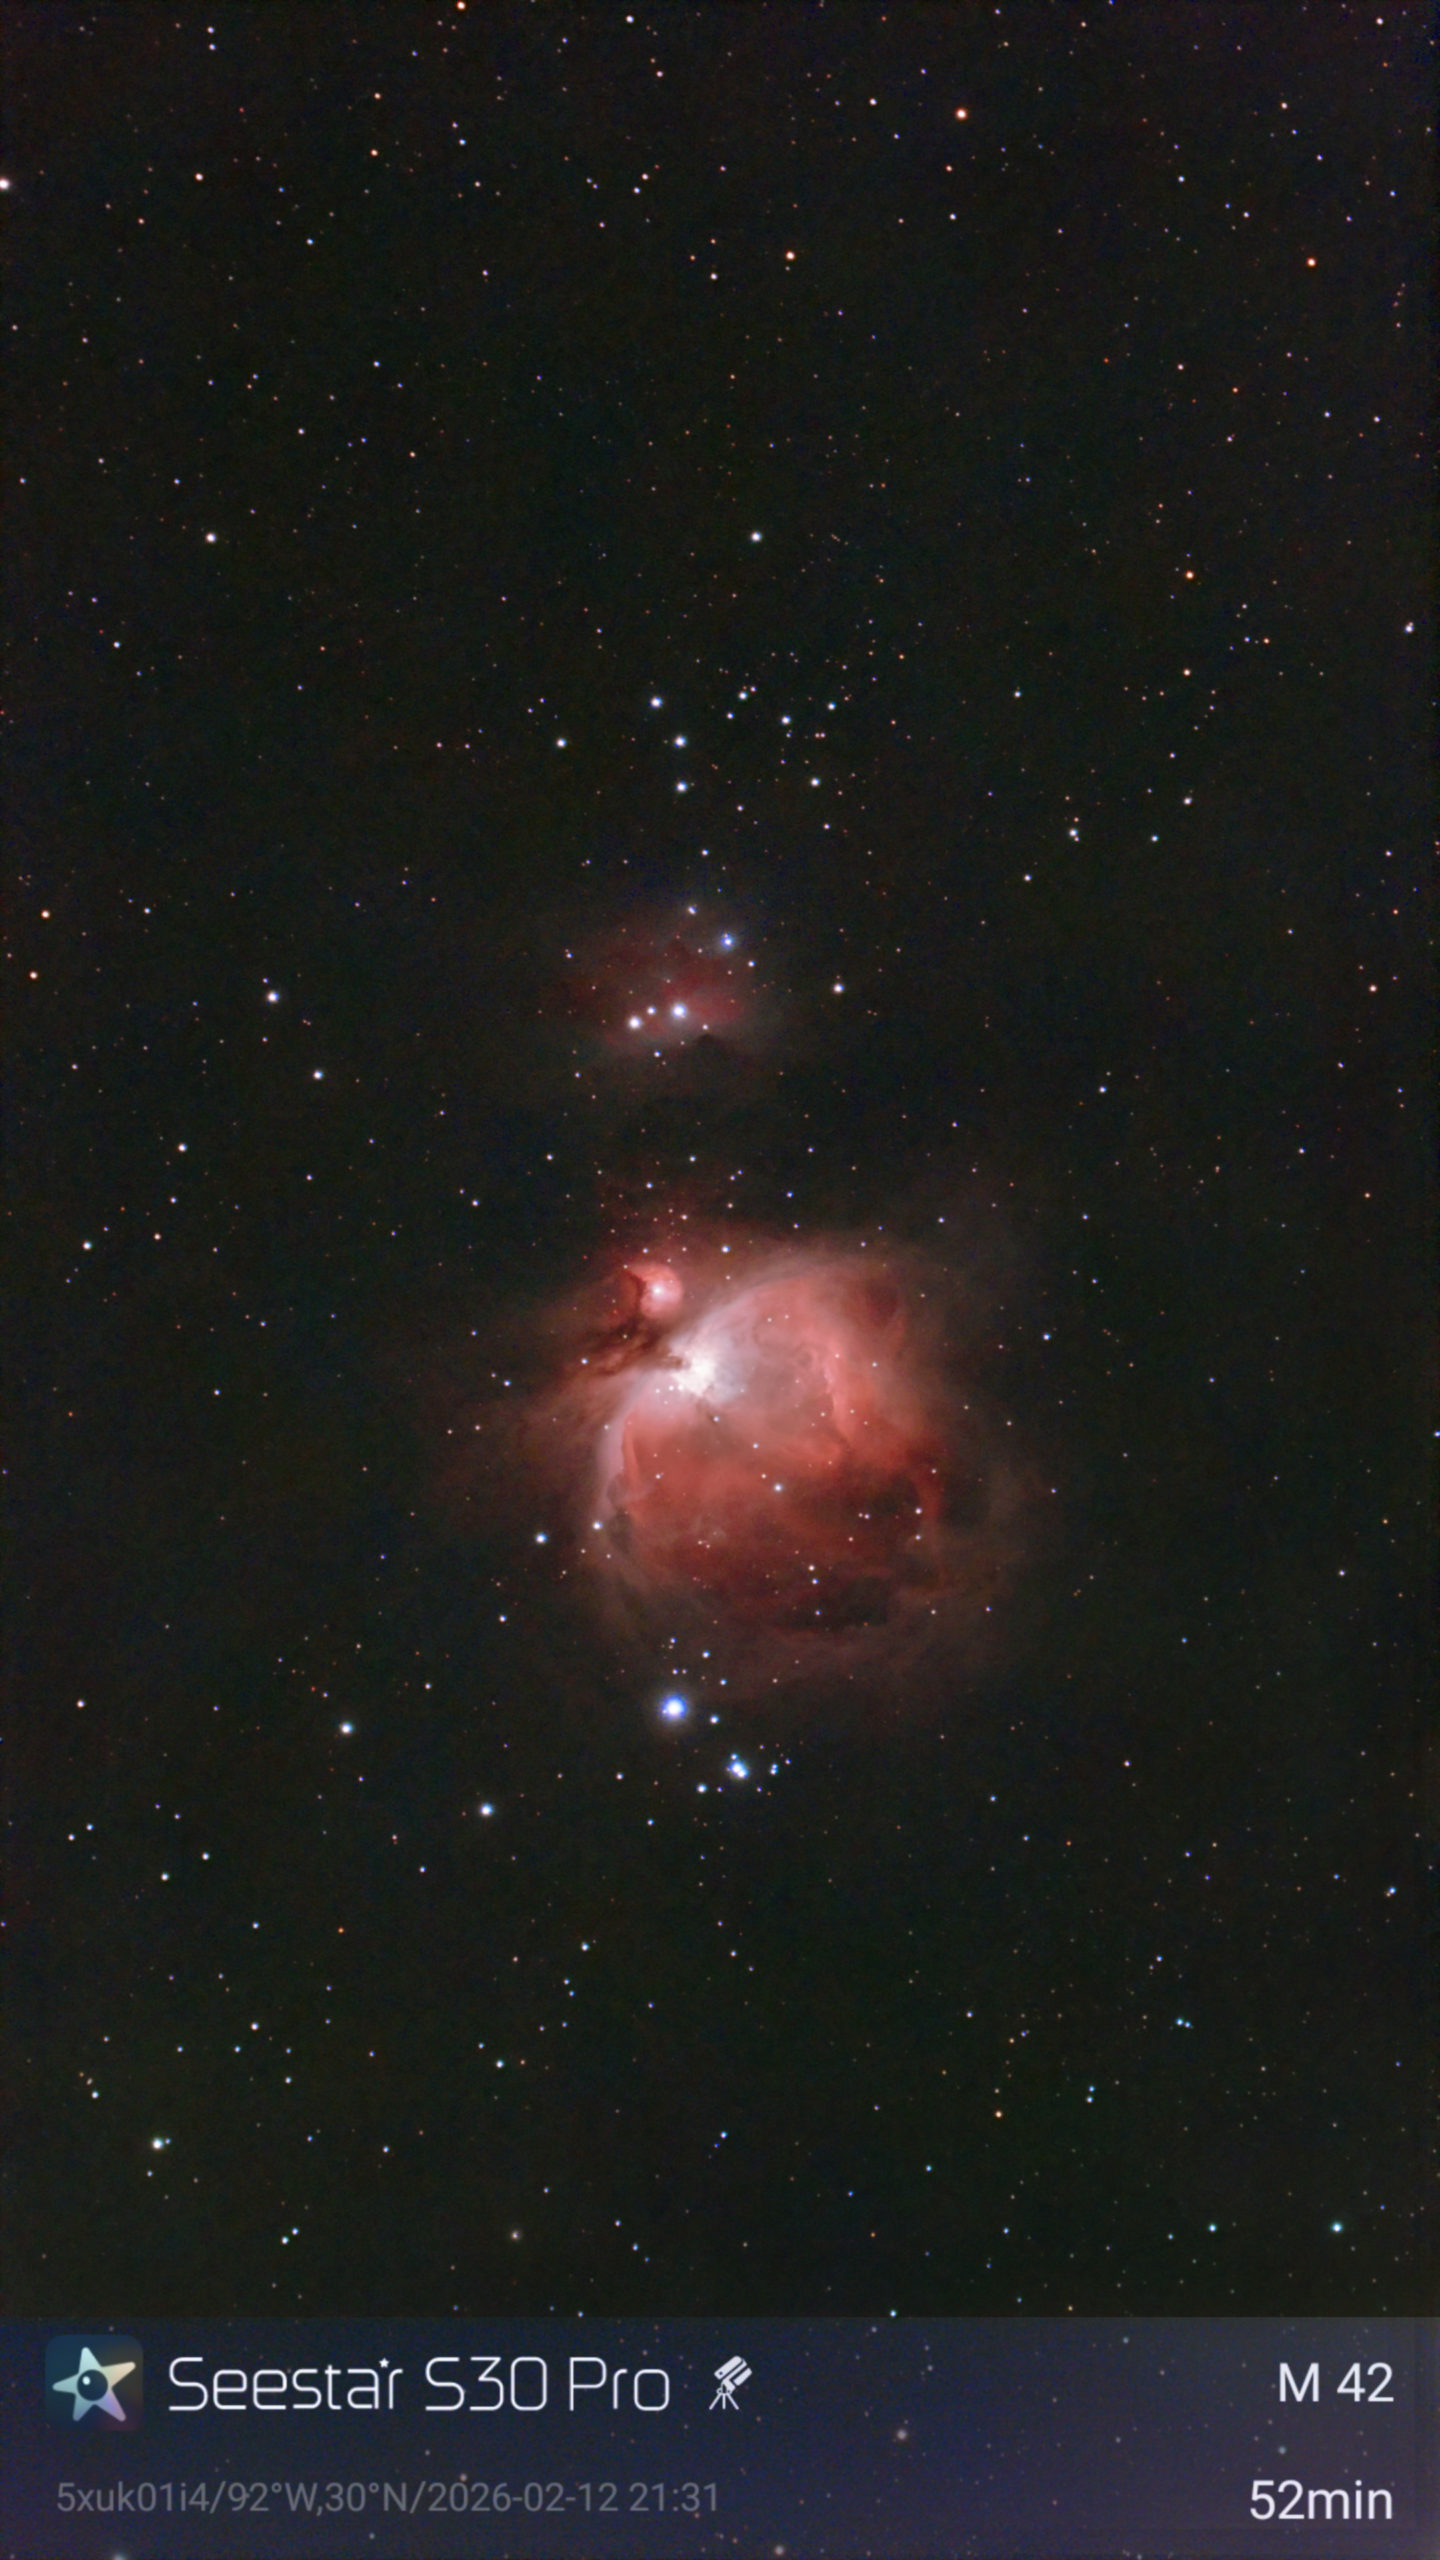
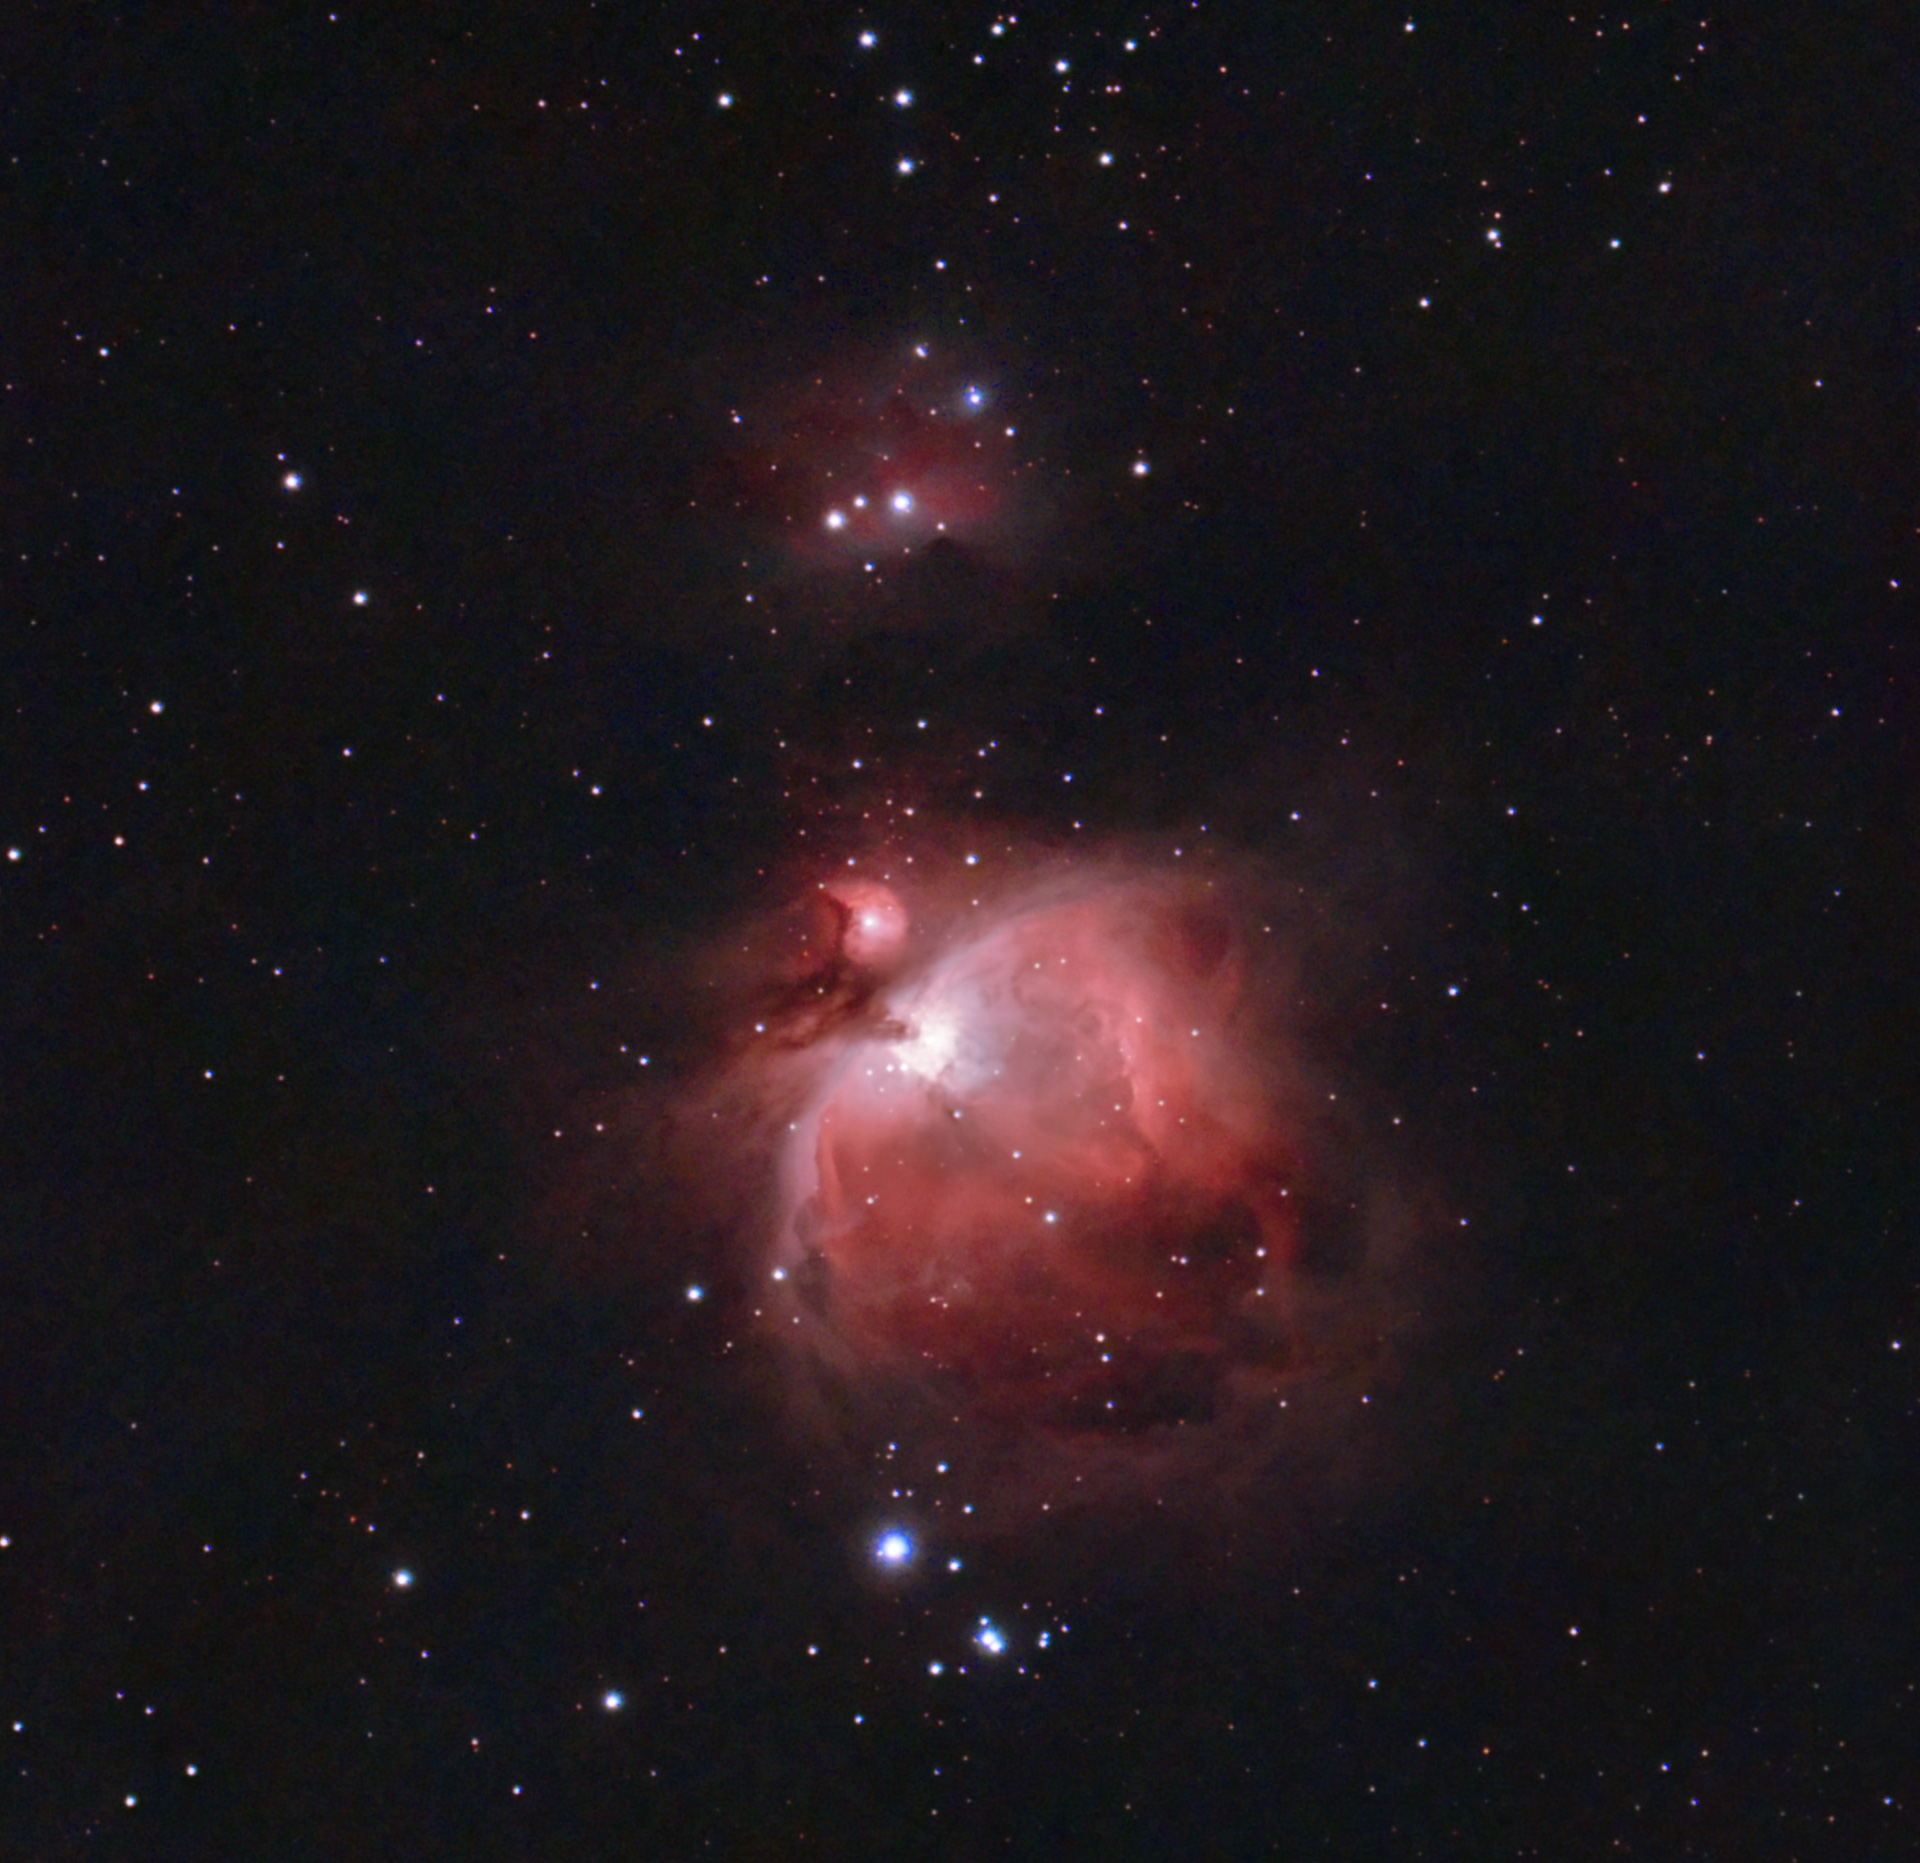
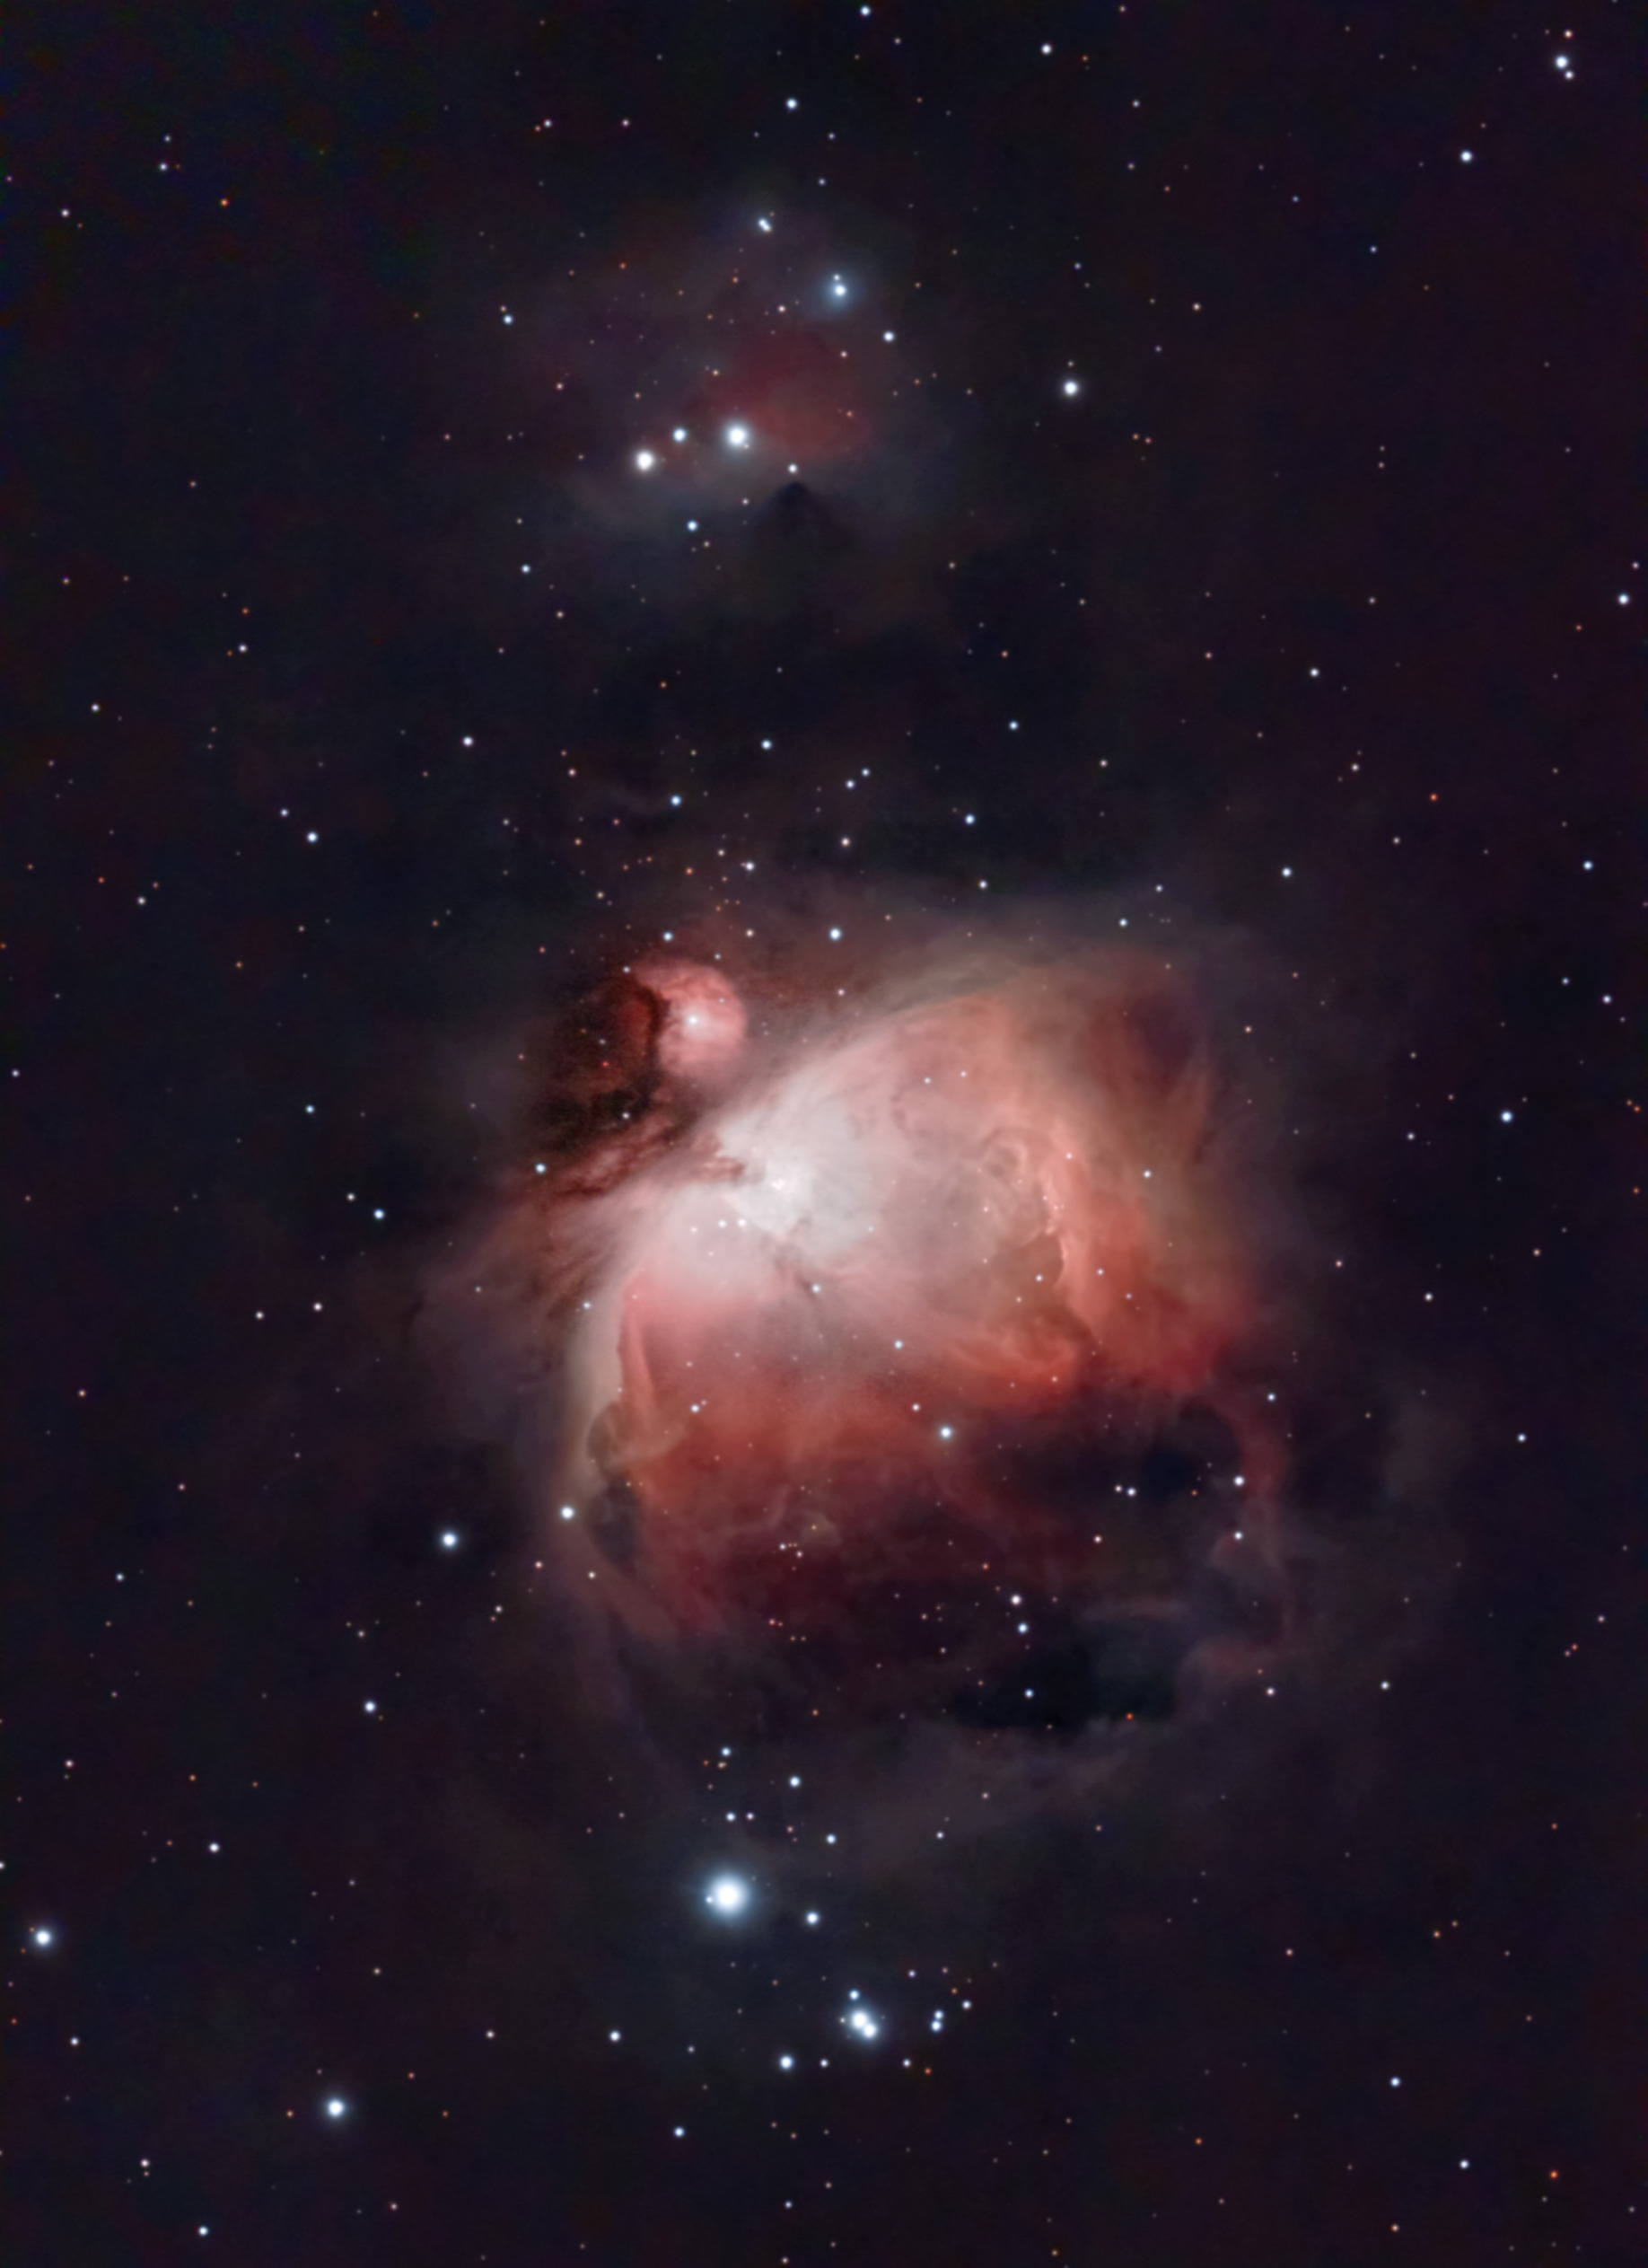
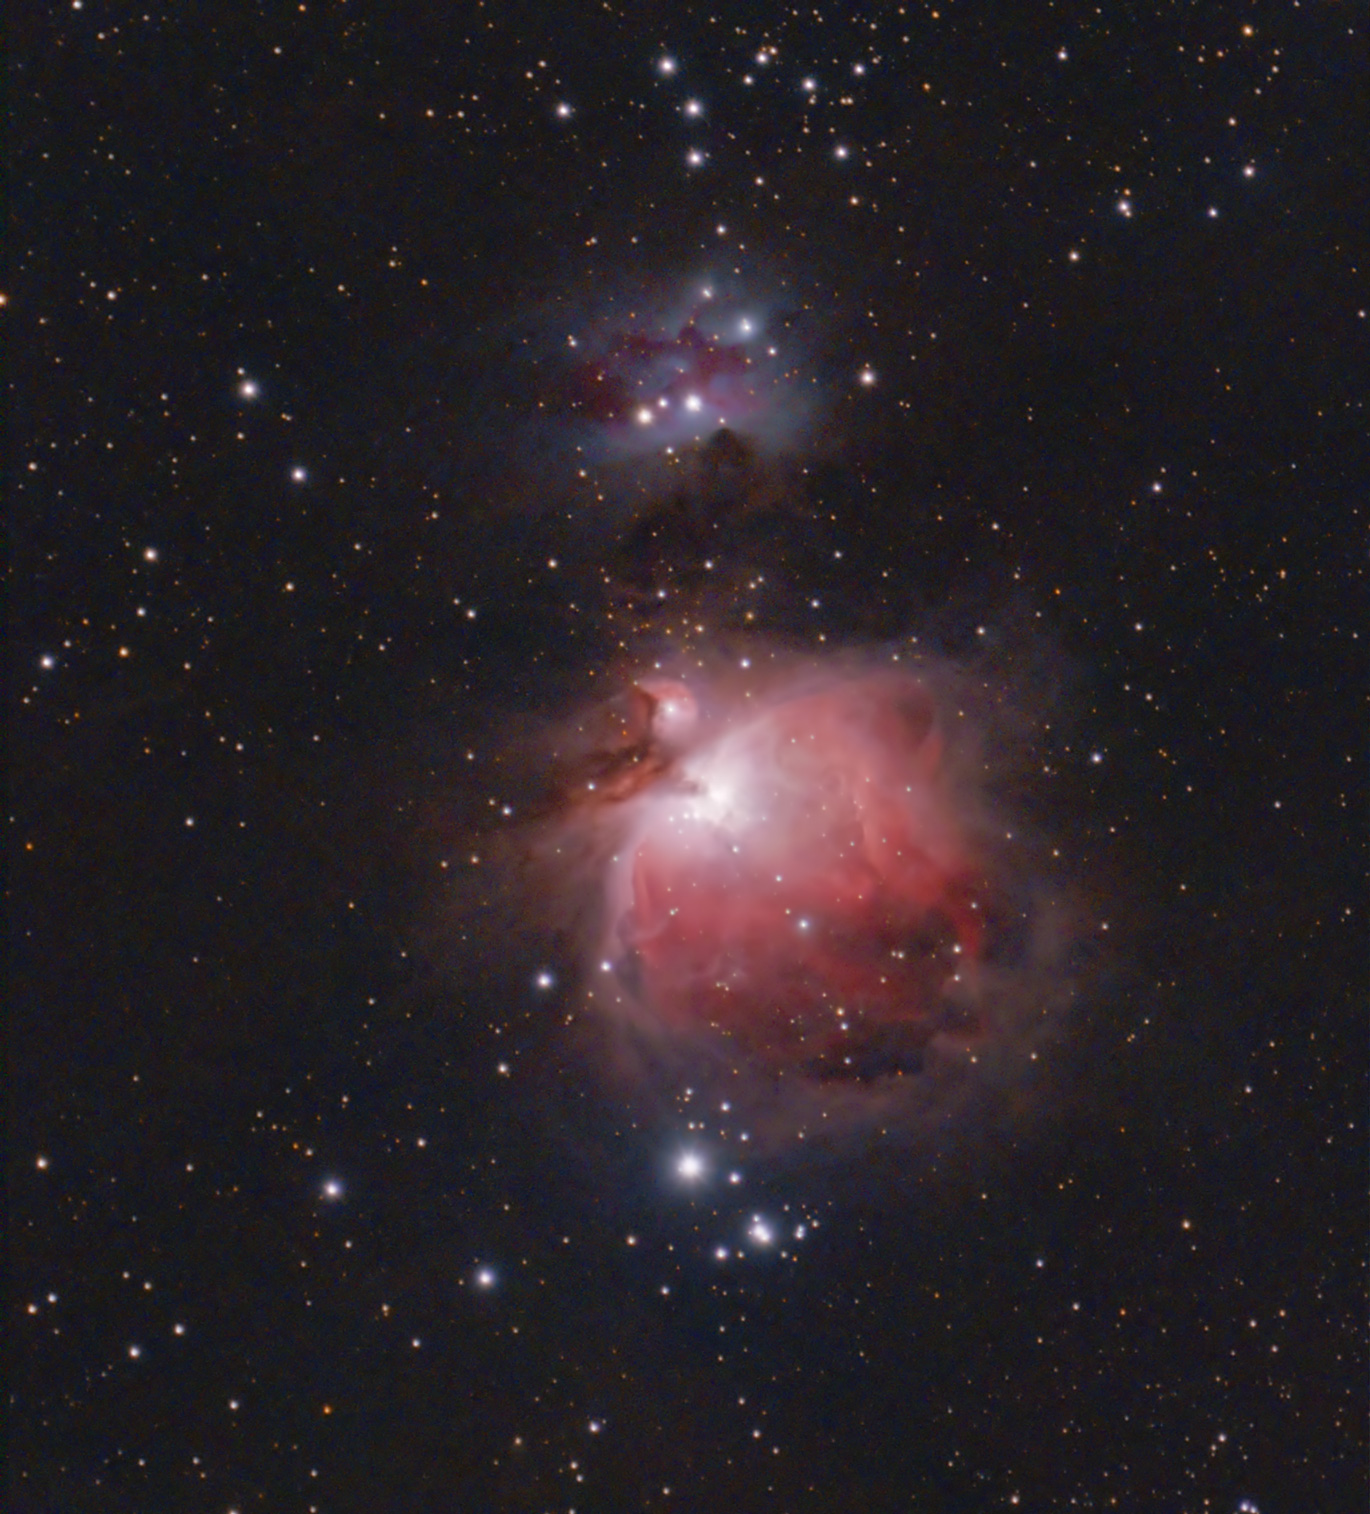
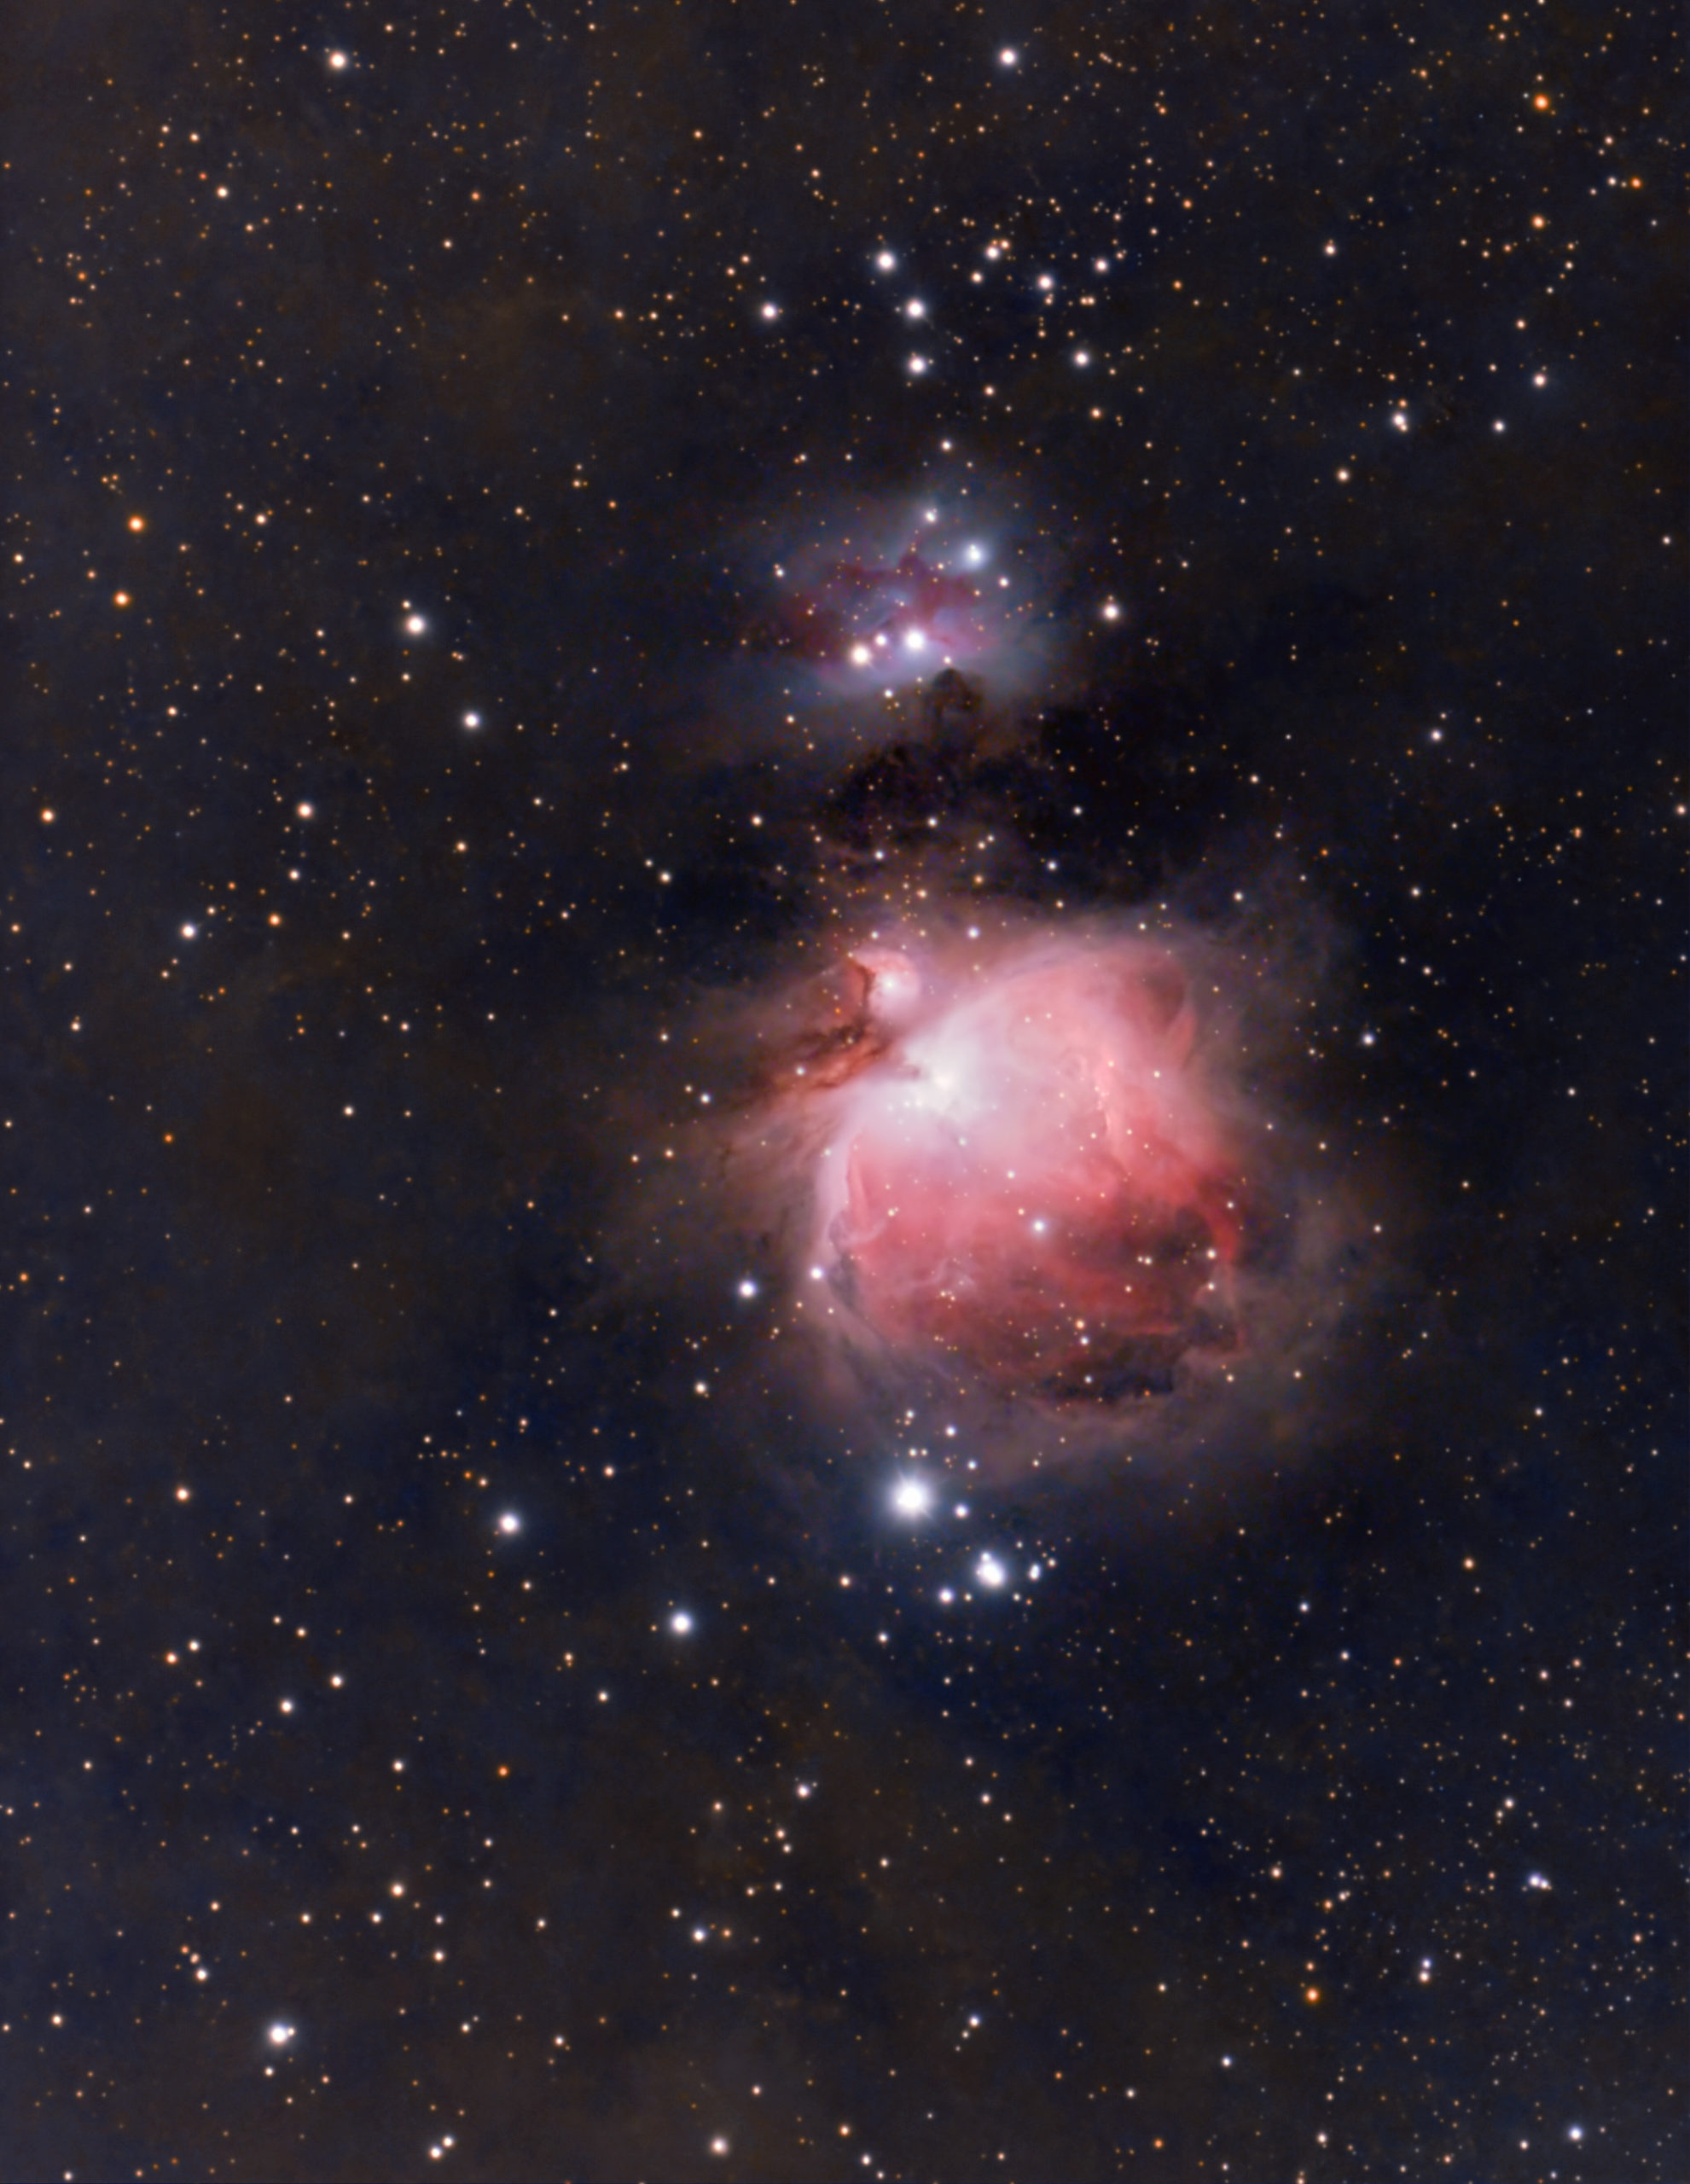
The images below were taken the following night, Feb 23rd, 2026. It was an even better night than the one before, with max transparency. I had to try M42 again with the skies this clear! I used the built-in nebula filter for 30 minutes worth first, then switched to the IR/UV cut (clear) filter and gathered another 45 minutes. So, a total of an hour and 15 minutes.
I created two versions of M42 – the first being my try at taking the raw stack generated by stacking the two sets of images taken with the different filters and stretching/color balancing it, Then, the Seestar S30 Pro’s try at stretching it and cleaning it up with it’s AI Denoise tool. That output was used to generate the base image. Color was added from my first image, however, since the Seestar had too much LP to deal with to get the color right.
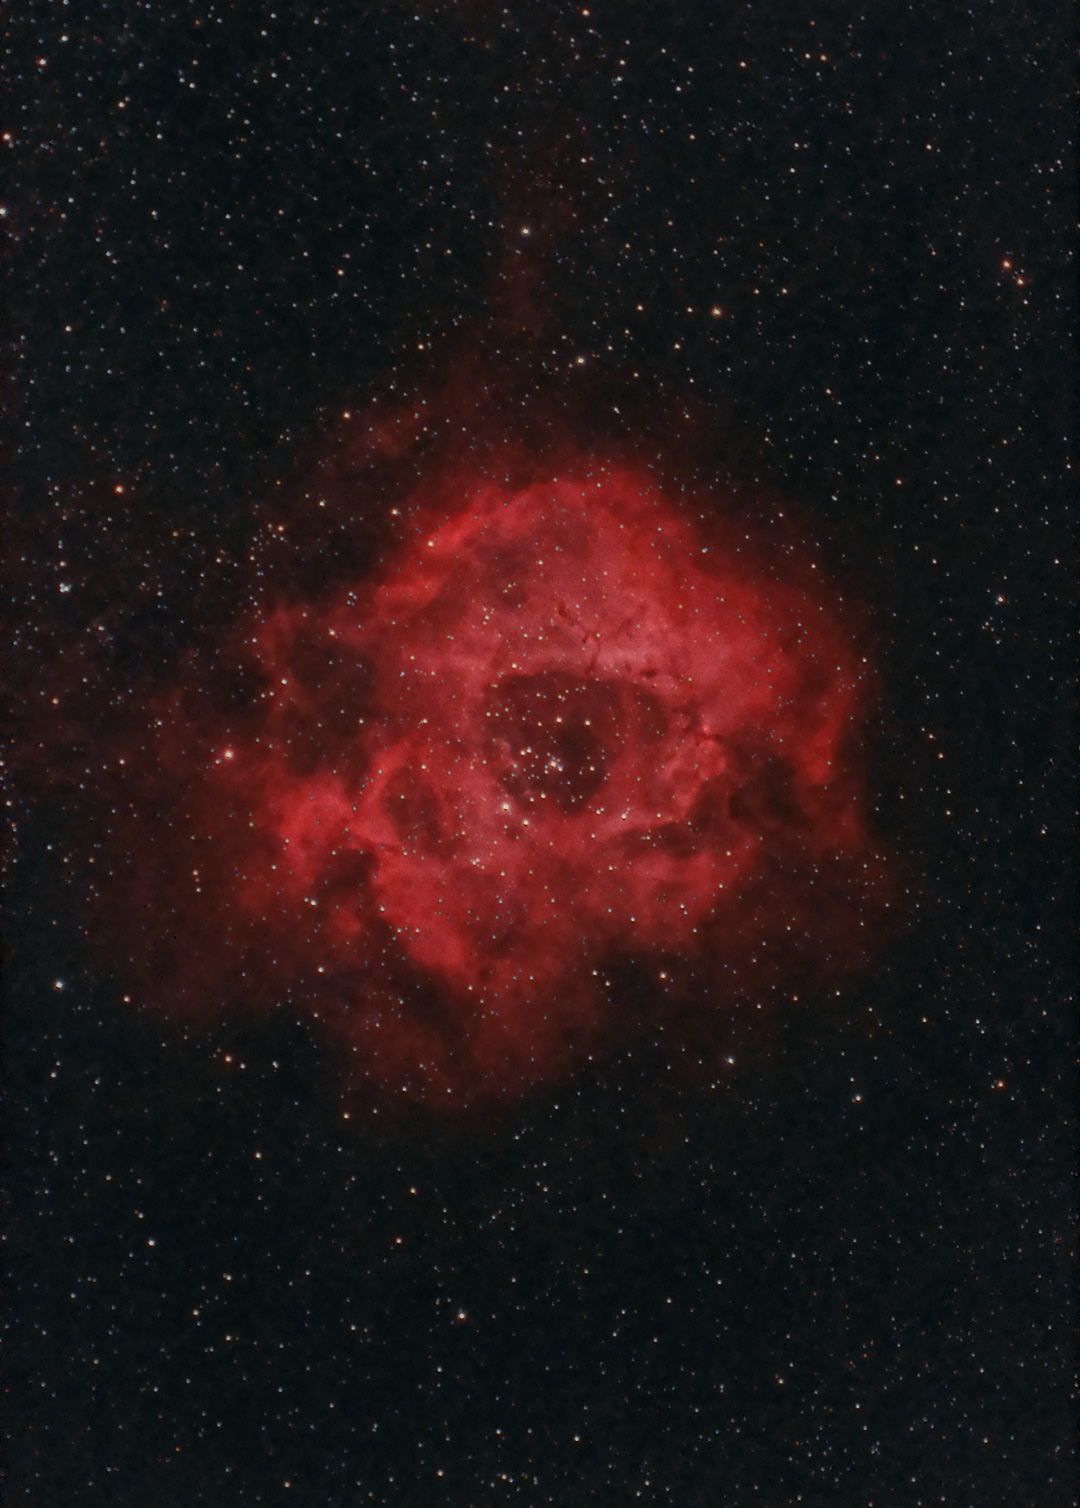
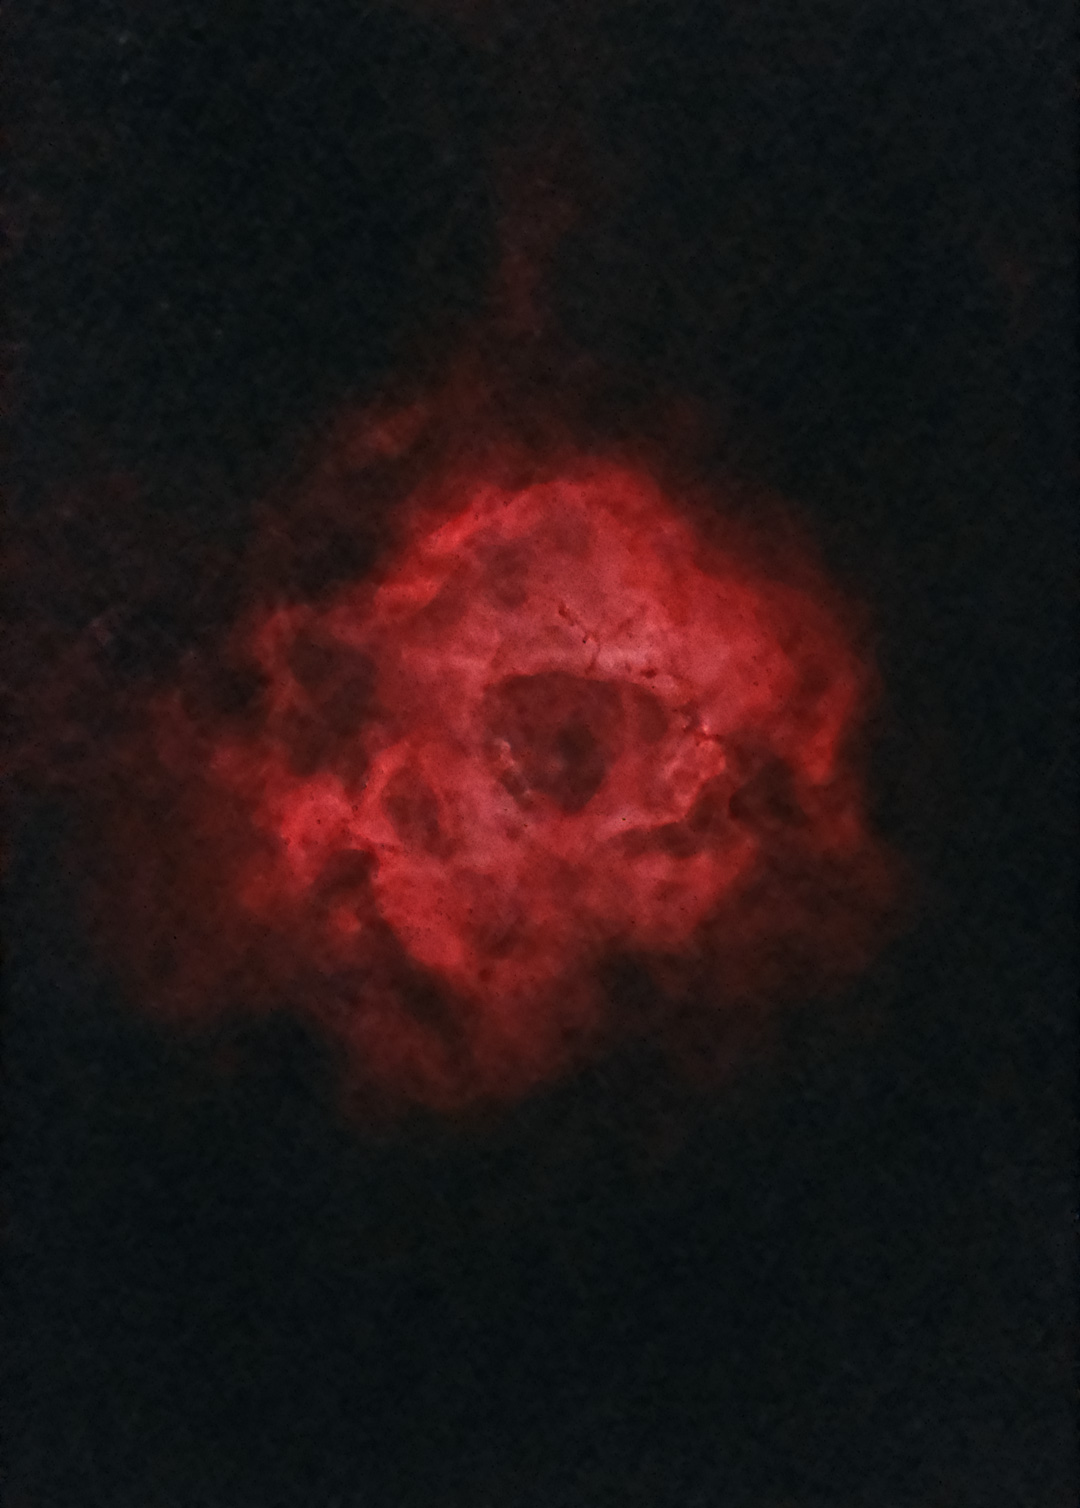
My next subject was the Rosette Nebula. 135 x 20 sec or 45 minutes of data. I created a starless version to enhance the nebula more and merged it with the stars for the first image. The second image below is the enhanced starless image itself.
All in all, it was two pretty good nights with some decent images to show for it. 🙂